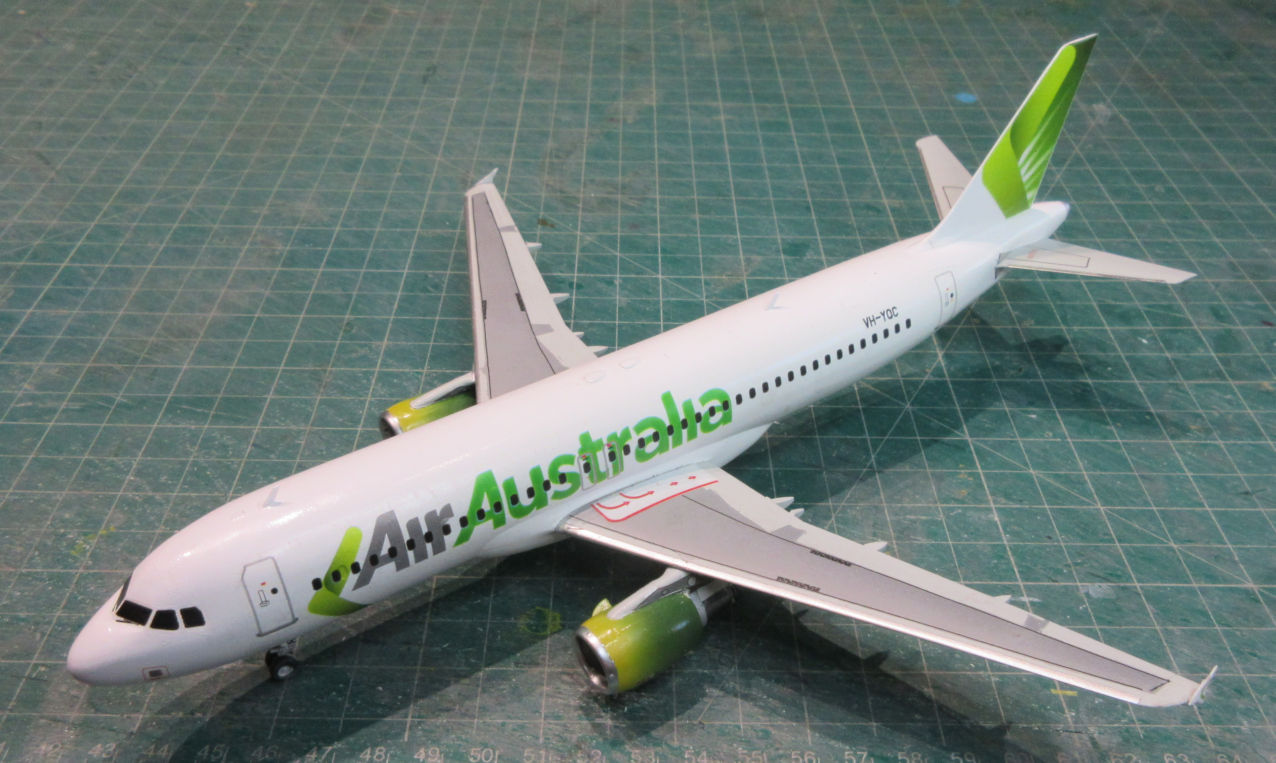
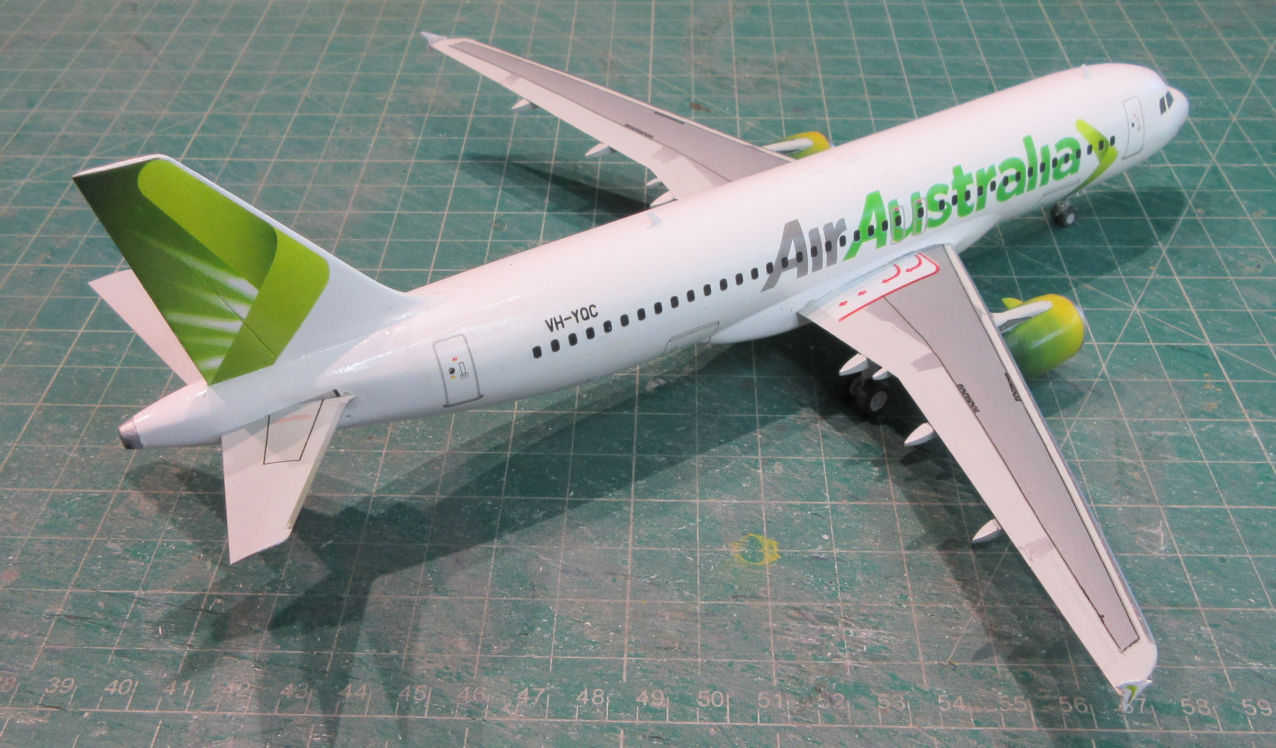
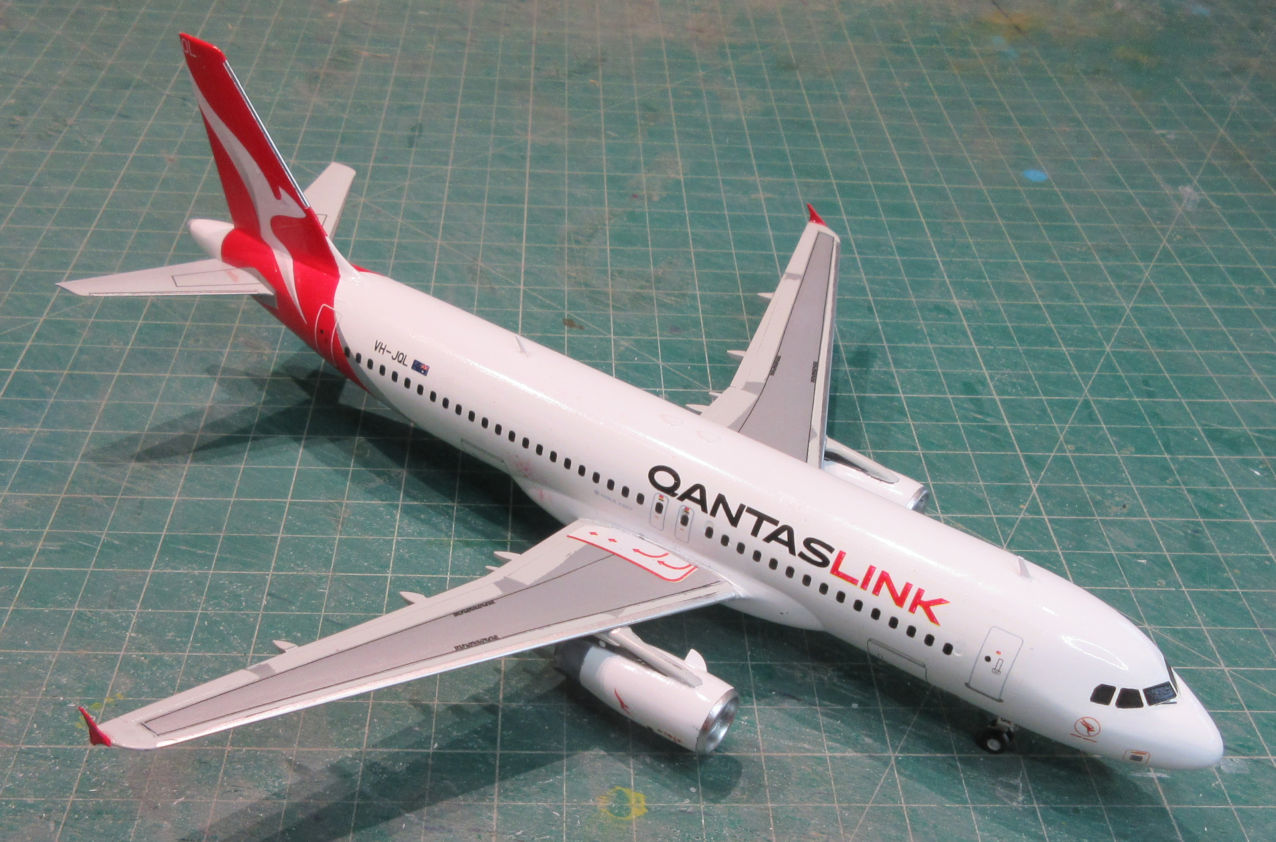
The trouble began when the latest envelope of decals arrived from Peter at Hawkeye. As well as the decals I had ordered he included his latest creations, decals for the AirAustralia and QantasLink A.320s.
The decals are excellent and a worthy investment for anyone interested in Australian aviation and airliners in particular. They are clearly, cleanly and precisely printed on a nice generously sized sheet so there is no possibility of damaging some decals while cutting out others. The instructions are also clear and accurate. Something that has haunted older Hawkeye decal kits is the white decals being printed on white paper, causing eye strain and pulsing headaches. However these sets come with the white decals printed on blue paper. Blessed relief!
So, the decals are fine. They are more than fine, they are excellent. The trouble was with me. Perhaps I should take up knitting, it can’t be that hard, can it? It seems that every time I write about making a model it’s about what went wrong. Perhaps I only write about what went wrong because there’s not much to say when a modelling experience goes well, and also we tend to learn from our mistakes not our successes.)
In my attempt to make models of all the Airbus A320 liveries flown in the region around Australia I’ve made near enough to thirty models of A.320s in 1/144, about half of them the Zvezda kit. This means that I know about making them and their little problems, which aren’t really too serious.
The first problem is that the kits comes with options for three different positions for the wing flaps and slats and parts for them. However, the parts for the flaps and slats in the raised position don’t fit very well so there’s plenty of scope for practicing your gap filling skills on the result.
The second is that there are little moulding lumps in the inside of the wheel hubs which make it impossible for the two parts to nestle together properly unless they are removed. (This is a very trying and unnecessary task which, I seem to recall, Zvezda did not make with their A.321 kit.)
The third problem, we’ll come to that in a moment.
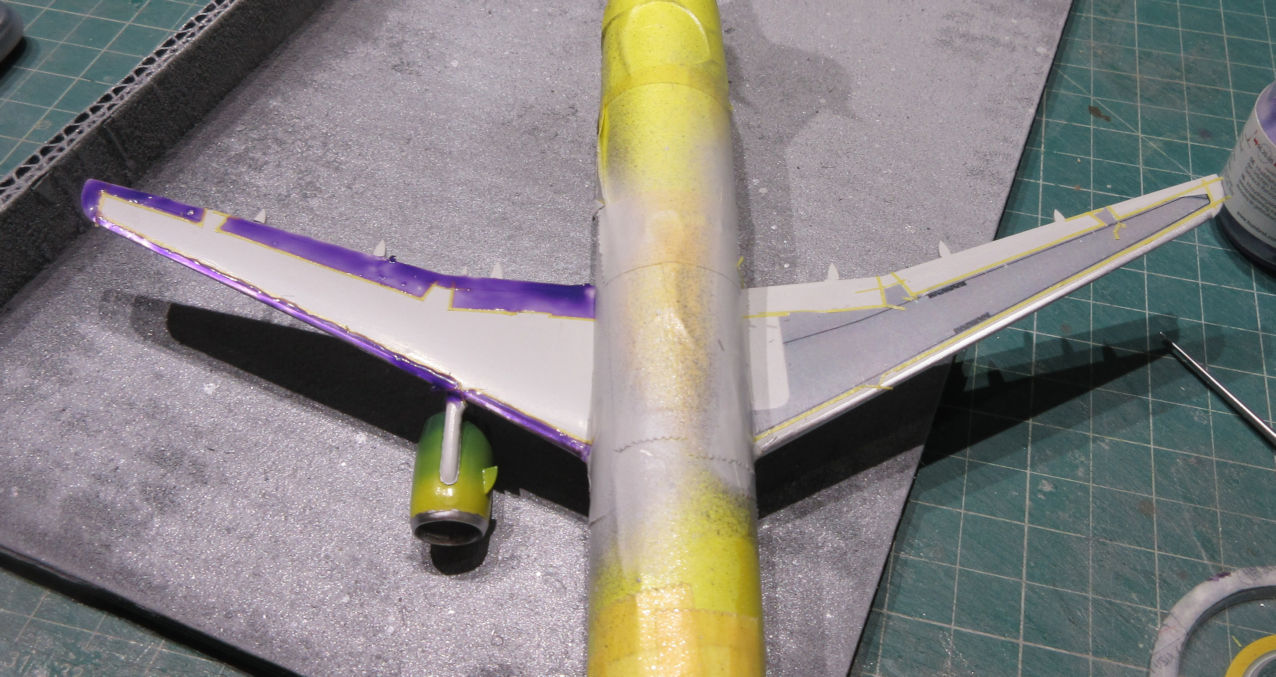
Having overcome those problems I had a couple of partially assembled little A.320 ready for painting. I usually paint the wings first and then the fuselage but this time I reversed the order and airbrushed five or six coats of various white lacquers on it, let it dry for a couple of days and covered them with various kinds of masking. This is when the trouble started.
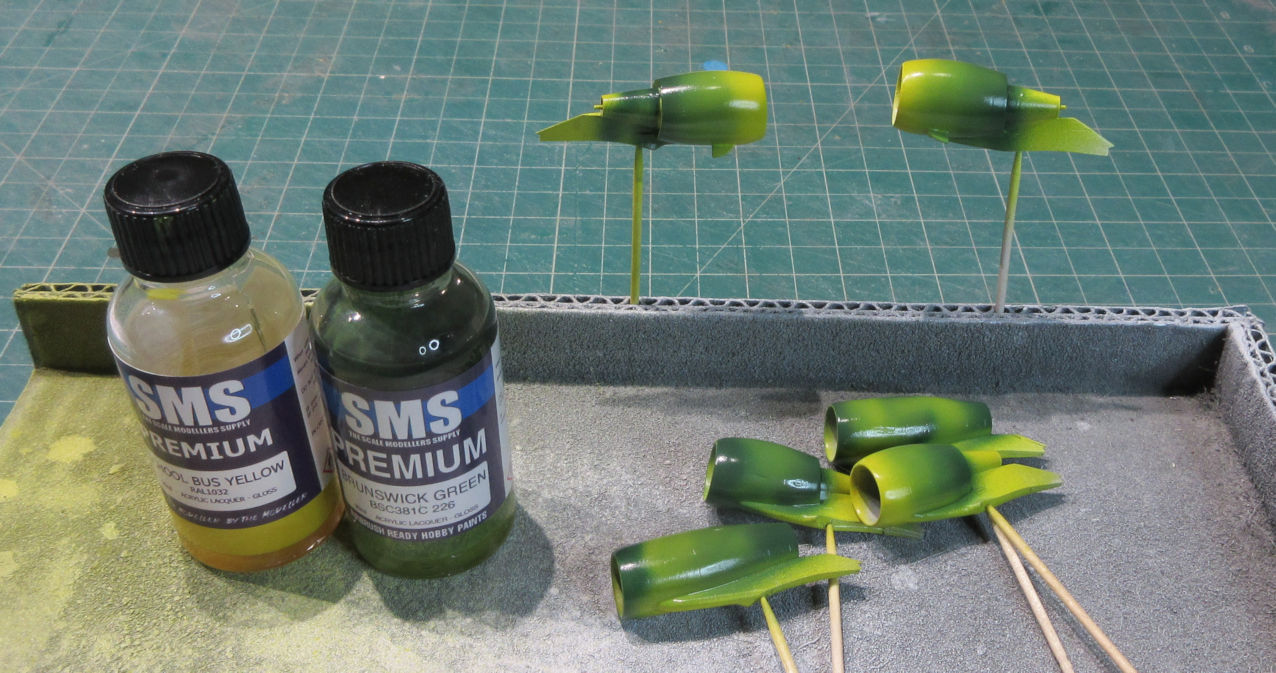
I usually paint and mask engine pods before attaching them to the wings of a model. It is easier to paint all the little variation in colour with the engines separate. The pods for the QantasLink A.320 were simple, white with the trimmings. The pods for the AirAustralia were a different, graded from yellow to green along the pod. That was going to be a challenge.
I got two bottles of SMS lacquer that best matched the yellow and green and got out my Sotar 20/20 to do the job. That poor airbrush wouldn’t see the light of day more than once a year which meant I should get in some practice before beginning the task. Zvezda A.320 kits offer two engine option options so I made them all to give me things to practice on. With these engines I spent an hour or two practicing spraying with some different pressures and paint thicknesses and colour mixes until I was happy with the results. Then I painted the two engines that would go onto the model. They looked very nice and to say that I was pleased with myself would be an understatement. With the engines masked it was time to attach them to the wings.
The third thing I don’t like about the Zvezda A.320s is that there in no positive location between the engines and wings, just a sort of indentation in the wing to show where the pods should go. In the past I’ve tried using liquid cement for this joint but often the glue melts the plastic and the little ridge that tells you where the engines should go gets dissolves and it becomes very difficult to line up the wings and engines properly. To solve that problem I tried using two part epoxy glue of the five minute variety instead. The theory being that the glue wouldn’t dissolve the ridge and it would be easier to get everything lined up properly. This was a new process and it worked fairly well. So there was a new trick I’d learned on this project.
However, when I tried to attach the engines to the Air Australia model I discovered that, in my concentration to paint the engine pods well, I’d entirely forgotten that the engines are handed and I’d painted two starboard pods and no port ones. Much unhappiness ensued.
When I came back to the project I decided to attach one pod and to paint and attach the other pod later. And hope it would look as good as my first go had.
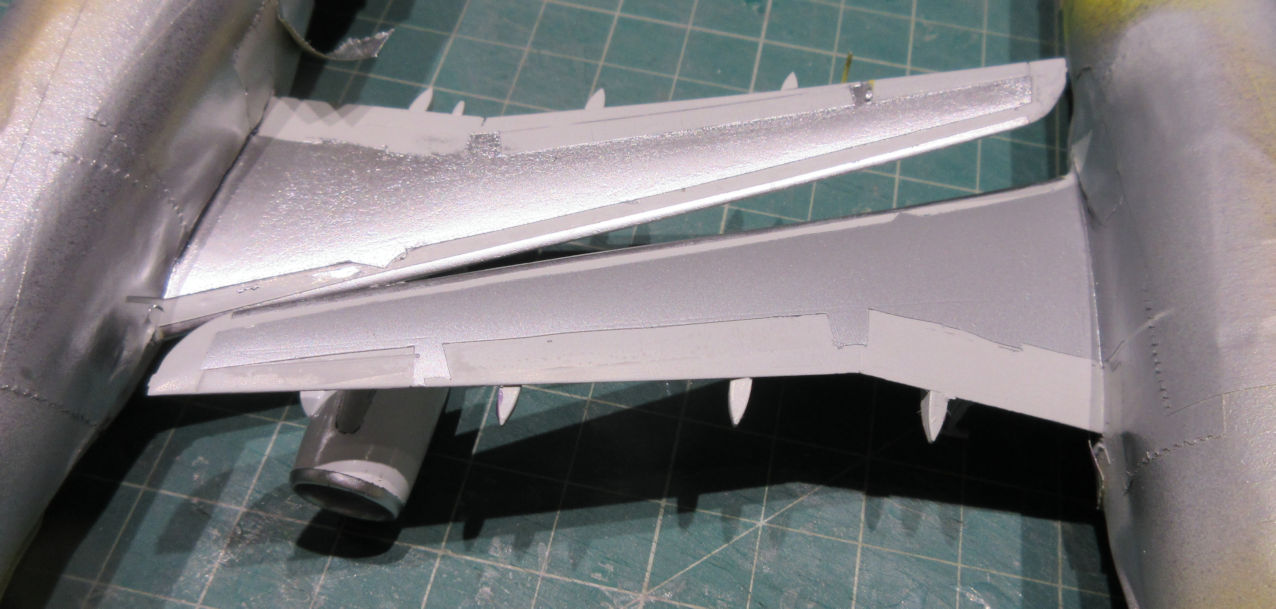
Painting the wings is not really complex with the silver leading edge and the rest overall Airbus grey. However, a big feature on most modern airliner wings are the corogard panels and walkway lines on the upper wings. The Hawkeye decal sheets offer a solution with corogard panels and the walkway lines on the, so I thought I’d give them a go. I’m not normally a fan of decals pretending to be corogard but it is always a fuss getting them right so I thought I’d give the decals a go.
In a word, I didn’t like them at all. They’d be okay if you only made a few airliner models and didn’t care about the final look or, perhaps more likely, didn’t know what corogard should look like. However, I did, and the decals didn’t look like that at all. What to do? The only solution seemed to be to mask around the decals using them as a guide about where the corogard should go on the wing, and then spraying my home-mixed corogard over the decals. So I did that, what could go wrong?
The result was unedifying. We all know what can happen if you try mixing your paint types on models, the bubbling and crazing that often follows. Well, imagine that much worse and instantaneous. There’s something in those decals and in the paint that doesn’t like each other and the paint bubbled up wherever it went onto the decals. I made a couple of attempts to sand back and repaint the effected areas but not only did it not fix the terrible texture, it also resulted in subsequent coats of corogard looking as though somebody had polished them. In the end I gave up, sanded the wings back to the plastic and started again.
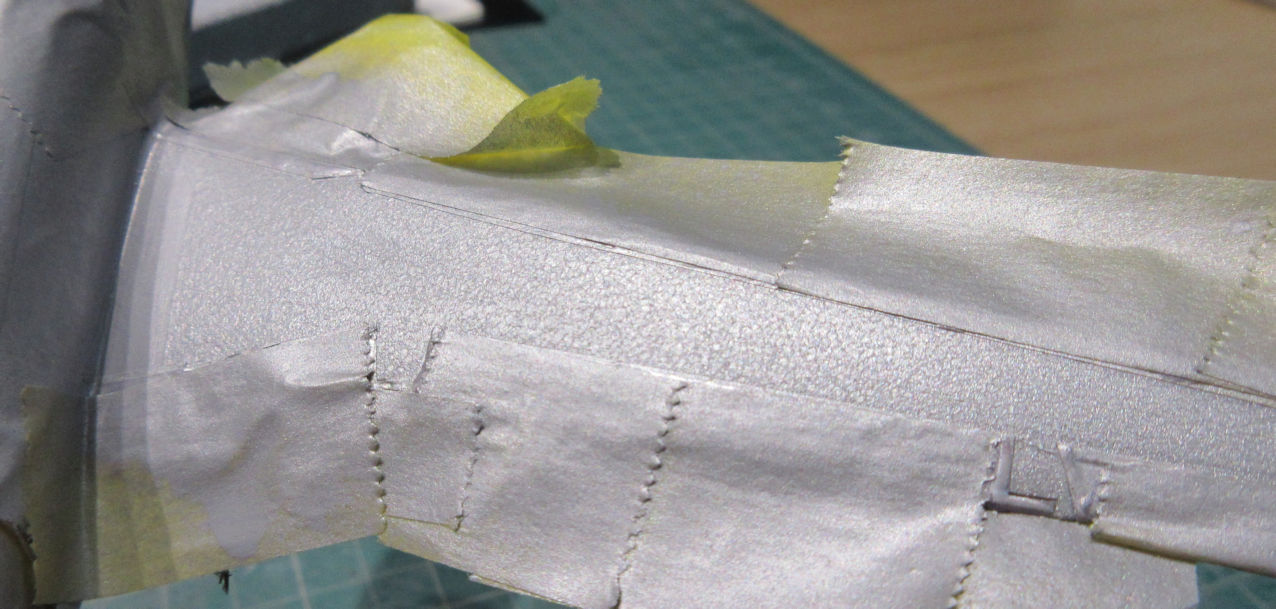
There’s always a lot of trouble in masking to airbrush corogard on airliner wings to know precisely where the corogard should go. I had learned, however, that it is very easy just to mask around a decal which has been cut right up to the edge of the image. I then remembered that I had some blank decal sheet paper for my printer that does not adhere well to gloss paint. I decided to try printing a scan of the corogard panels from the Hawkeye decals onto that decal paper. I cut as close as possible to the edge of the images, applied them and let them dry. Masking around them was the usual tedious process but when that was done the decal peeled away leaving the surface ready for painting. Perfect, and that’s another new thing that I’ll be doing again.
With the wings completed, and the masking removed from the fuselage, the rest of the project went fairly painlessly. The Hawkeye decals are tough but also very thin and a challenge, particularly for big areas such as the decals that include the windows, doors and logo all in one large decal. They tend to fold in on themselves very easily so applying them needs some careful attention.
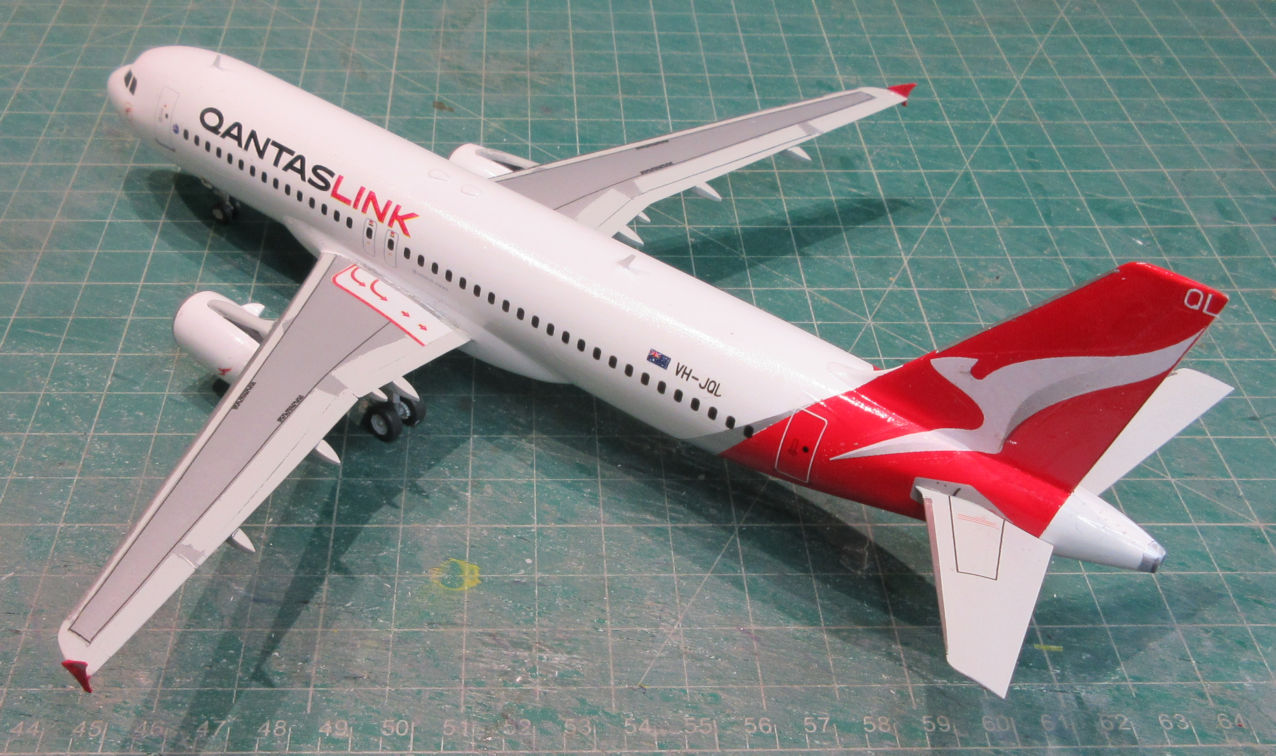
On the QantasLink A.320 there is a big silver panel around the lower fuselage which is replicated on the decal sheet by a large dark grey shape. I’m guessing that this is the best the Hawkeye printing process can handle but it didn’t look very realistic to me. But I had learned a new trick to take care of this, hadn’t I! I scanned and printed the image onto my decal paper, printed it, cut around the edge, applied it, masked around it and peeled it off. On went a coat or two of SMS Silver, simple and easy and the result is rather attractive.
So there you have it. Two excellent decal sheets put to the test by my incompetence. Or should I class them as learning opportunities? If you take my hint and find some way of replacing the corogard panels and the large dark panel that goes around the rear lower fuselage, the results will be beautiful.
Leigh Edmonds
December 2022