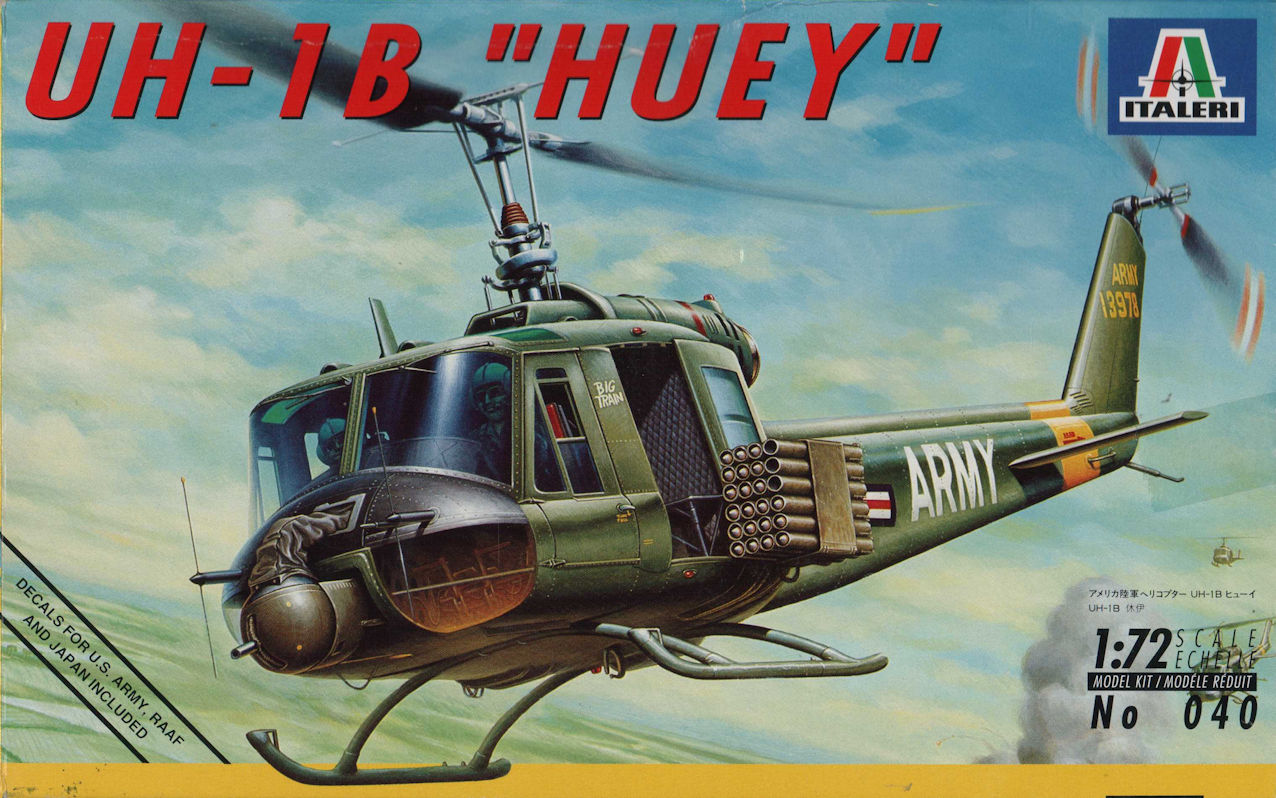
No doubt you recall that I’m trying to get some models of RAAF aircraft made this year. Having made aircraft from the first and second series of A- registered aircraft I thought it would be a good thing to make an aircraft from the third series and, since I’d made the A2- SE5A from the first series I thought I might make whatever the A2- was in the third series. Imagine my gasp of horror when I found that this aircraft was the Bell UH-1.
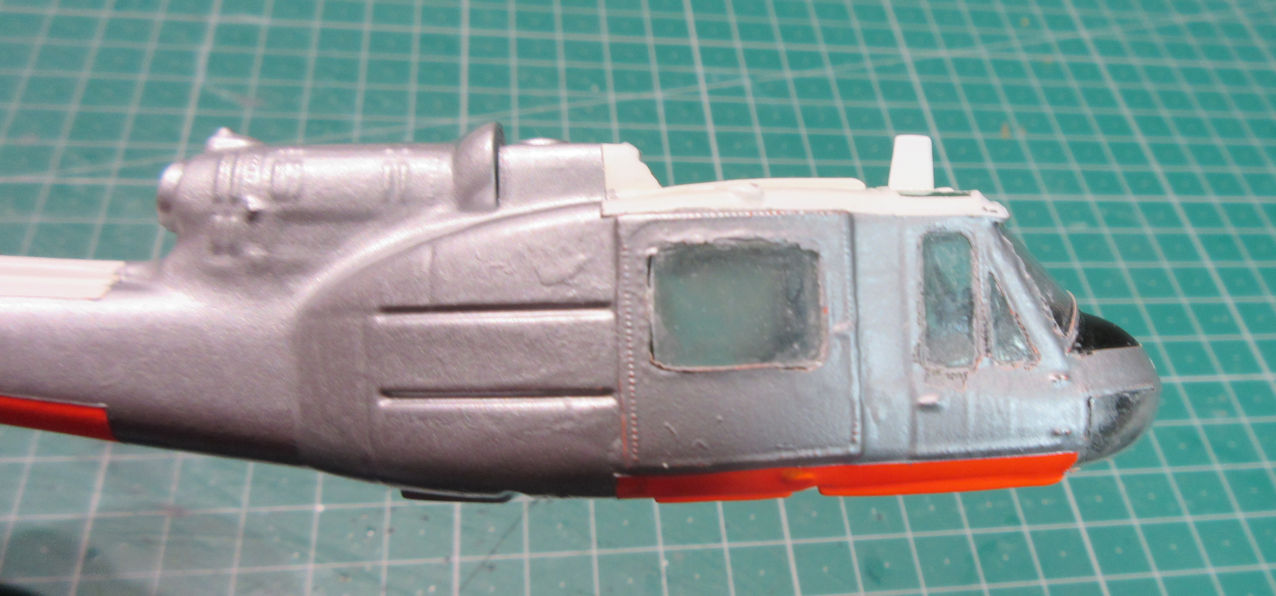
One of the problems with helicopter kits, from a simple construction and painting point of view, is all those windows. Unlike your conventional aircraft where the cockpit canopy can be attahced towards the end of the project, windows on this kit were one of the first things that had to be attached. To make the process more challenging most of the windows had to be attached from the inside and there was no overlap where the glass went so not only did the windows have to be located precisely they had to be glued so none of the glue showed on the glass. This is all but impossible and, to make matters even worse, the interior of the cabin had to be completed and painted before the windows could be installed, so the joint was problematic, chemically speaking. To put it bluntly, I made a dog’s breakfast of the whole operation.
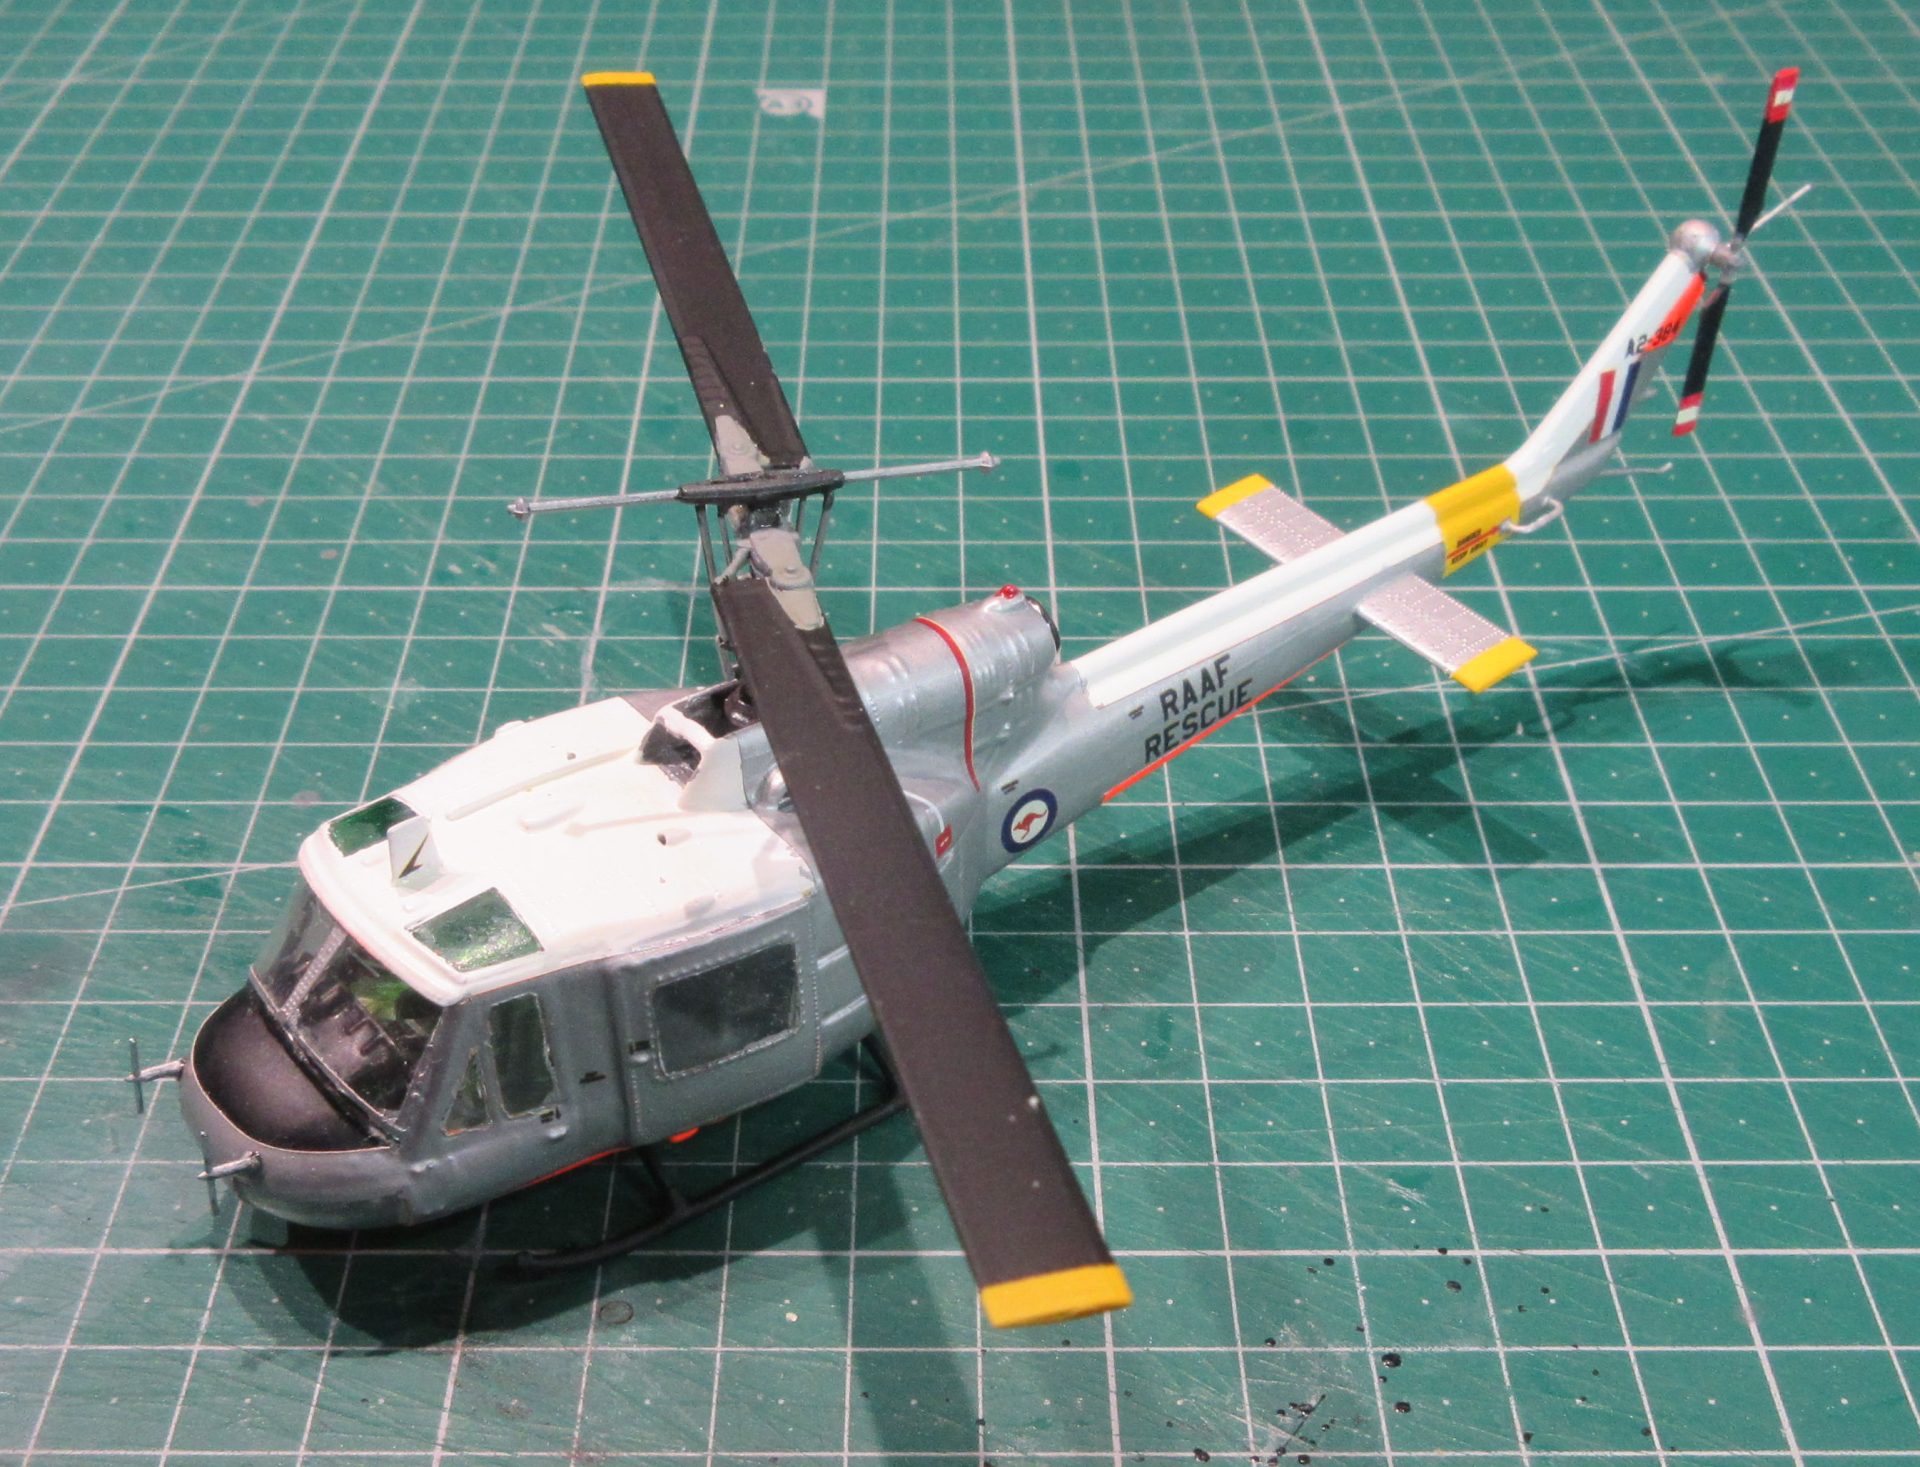
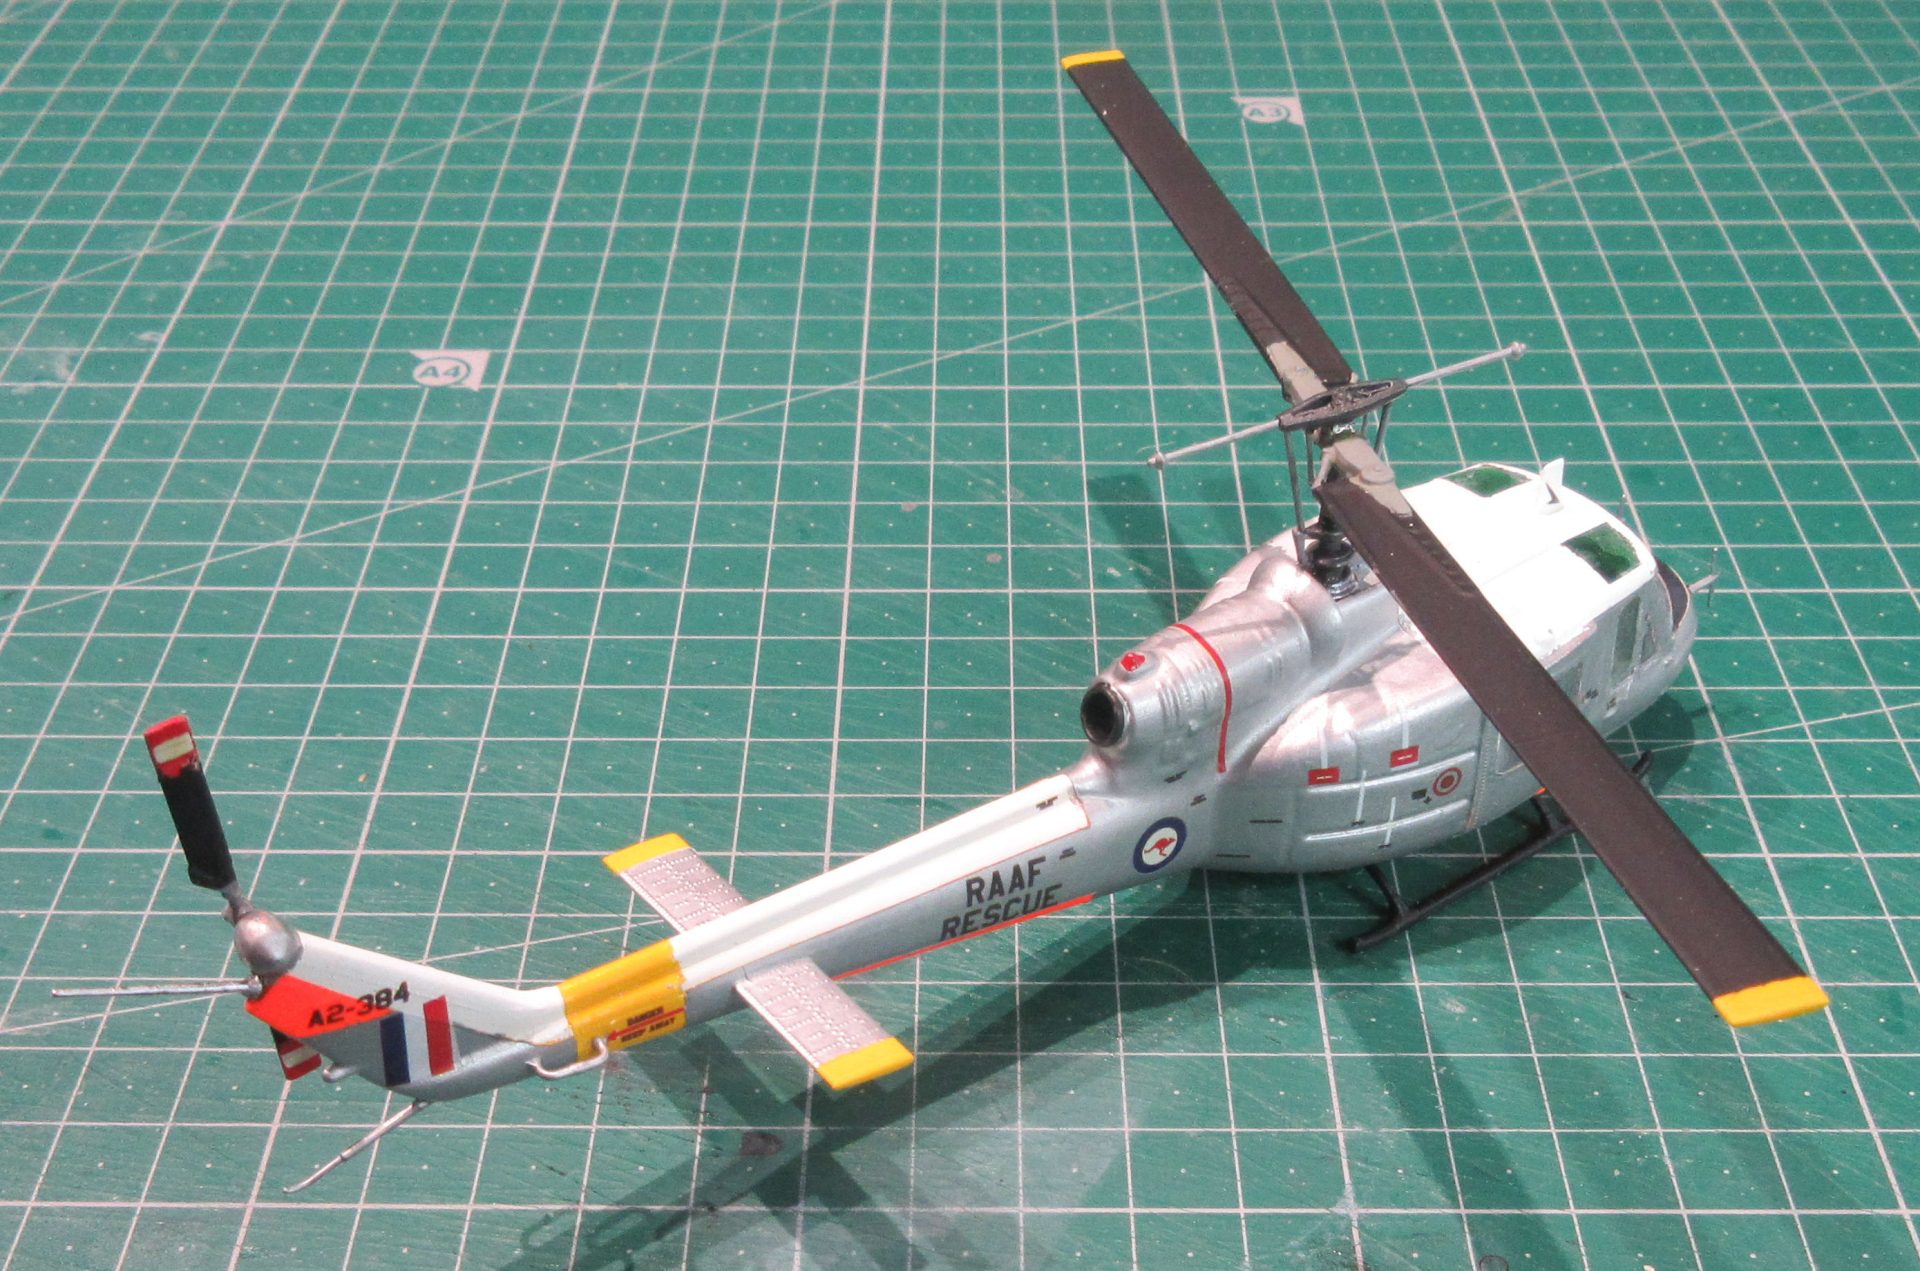
After that fiasco the rest of the assembly was fairly easy and the part fit pretty good. The kit comes with all kinds of armament but, since I had decals for the first RAAF UH-1 in a rescue livery all that was discarded.
Having got the airframe more of less completed it came time to get on with the painting. You know what they say; ‘high risk leads to high reward’. The kit came with decals for a RAAF aircraft in a simple all-over green scheme which would have made for a simple drab model. On the other hand, I had the Dekl decal set for an aluminum, white and day-glo aircraft which promised higher reward, but at greater risk.
The first problem was masking all those windows. I looked in vain for a mask set for this kit, but there wasn’t one available, which meant having to do it all myself using very thin tape and Maskol. This went as well as this process ever does and took up a lot of time. It was going well and I had everything done except the large starboard side window but when I put a little pressure on the glass it came loose and fell into the model. At this point I looked on the interweb to see if there were any other kits of the UH-1B and discovered that Tamiya made one. But then it turned out that the Tamiya kit is a reboxing of the Italeri kit, so I couldn’t escape my problem that way. Eventually I got the window out of the model, trimmed the edges, polished it again and managed to butt join it back into the model with ultra-thin super glue.
Then came the painting, which is really where the high risk came in. If I’d chosen the green scheme a couple of coats would green lacquer have taken care of it, but for the ‘rescue’ scheme I needed white, yellow and day-glo, all of which needed a white base. The plastic of the kit was dark green and it took seven coats of various kinds of white lacquer to complete deal with the green. It rarely takes that many coats of white for an airliner because the plastic is usually white and there isn’t much detail to lose under the coats of paint on them, but that was not the case with this model in this scale. So by the time I was satisfied with the density of the white the detail was starting to disappear. Then there was masking, two coats of yellow, more masking and three coats of day-glo, more masking and then a couple of coat of aluminum. By the time all that was done some parts of the model had, by design, accident or sloppy airbrushing, eleven coats of paint of them, twelve when you counted the black anti-dazzle panel on the nose.
When they talk about ‘risk and reward’ they don’t talk about what happens if the risk doesn’t pay off. Which is what happened with this model. There was so many layers of paint that it was difficult to see where the masking was and in a lot of places the paint was so thick that layers of it peeled away when I tried to pull up the masking tape. The result was truly dreadful so I took some pictures of the result and resolved to toss the disaster in the bin.
However, when I stood up to take a break and looked at the model from a distance it didn’t look so bad. This may have something to do with my poor eyesight, but I thought it looked alright.
 Italeri 72 The Little Aviation Museum")
 Italeri 72 The Little Aviation Museum")