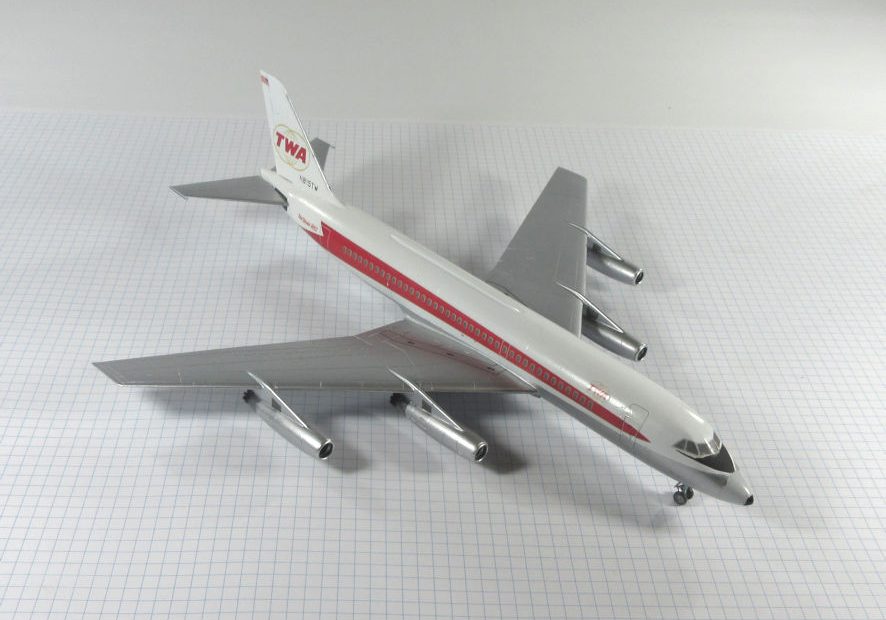
The Convair 880 is a gorgeous looking but rather sad airliner. It was designed by Convair to compete with the new jet airliners being designed and build by Boeing and Douglas, the 707 and the DC-8. Convair hoped to compete by building a smaller and faster airliner so while the Convair 880 cruised at about 970 km/h the Boeing 707 cruised at about 879 km/h and the DC-8 at 895km/h. On the other hand the first 707 had a passenger capacity of 137 and the early DC-8s could carry 177 passengers but the Convair 880 carried only 110 passengers. Airline operating economics won out and while 556 DC-8s and 865 Boeing 707s were built, only 65 Convair 880s. (Convair went on to make the Convair 990 which was bigger and carried more passengers but it was too late by then and only 37 were made. These failures drove Convair out of the commercial airliner market.)
The fact that an aeroplane was a failure in real life doesn’t mean that it can’t make a good looking model, and so it is with the Convair 880. One of the first resin kits I bought was the Frsin 880 which I thought was pretty good at that time. Later, when I came to look at it again against photos of the real thing on the interweb it became clear that it was an accurate but fairly basic kit with a couple of moulding problems which eventually consigned it to the rubbish bin.
If you want to make all the second generation airliners then the Convair 880s has to be among them, but that was the only kit available in 1/144 – until late last year when Eastern Express announced that they were releasing a kit of that airliner. I was in two minds about Eastern Express kits which are very expensive for what they are and are, shall we say, problematic. I still have very unhappy thoughts about their Fokker 50 and some of their earlier airliner kits that I’ve bought (but not yet made) don’t took too promising. However, a Convair 880 is a must so I ordered one.
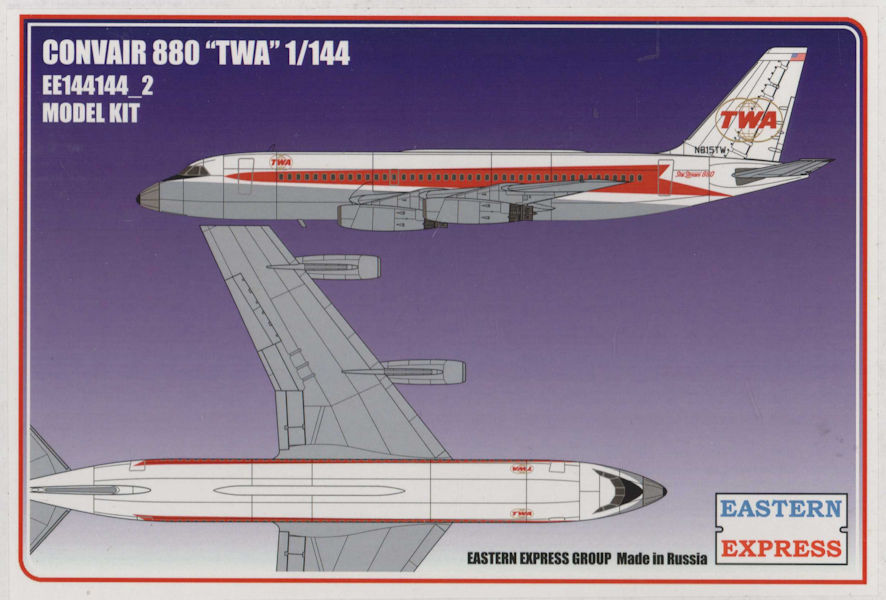
To say that I was pleasantly surprised when I opened the box would be an understatement. In my opinion Zvezda are making the best airliner kits at the moment and this one comes close to that standard – enough to make me wonder if there is some kind of relationship between the two companies. The mouldings are clean and accurate with finely engraved panel lines and enough detail to please most airliner modellers. The instructions are good and the decal sheet is nicely done. Eastern Express offer this kit in a number of boxings each with (I assume) the same plastic but with different decal sheets and the one I ordered was with the TWA decals. The only thing seriously wrong with this kit is the cost but if you want to make a Convair 880 this is the only game in town.
(With this kit I also got Eastern Express’s new BAC 111 – after having negotiated a loan with the bank manager – and it looks as promising as the Convair 880. So promising that I am now offering for sale the Airfix BAC 111s that I’ve been hoarding for many years.)
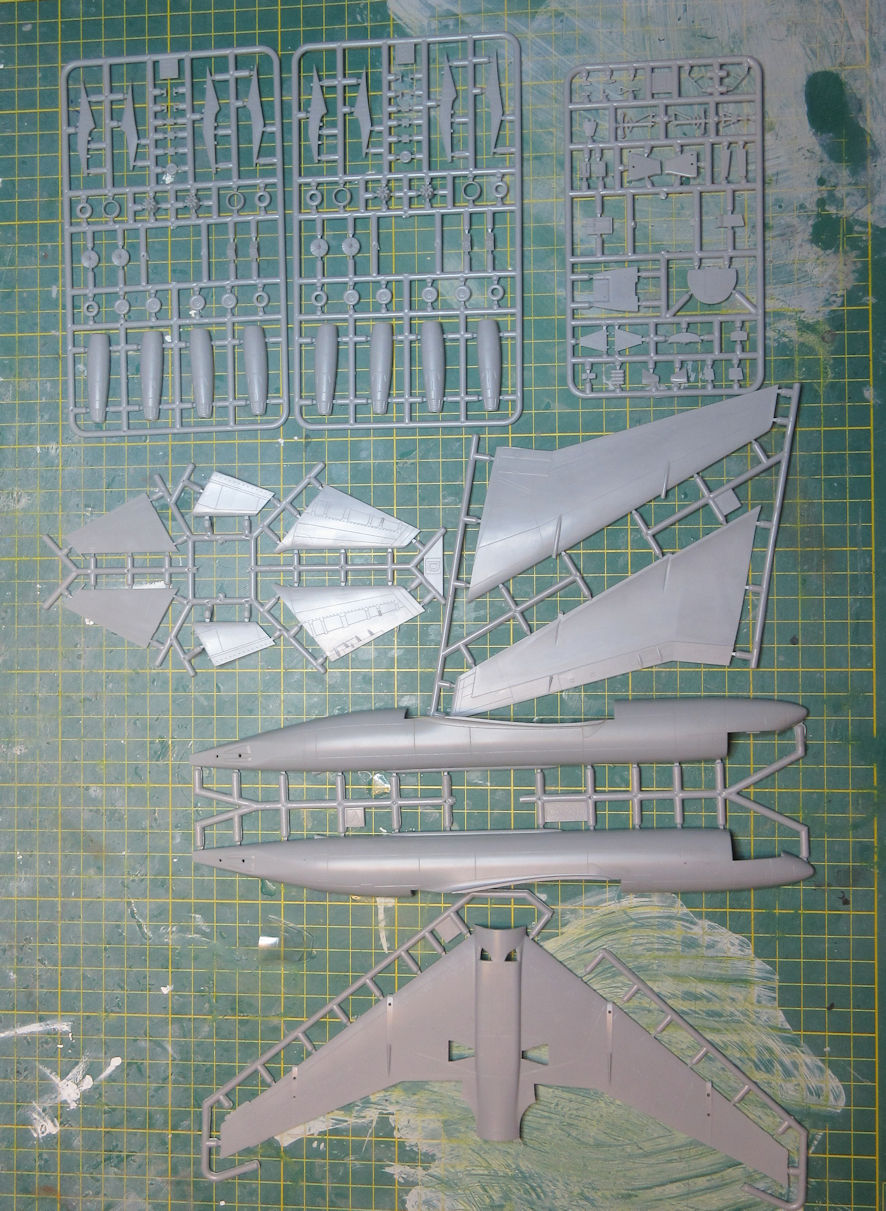
This is going to be a short article because there is almost nothing about building this kit that needs comment. The only preparation needed is to tidy up the sprue gates and you’re ready to go. The only trouble I had was with the air intakes under the fuselage which requires two little bits of plastic to be fitted in a way that is not clear from the instructions and which I could not work out from trial and error. (For a moment there I was reminded of the old Eastern Express.) Eventually I installed them the way that seemed best and dealt with the resulting problems with a touch of Tamiya putty and a sanding stick.
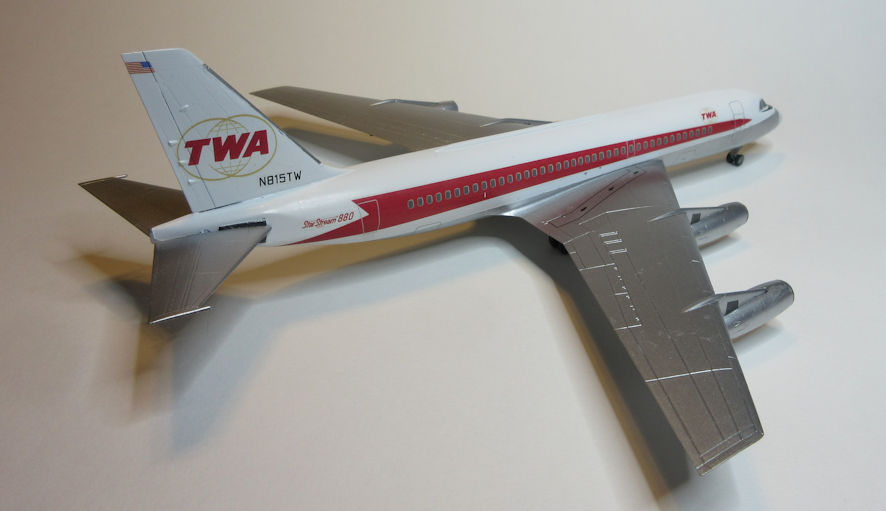
The painting was more noteworthy. These days I start with painting the engines and masking them before attaching them to the wings because often enough the join between them is one of the most haphazard parts of the kit and needs filling and sanding. So it was this time. I had acquired a bottle of the SMS Aluminum paint and decided to try it. As usual, this SMS paint is one of the best metallics I’ve tried. Then there’s a slightly darker metallic shade inside the intakes and two different shades at the rear of the engines and, as you know, I really dislike masking but it’s unavoidable with airliners.
(At this stage in the process I found myself getting confused by all the metallic paints I’d acquired over the past few years so I spent a few days testing them all on some plastic spoons. At the end of this experiment I found that almost all the different brands of ‘aluminium’ paint look so close as to be near identical that it doesn’t matter, and the same goes for other shades such as ‘silver’ with the result that I will only be buying the Tamiya and SMS versions of these paints in the future. And then perhaps even just the SMS paints which seem to me to go on and set just as little better than the Tamiya paints.)
At the same time I was working on the engines I’d also been working on the rest of the airframe which went together remarkably well. With some kits it is necessary to slap on the Tamiya filler but with this one all I needed was little bit of Mr Surfacer 500 to fill any slights gaps. When I finally put the engines and the airframe together the fit was not quite so precise so a couple of coats of that filler were needed.
Being from the period of early jet airliners there is no need for such more modern niceties as corogard or white fuselasges so most of this model is painted in SMS Aluminium, which I am really coming to like. It goes on without any fuss and seems impervious to handling and masking. Alclad II might give a slightly better finish but it does have handling and masking problems so that’s something of a compromise. The white along the top of the fuselage is Tamiya Pure White, as usual. At this point the process everything came to a grinding halt. I’d put the decals somewhere safe where I would remember that I’d put them, and you can guess how that went. After a couple of weeks of futile hunting I was on the verge of ordering some aftermarket decals when I finally found them while looking for something else. They were, of course, exactly where they should have been but I had not seen them in my haste.
The decals went on without too much fuss. They seemed a little brittle and a couple of the door decals disappeared while they were being applied. I found replacements in the spares box which might have been from the decal sheet for the Frsin kit that had earlier met its fate in my rubbish bin.
In summary, a delightful little kit and I’d be making more of them if they weren’t so expensive.
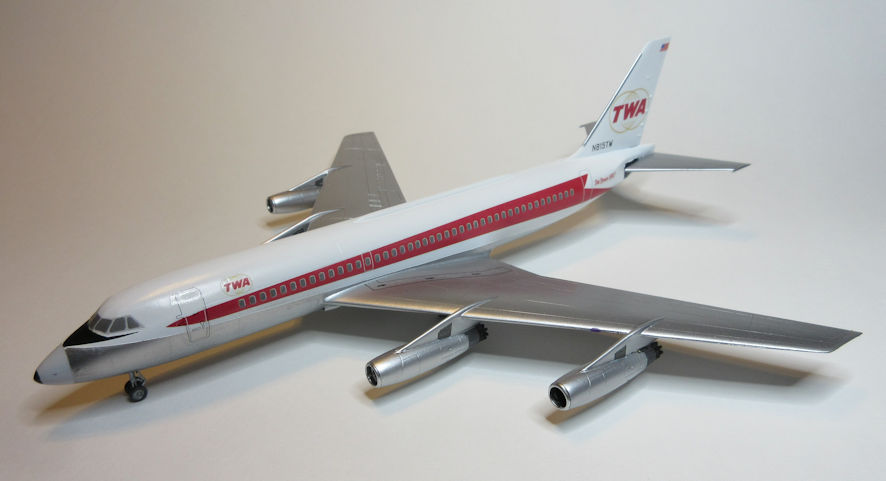
Leigh Edmonds
August 2021
