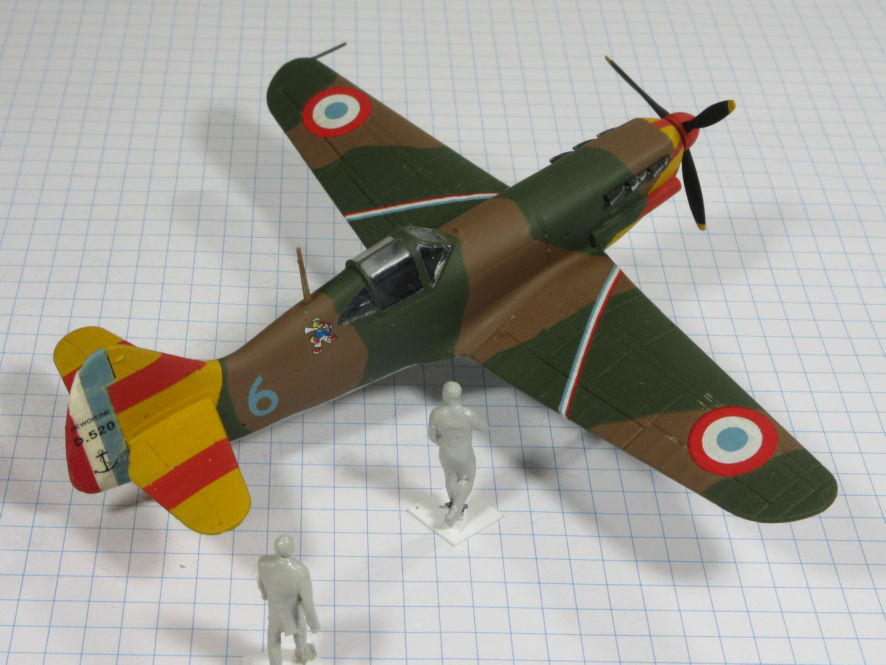
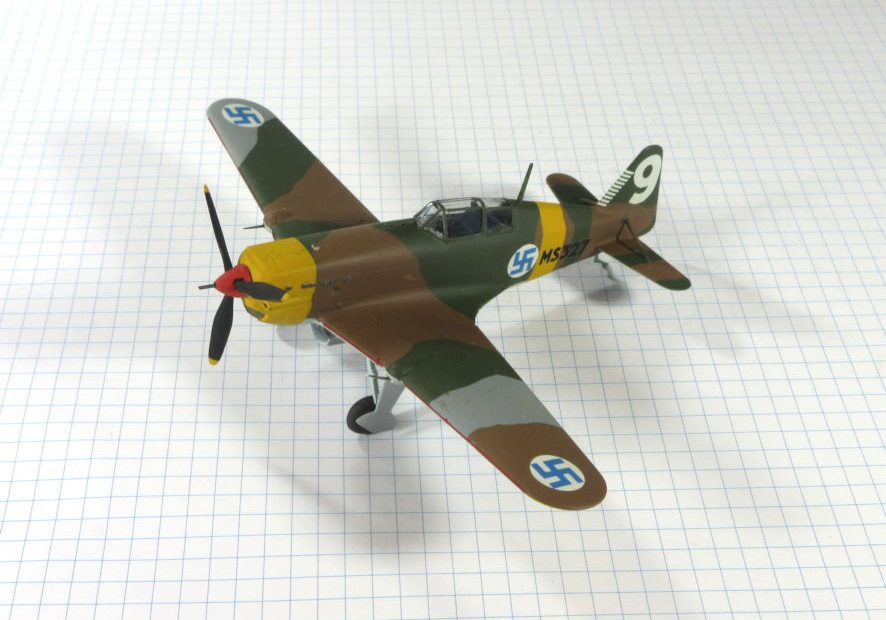
At last Hobby Boss has got around to releasing models of French fighters in their range of cheap, quick to make kits. There’s a limit to how many Bf109s and Spitfires you can make, after all, so it’s about time they did the Dewoitine 520 and Morane Saulnier 406 fighters. I can’t wait for their Arsenal VG.22, Bloch 152 and Caudron 714 kits to round out the set of French World War II fighters.
It took ten days to complete these models, most of it spent waiting for paint to dry which is not a very exciting activity. I kept a little diary of this exciting moment in model making and now it is time to share it with you.
DAY ONE
An email from a friend alerted me to the fact that ‘The Shop That Shall Not Be Named’ had a new pile of Hobby Boss kits including the two expected French fighters. I was down there at the speed of light.
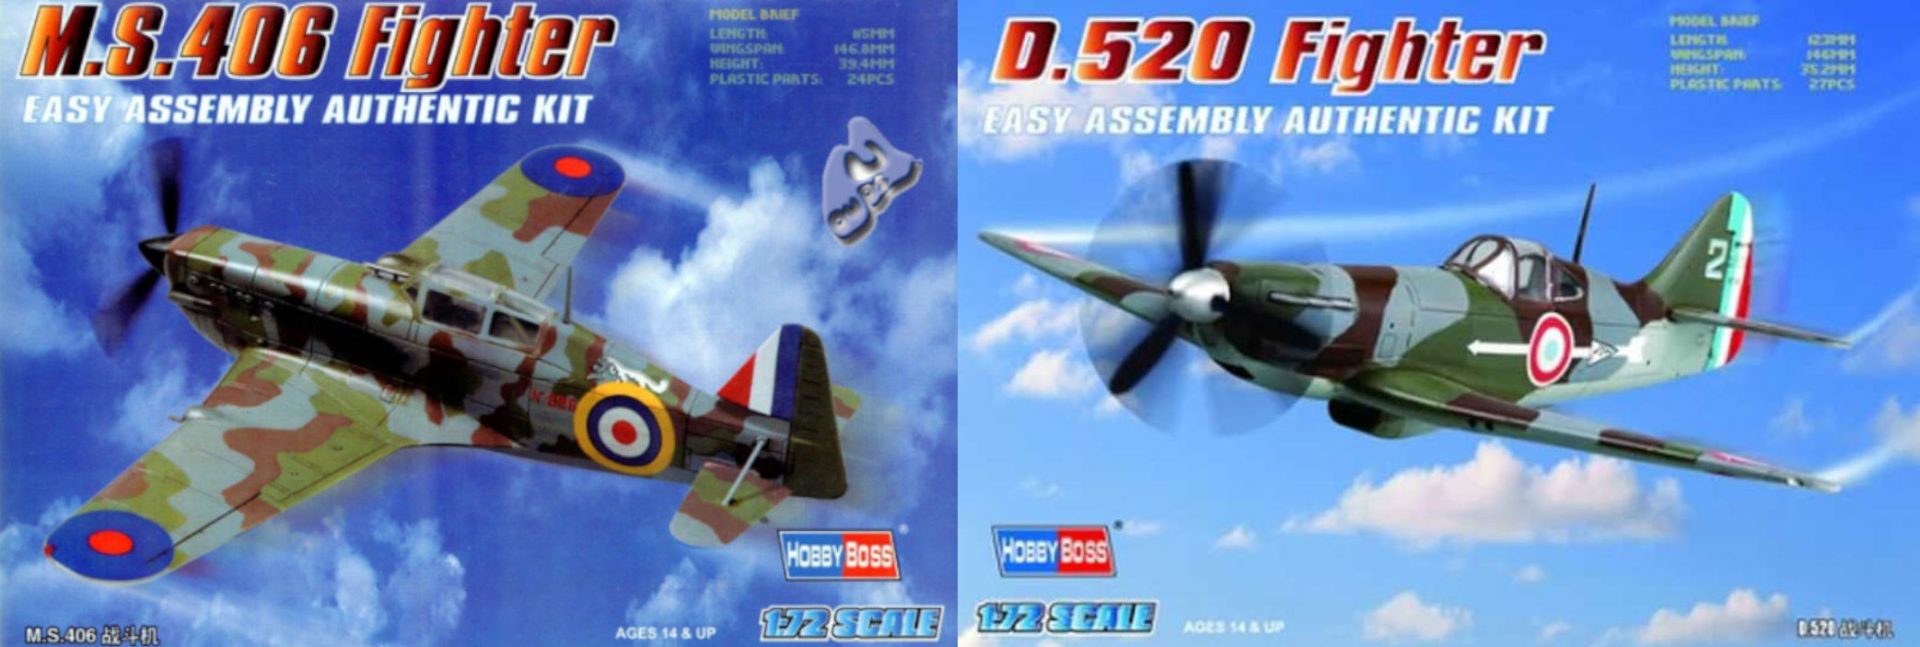
These kits are not much different from earlier Hobby Boss kits, good solid moulds that capture most of the detail of the original aeroplanes, not as delicate as the Hasegawa kits but a great deal cheaper and somewhat better and a bit cheaper than the old Heller/Smer kits, if you can find them. The only even halfway serious problem with these kits is a bit of a gap where the fuselage meets the wings and the fit of the cockpit canopies. In everything else the fit is accurate and positive. You could call these a delight to assemble, if the assembly process took that long. Talk about coming early, but I suppose that is why many people like these kits, you get to the ultimate pleasure without all the messy foreplay you get with other kits.
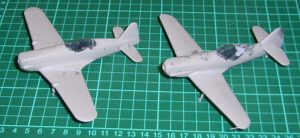
The odd thing about the decals is that the Morane Saulnier 406, which was the main French fighter in the Battle of France, comes with options for Finn and RAF aircraft. With their usual forethought, the French painted the interiors of their aeroplanes very dark grey blue which was almost as good as just painting the interiors black to disguises the fact that there isn’t much in them. After I’d spent half an hour (which was as long as I could make the pleasure last) pn assembly I left the more of less completely assembled kits to set overnight.
DAY TWO
I’ve been collecting decals for models of French aeroplanes for some time. A Carpena sheet offered an option for the Dewoitine 520 in early Vichy French navy colours but I discovered that the only decals I had for a Morane Saulnier 406 was for a Finn version on an AML sheet of various Finn aeroplanes.
The only thing that was standard about French aeroplanes at the beginning of World War Ii was that the underside colour was light blue grey and the upper surfaces were darker blue grey, khaki and dark earth. Unlike British and German aeroplanes that were painted to a standard camouflage pattern, every French aeroplane seems to have had its own individual pattern. (I assume this was done to upset tidy minded German pilots who would be put off by the way in which the French showed such flagrant disregard for order and system. It doesn’t seem to have worked.)
Some modellers might be confounded by the exact shade of the four colours used by the French and Hobby Boss make this even more confusing (and insulting) by giving RLM numbers for the colours. (I’m so amazed by the audacity of this faux pas that I’m speechless on the subject…) The AML sheet has a table that offers alternatives in Humbrol, Gunze Sangyo, Lifecolour and Agama colours while the Carpena sheet is typically French and gives the colour by name with no equivalent in modelling colours. Fortunately I bought up a complete stock of French colours in Modelmaster when I saw it going cheap some years ago so I suffered no confusion at all. Or so I thought. So on went a coat of pale blue grey underside and left to dry overnight.
DAY THREE
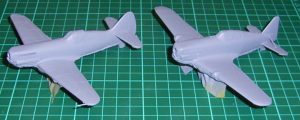
It seems as though the standard top side colour for French fighters is darker blue grey over which the other two top side colours are painted. So, after a little time spent in masking the underside colours on went a coat of darker blue grey and the little fighters were set aside for another day.
DAY FOUR
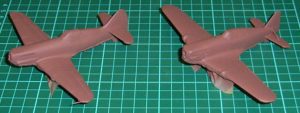
When I sat down to do the masking for the next top side colour, dark earth, I discovered that neither of these fine little French fighters followed the convention of laying down the earth and green coats over the blue-grey and that neither of them had a darker blue grey top coat. So I sprayed both with an over all coat of French dark-earth and let them dry.
DAY FIVE
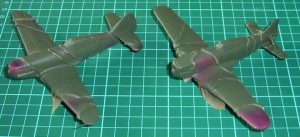
This was not a particularly exciting day. Using Blue-tac and Maskol I masked those parts of the top surface that were to remain dark earth and gave both models a coat of khaki.
DAY SIX
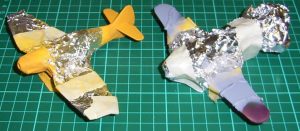
There are some days when you wish you hadn’t got out of bed. After peering at the drawings for the Finn aeroplane I came to the conclusion that there were a few areas of top side blue grey after all. This led me to double and triple check the Dewoitine’s camouflage but no, it didn’t have any top side grey so I could progress to give the Dewotine it’s first taste of that dreadful yellow nose and tail they had to bear after the Armistice. It seems that in the early days of the Vichy government directions for applying the yellow and red markings were not clear so there was lots of variation before the Germans imposed their tedious Teutonic ordered ways on the carefree French. There was no way of getting away from the large areas of yellow but at least the red stripes to follow would be more amusing. At the same time I had also to give the Finn fighter another coat of top-side blue grey before letting everything dry overnight.
DAY SEVEN
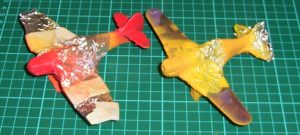
It took hours to get the masking completed for the red stripes on the Vichy Dewoitine and about three minutes to do the painting. Sometimes modelling reminds us about the virtues of patience and perseverance. The same could be said for the amount of masking required to give the Finn Morane Saulnier its yellow nose and tail. After those few moments of rewarding pleasure, the rest of the day passed doing something else while the paint dried.
DAY EIGHT
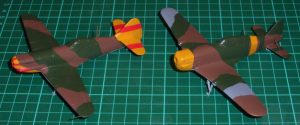
The day of revelation when all the masking came off. There’s always those few minutes of terror as you try to get the masking off the undercarriage without breaking anything but it all went rather well and looked pretty good. I’m no fan of the Vichy markings but they do give the Dewoitine a certain ‘je ne sais quoi’ that I’m sure the French would rather not have known. After a few touch-ups here and there to take care of any tiny defects on went a coat of gloss varnish ready for the decals when it had dried.
DAY NINE
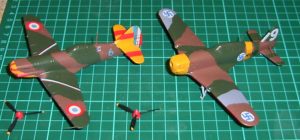
Decal day at last. Joy-oh-joy! One of the things I like about after-market decal sheets is that they are usually fairly easy to use and the instructions are a lot more precise than with many kits. The only thing a little unusual I did was to use the kit decals for the rudder tricolour as a ‘foundation’ for the kit decals that are usually a little thin and let the underlying paint colour show through a little. This proved not to be entirely bright because while the kit decals more or less match the shape of the Dewoitine tail the Carpena ones do not and the difference in shades between the kit decal and Carpena decal’s blue and red were a little too evident. I solved this, more or less, with a few slivers of red and blue decals from the Carpena sheet to cover the blemishes.
DAY TEN
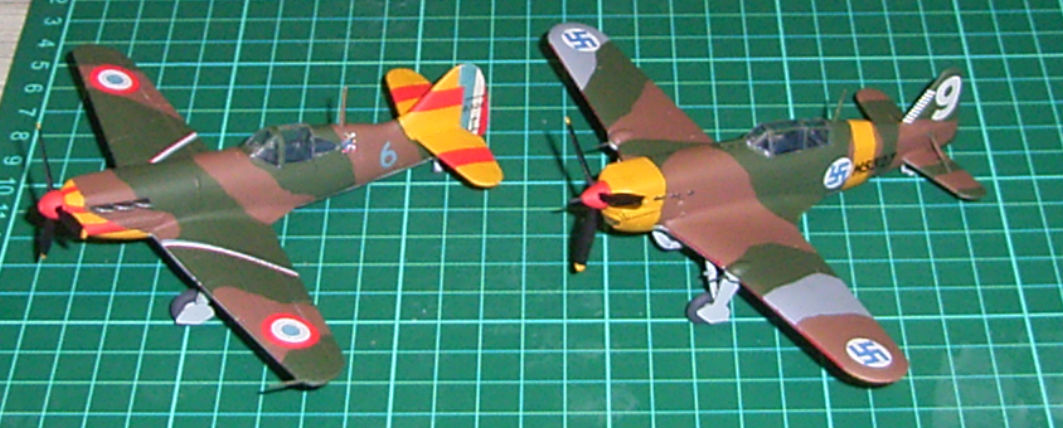
With all the decals nicely set it was time to put on the final coat of paint, good old Dulcote, to tone down the gloss surface and seal the decals. When that was nicely dry – and Dulcote seems to dry in a few hours – all that was needed was to unmask the canopies, stick on the propellers, wheels and undercarriage doors (the doors on the Morane Saulnier look as though they might be on back-to-front but the kit was very insistent that went this way) and Voila! Two delightful little French aeroplanes. I’m so happy with these that I’ve ordered a few more to make into other versions from my friendly local hobby shop.
Leigh Edmonds
November 2007
