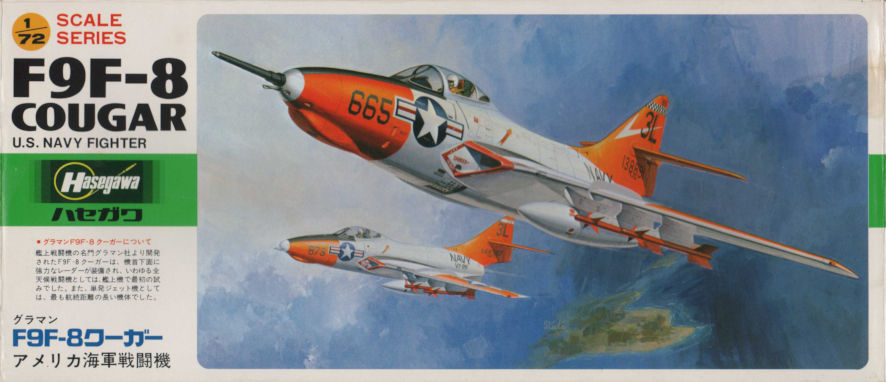
I don’t know about you, but sometimes I want to make something simple that just falls together and doesn’t require a difficult paint scheme. Thus it was that I decided to make something by one of the main kit making companies, and something flown by the US Navy. Almost at random I chose the Grumman F9F-8 Cougar. The Cougar is not one of my favourite aircraft because it looks wrong with swept back wings attached to what was once the elegant early straigt wing F9F Panther. However, when I looked in the box I saw it had markings for a Blue Angels aircraft and that suited my purposes exactly.
Another reason why this kit interested me was because I had recently seen that SMS were offering Blue Angles blue and yellow in the Premium lacquer range. I wanted something to try them on and here was the opportunity. So I don’t keep you in suspense I can tell you that these paints performed superbly as usual, despite a little operator error.
You will not be surprised to read that this kit went together like a dream. It is an old kit, dating from around 1980 which makes it (‘gasp’) over 40 years old. So it is lacking in much of the sophistication of more recent kits but it is a good honest and accurate kit which goes together with no real challenges. There is a gap between the lower fuselage and wing which, like one or two other spots, needs some filler, but it’s nothing worth commenting on. There were, however, three or four aspects of the kit that gave me trouble.
The first is in the cockpit. There is no raised detail, all the instrumentation is provided on decals, which was probably very advanced in 1980 but isn’t really now. More a problem was the ejector seat which looked very generic and might have been a blooby Martin Baker seat. However, research showed that in the short period that the Blue Angels flew the F9F-8 it was probably fitted with a Grumman designed seat which looks quite a bit different. Unsurprisingly there are no aftermarket ejector seats of this design so I sorted through my spares box and found a seat that looked more like the Grumman seat than the kit provided. After a little modification and the addition of a suitable handle it became a reasonable replica of the real thing so in it went and the cockpit was sealed up.
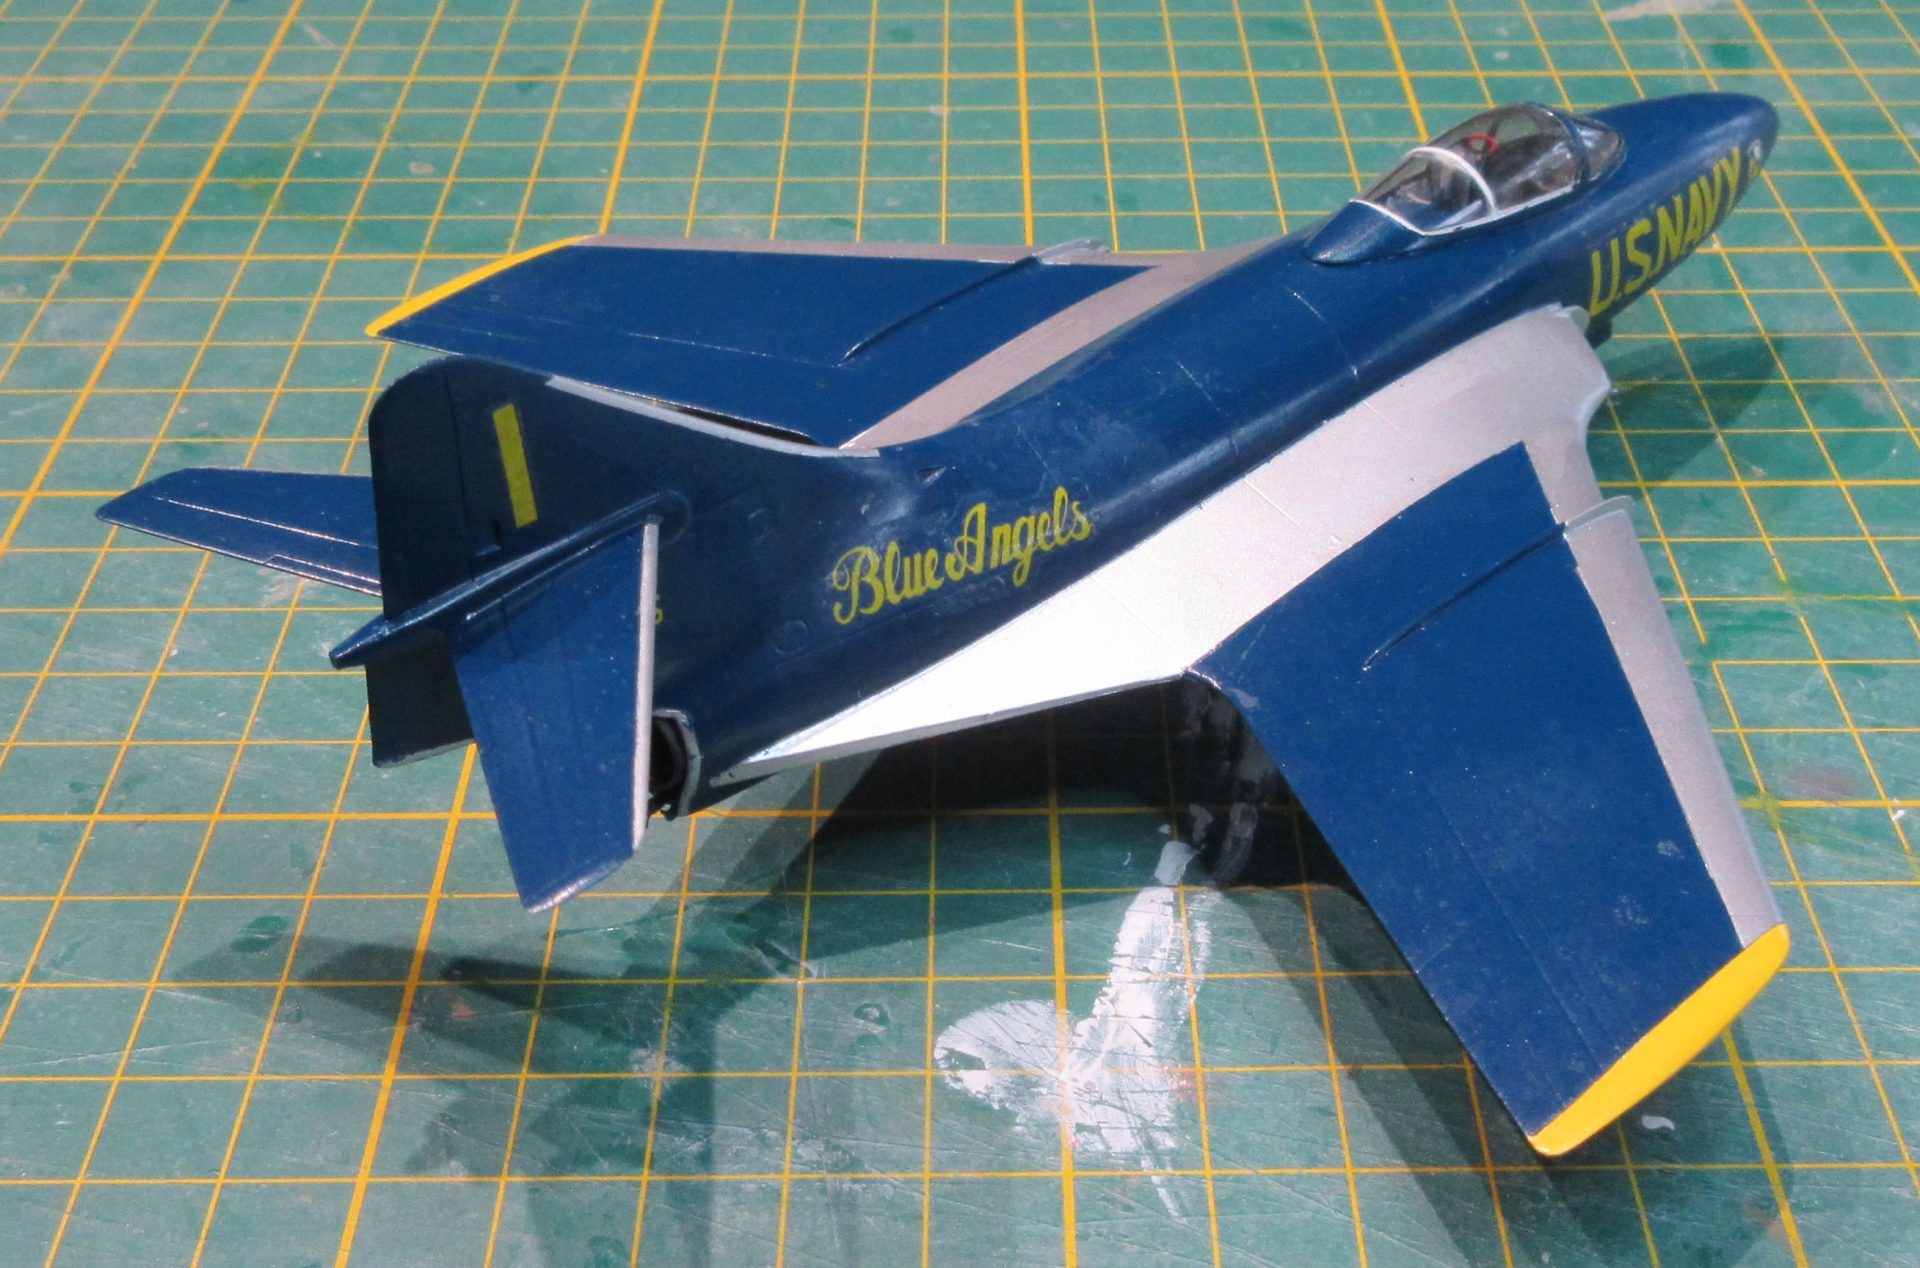
A little detail that I could have lived without were the speed brakes which were nicely moulded holes in them that go into a space behind the nose undercarriage door. I wanted them closed but the kit wanted them open and put up quite a struggle, which resulted in many of the holes became filled in with glue or filler. In retrospect it might have been smarter to make them in the open position to avoid that problem
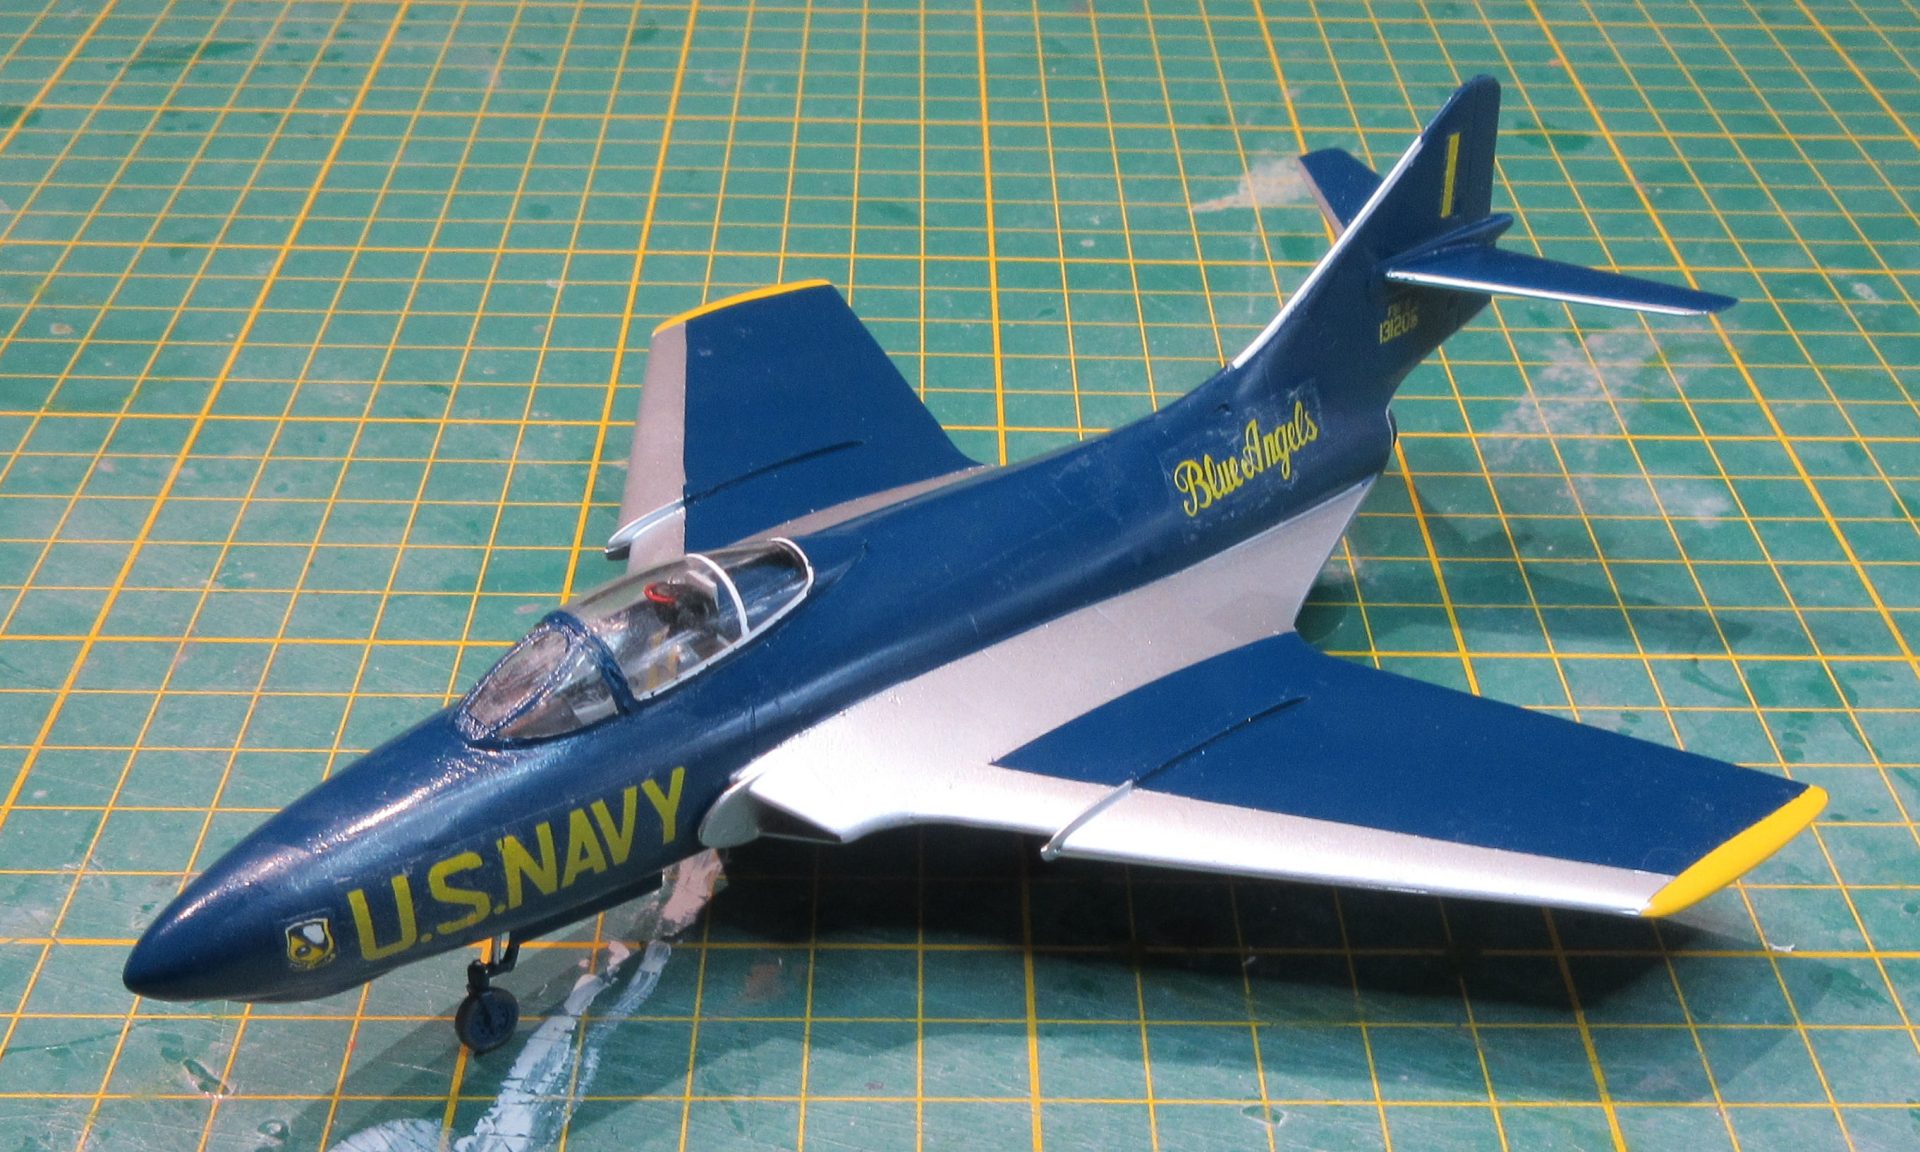
With all that done it was time to start painting, beginning with a coat of Tamiya AS-12 to check for blemishes which would be very visible with the gloss blue finish. The Blue Angles F9F-8 has large areas of polished aluminum as well as the blue so I started checking where they went and discovered, to my horror, that it might have been a good idea to look at the instruction sheet more carefully because the intake splitter plates on Blue Angles F9F-8s were smaller than the standard splitter plates. If I had looked more closely I would have noticed that the instruction sheet mentions this and says what to do about it, but now they were firmly attached and the deed had been done. Fortunately I had a second kit of the Hasegawa F9F-8 so I had a look at it and, sure enough, on the reverse side of the kit’s splitter plates there is a tiny line telling where to conduct the surgery to reduce them to the correct size and shape. Using that I made a little template and used it to conduct some delicate surgery to reduce the size of the plates on my model, being very careful not to damage the plastic on the fuselage sides underneath.
While this was going on the nose undercarriage wheel, which is quite fragile, broke off and disappeared into the voracious maw of the carpet monster. After a lot of time spent crawling around on the floor looking for it – and this is become more challenging as I get older – I was about to give up and take the part from the other kit when I finally found the part lying in plain sight where I should have seen it straight away. I can only assume that the modelling gods were having a good laugh at my expense.
After these small trials it was time to finish the painting. I was not entirely happy with the result which was a tiny touch grainy rather perfectly smooth and glossy. I think this is due to the very cold weather we’ve been having so I lightly sanded back that coat of paint and applied a second coat from a very slightly thinned paint in a bottle that had been warmed to counteract some effects of the cold. It worked a lot better but is still not quite perfect.
With the not quite perfect finish completed I unmasked everything and discovered several blemishes and a few places where paint has got in under the masking. To fix this I masked all the blemishes and used my Badger Sotar, which is great for tiny detailed work, to deal with them. Off with that masking and I was a whole lot happier and ready for decals.
I had my suspicions about the forty year old decals but could not find any aftermarket replacements, so was stuck with them. A test of one of the other decals on the sheet showed that they might disintegrate if you looked at them wrong, so I applied a coat of Aquagloss which usually takes care of many problems and gives decals a sheen similar to that of the gloss paint. On this occasion this process did not appear to work very well so I applied a second coat which resulted in a slightly rough finish. However, it was too late to turn back so I had to use them.
In the end the ancient decals settled down fairly well. The second coat of varnish made them want to curl upwards so lavish coats of Microsol were necessary to encourage the decals to flatten out, and also some dobs of thinned Aquadhere in very stubborn areas. As a result the quality of the nice paint work I’d achieved was somewhat spoiled and the finish is not what I had hoped for.
There were a couple of things I could do to rectify the situation, including completely stripping the model and repainting it in a standard US Navy scheme of the time, but then I’d cut back the splitter plates to replicate a Blue Angles F9F-8 so what could I do about that. After pondering the options I decided to leave things as they were. I did not have the flawless little Blue Angles aircraft I’d hoped for but it doesn’t look too bad if you don’t look too closely. This, sadly, seems to be the fate of many of my models.
Leigh Edmonds
August 2022

