Japan’s rapid expansion into the Pacific during the early stages of the Pacific War led to the need for a fighter that could give close air support to amphibious landings in places where Japanese forces didn’t have any landing strips. Mitsubishi put floats on their Zero fighter but Kawanishi was asked to design a new floatplane fighter for the role. The prototype had contra-rotating propellers to minimize the on-water torque of the powerful engine but problems with these propellers led to the simpler arrangement in the production fighters.
The resulting aeroplane was a big, powerful looking but still elegant aeroplane. The prototype first flew in May 1942 and was handed over to the Imperial Japanese Navy in August 1942. Production fighters were delivered from July 1943 but it wasn’t declared operationally ready until December 1943. By then the tide of war had turned and instead of leading the attack these aeroplanes were reduced to fighting defensively, a role for which they were not really suited.
Only a total of 97 K1K1s were therefore produced. Despite this the N1K1 had an important impact on the development of Japanese fighters as its performance led the authorities to ask Kawanishi to develop a version with wheels and that became one of the best Japanese fighters in the final year or so of the war.

I seem to be a sucker for High Planes kits, this is the fourth or fifth kit of theirs I’ve made and I’ll no doubt add more. It’s partly because they are generally fun to make and because they are usually unusual subjects. The Rex is not exactly unusual, but it makes a change for the usual Japanese Zekes, Tony’s and stuff like that. The box top isn’t flash and the instruction sheet is usually fairly basic, but for a limited run injection kit it is pretty good, if you know what you’re doing with it.
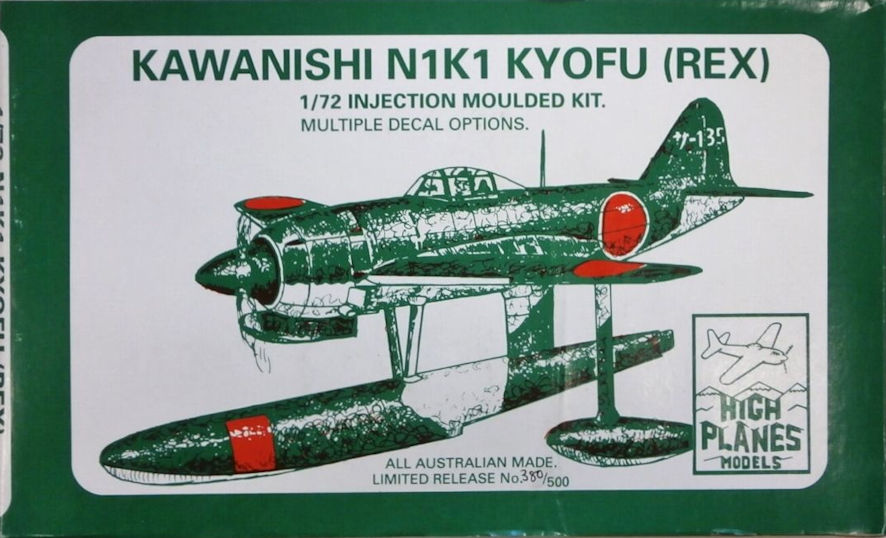
I seem to recall seeing a Hasegawa kit of the Rex, but not for some time and not terribly cheap. The High Planes kit probably isn’t very common either, I see on the box cover that there were 500 copies of this kit so it might be a bit hard to find. But High Planes kits are usually accurate to a fault and this lives up to that tradition so far as I can tell, there isn’t that much information about Rex’s readily available.
The instructions really don’t help because, apart from some written commentary and a side view drawing, they don’t give any help in how to put together the pieces. For example, the cockpit is quite detailed with a nice little instrument panel, seat and so on but the sheet doesn’t give you the faintest idea how they all go together so it’s just a matter of making an educated guess. Anyhow, as with most detailed cockpits, you don’t see much of what’s inside unless you open up the canopy.
Speaking of canopies, High Planes kits come with very nice vac-formed canopies that could be cut up so you could make the model with an open canopy, but you know how I feel about such things.
The pieces of the kit are just what you expect from a limited run kit. They need to be tidied up a bit before you can use them and there aren’t any locating tabs so you have to be very careful in making sure that everything lines up properly. I made little locating pins to ensure that the wings and tail planes have some strength in the joins. The floats also have to be carefully lined up with strong joins. The only part of the kit that really didn’t seem to work was the propeller; you get three separate blades that glue onto a base plate and then slip into the spinner but I couldn’t get it to work so it was off to the spares box again. (If you don’t have a box of all the bits and pieces off kits that didn’t quite get finished it’s about time you started one.) The instruction sheet give no indication about how the two forward struts for the central float fit but the box illustration shows how that goes.
The kit also supplies the beaching gear with little wheels and all, but the mouldings really needed a lot of work to make the thing look anything worthwhile. I debated whether I’d get the kit parts up to scratch or whether I’d make the beaching gear from scratch and eventually decided that both options were too difficult. Anyhow, the instructions give no hint about what colour should be.
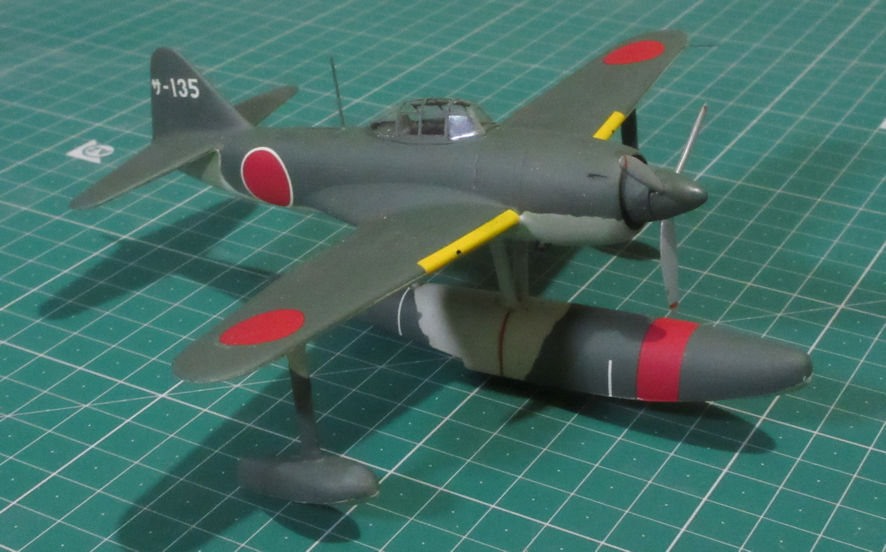
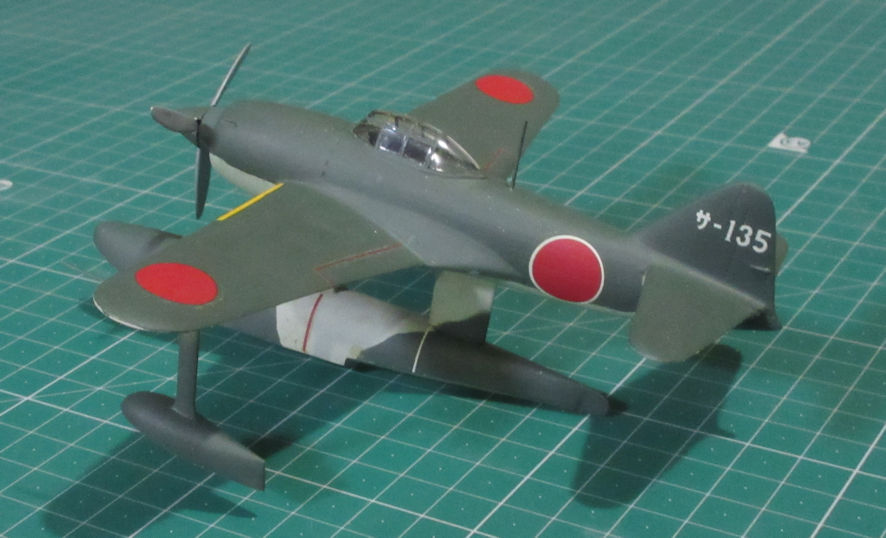
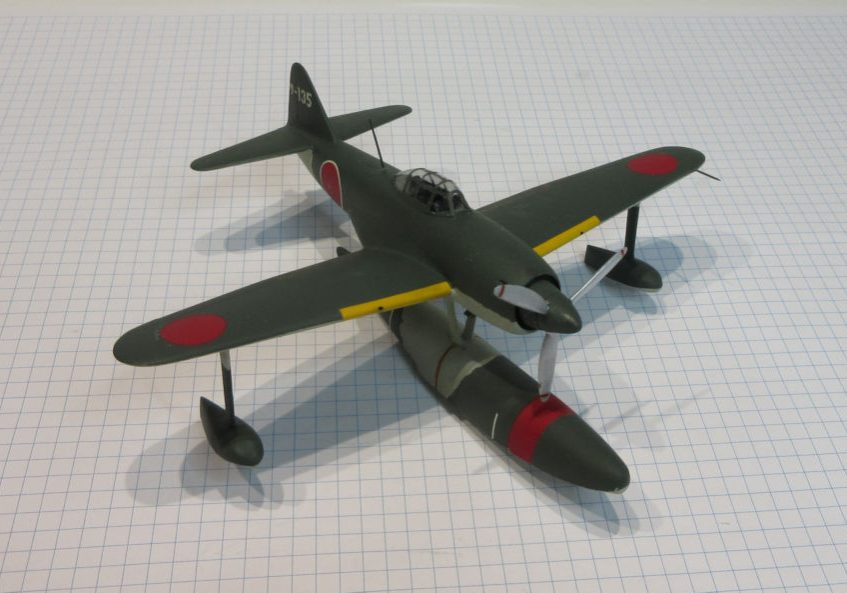
Kit colours are standard Imperial Japanese Navy colours, from Aeromaster. Then on with the simple decals from the very nice little sheet, and its all done. The end result is a nice looking little model of what is a ruggedly handsome aeroplane.


Leigh Edmonds
November 2000
