The experts are not quite sure why North American designed and built the Navion. Some think it may have been as a way of keeping together the team that had designed the Mustang by giving it something to do before designing North American’s new jet fighters. Others think that it might have been North American’s attempt to enter the light executive transport market. Either way, it was not a financial success for North American which managed to dispose of the Navion to Ryan. It was, however, very popular and at one stage North American was turning out ten every day. Eventually over 2,600 were made and many are still flying today in private ownership.
A year or two back I tried to make the little Anigrand 1/144 kit of the Navion. I liked the look of this aircraft but the modelling process did not go well and it ended up in the bin. A week or two back I was looking for something simple, easy and stress free to build after having made some relatively complex airliners and this Valom kit of the Navion caught my eye. I should have known better than to think it would be an easy build.
Really, the majority of this kit is not difficult, it’s the details that cause the problems. I would have made life easier for myself if I’d looked up a couple of build reviews on the interweb before starting but I didn’t, of course. Added to this is the problem that the people who designed the plastic parts, the people who designed the etch metal and the people who produced the instruction sheet did not seem to be on speaking terms when they made this kit.
For example, the instruction sheet says that all four seat have over-the-shoulder harnesses but the etch only provides two sets of those. If you read the reviews you learn that the Navion only had lap seat-belts so both the kit and the instructions are wrong. The etch and instruction both say that the pilot controls are a fighter style control column and you get etch parts for that. However, it turns out that the Navion had airliner style yokes attached to the instrument panel and while the plastic parts include the yokes there is no mention of them in the instructions or any way to attach them to the instrument panel. I could go on, but you get the picture.
After the cockpit is assembled and painted the major assembly is fairly straight forward, if you take your time, do a lot of test fitting and then use a reasonable amount of filler and sanding. The nose cowling is a bit smaller than the rest of the nose and the cabin canopy is a bit narrower than the fuselage too. Both need fixing.
The kit provides you with an etch box for the undercarriage bays but if you go to the trouble of folding it to use I can’t see how it is going to fit and, just as importantly, there is no indication on the brass about where the undercarriage legs should go. There are, however, little indentations in the wing top panels for the undercarriage legs. (Again a case of the kit designers not talking to each other?) Reminding myself that this was supposed to be a quick, easy and stress free build I ignored the etch brass entirely.
If you’re making this kit, don’t forget to get as much weight as you can into the nose, and then a bit more. Otherwise this model will be a serious tail sitter. I used some Three Green Flexible Nose Weight and it worked, but I pushed as much as I could into the nose just to be on the safe side. Finally I attached some of the fiddly parts, including the undercarriage and exhausts and it was then time to think about painting.
The first thing about painting is masking, the cabin windows in this case. Have I told you how much I’ve come to hate masking. It is certainly one of the great necessary evils of masking. The first paint was a coat of SMS black surfacer, mainly for the cabin roof. I don’t know what colour it was in real life but it’s a fair bet it looked fairly dark in there so black seemed appropriate.
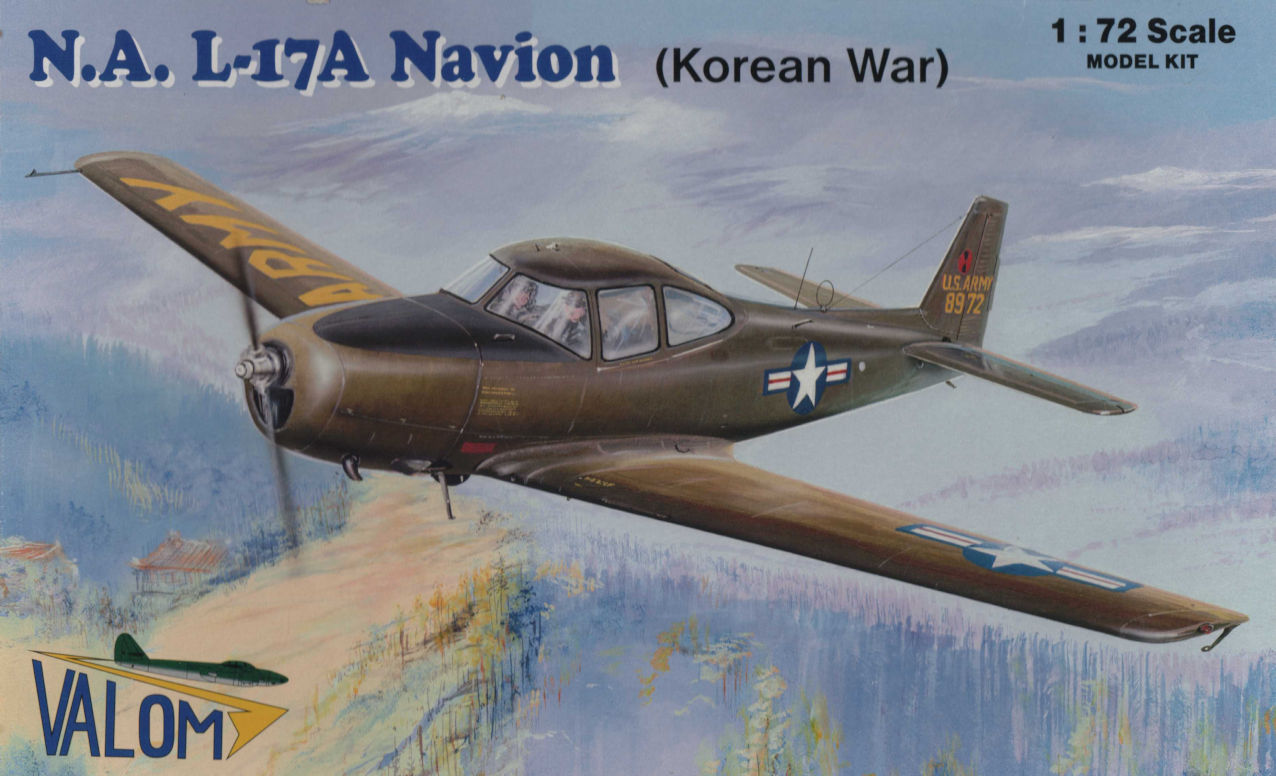
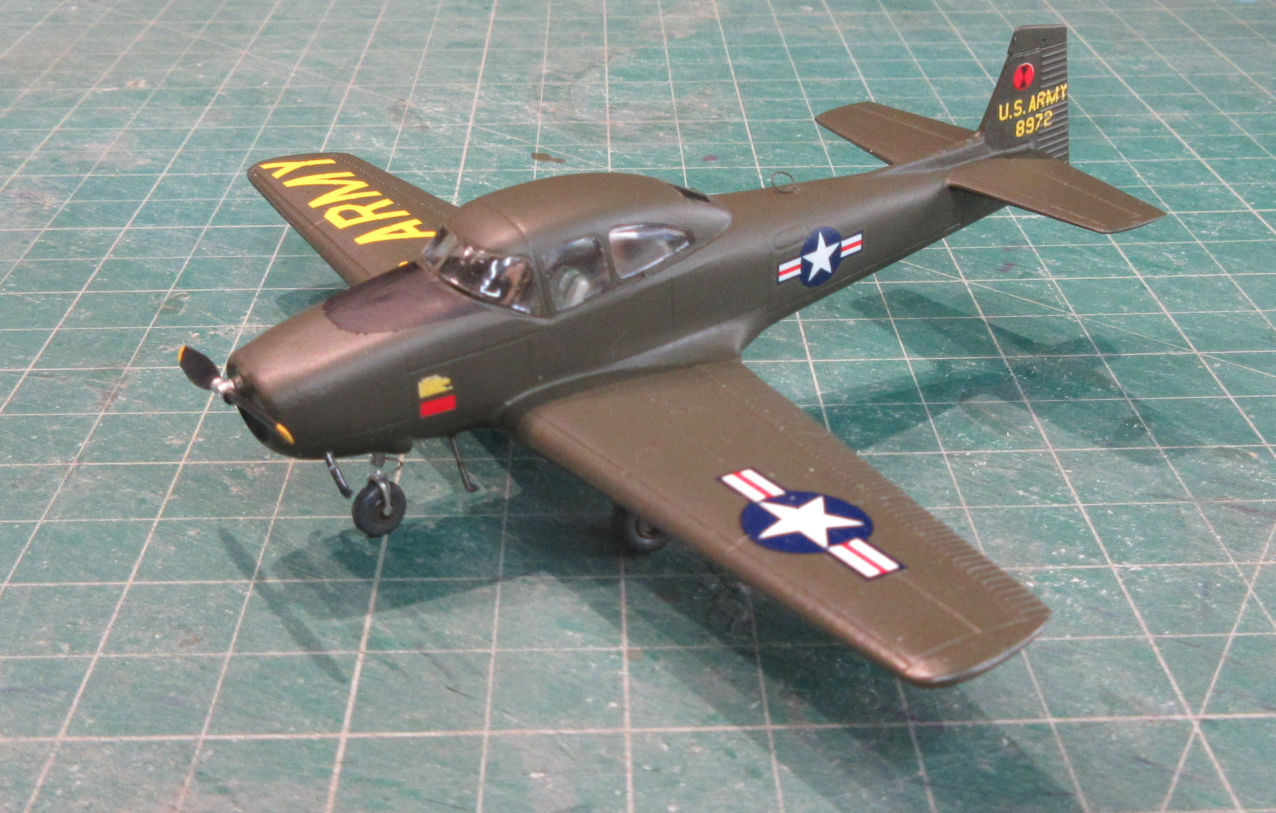
The kit offers two colour options, one is all-over drab olive and the other is an eye watering grey and drab olive scheme with nothing to recommend it except heartache. I happened to have a couple of bottles of AK’s Dark Olive Drab on hand (which, incidentally, are not quite the same shade), which was just what this model required. Boyohboy, when lacquer paint is having a good day there’s nothing like it, and that was one of those days. One coat and the job was almost complete except that the semi-gloss finish showed up a couple of rough spots that I buffed up before applying a second coat.
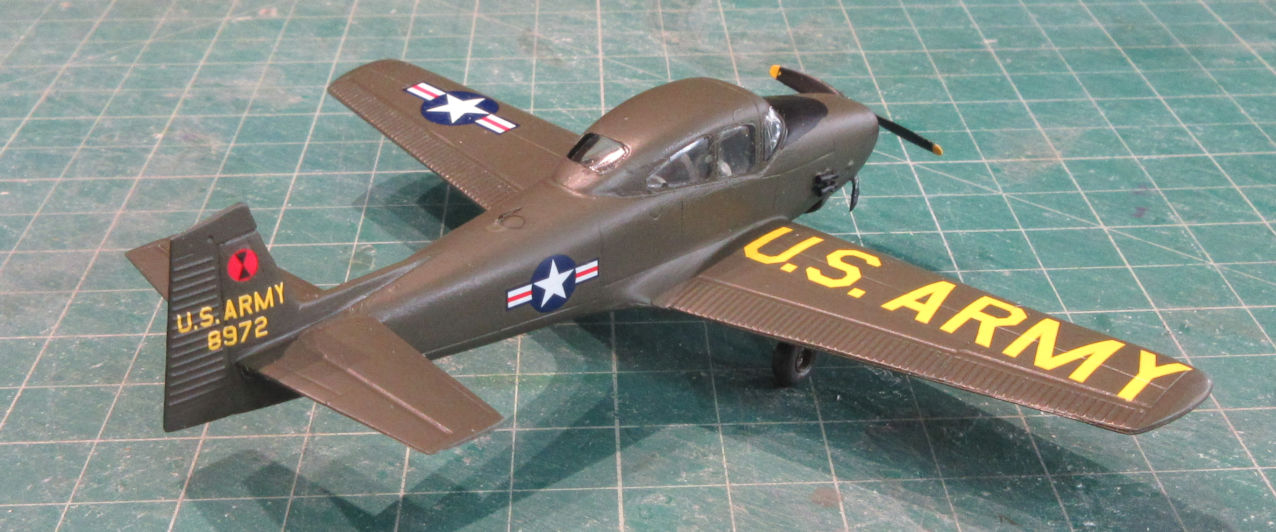
The kit decals were lovely, nice and thin, easy to position and they settled like a dream into the panel lines. They were a bit glossy but that wasn’t a problem. Then there was a snag, the ‘U.S. ARMY decals that goes under the wing was too long. I took the easy way out, cut the decals up to leave out the dots and reduce the space between the ‘US’ and ‘ARMY’ so it fitted. I could not find out whether the dots should be there or not. They aren’t in the kit instructions but they are on the decal sheet.
Time to drop in a note about research here. Usually one can go to the interweb and find some useful photos of an aircraft to guide you in getting the details right. No so with the Navion for which about ninety-nine percent of the photos were of restored and privately owned aircraft. Even the ones that have been restored with ‘authentic’ colours are as likely to be correct as Valom. Thus, being faced with the option of dotting or not dotting the US ARMY logo on the top wing is fraught with possible error. In the end, after some time trying to find an authentic photo, I decided that it was simpler to leave the dots on than to cut them out. ‘Easy, simple and stress free’, I reminded myself.
After the decals had set I used superglue to attach some of the tiny under-wing parts that I had not applies so far for fear of knocking them off while I applied the decals. I’m not quite sure why I did this, they are barely noticeable when viewing the model from most angles but they were there so I guess I felt obliged to use them. You will notice, of course, that the foot step doesn’t go behind the wing as the instruction sheet suggests but forward of it where there is a little hole waiting for it. Similarly, there is a little etch pitot tube that the instruction say goes in the leading edge of the starboard wing whereas, so the experts say, there wasn’t one on this model of the Navion.
Getting towards the end I hand painted the newly attached underwing bits the same dark olive drab and then gave the whole model a coat of SMS flat clear. This was because, while I was more than happy with the level of gloss of the lacquer paint but the decals were too glossy by contrast, so something had to be done. Some semi-gloss clear lacquer would have been nice, but I didn’t have any and I was looking forward to getting this little trial-by-torment off my bench, so I used what I had to hand.
Finally, time for the final touches of paint here and there, on the undercarriage legs, the radiator grill and so on. Then off with the masking and on with the wheels and propellers and it’s completed.
It’s a nice enough little model but probably more trouble than it’s worth. When you open the box on a Mach 2 kit you know you are in for a great deal of unhappiness and hard work, but also that a decent model can be made from it in the end if you have the skill and stamina. The trouble with Valom kits is that you take the lid off the box and, on gazing on the content, you think that it won’t be too difficult to make. In its own way a Valom kit is just as fiendish as a Mach 2 kit, but it tricks you into believing it will be easy by the slick presentation and nice mouldings. There should, however, be a big red warning put on the box just to let unwary modellers know what they are letting themselves in for when they venture forth on one of these kits.
However, if you want to make a model of this delightful looking little aircraft the Valom kit is the only real option. If you do make it I’m sure you will end up creating a lovely little model, but don’t say I didn’t warn you about some of the trials and stresses along the way.
Leigh Edmonds
April 2008