Due perhaps to its reputation which is a hangover of its days as a kit maker on the wrong side of the Iron Curtain, the name Kovozavody Prostwov does not inspire in modellers the same feeling of confidence that some other kit makers enjoy. Those days appear to be behind this company and the most recent Kovozavody Prostejov kits I’ve acquired have been good kits, easy to make with few problems to haunt the experience.
Kovozavody Prostejov now offer quite a range of little World War I fighters that compliment and, in some cases, are a step up from earlier kits of this generation of fighters. They remind me of kits of aircraft from this era released in earlier times by companies such as Roden, Toko and Eastern Express. They all have a similar feel to them which makes me wonder if the design or the moulds might not all originate from the same source. Whatever the case, we now have an extensive range of delightful World War I aircraft to work with if we want to exploit that era of aviation and I have my sights on this company’s recently released Airco deHavilland DH-5, the fighter with the reverse stagger to the upper wing.
A couple of months ago I thoroughly enjoyed the experience of making this company’s Sopwith Triplane, despite construction problems that were entirely my fault. This inspired me to open up the company’s Roland D.II kit which was released at the same time. It is as delightful to assemble as the Triplane with fine, well moulded parts which convey something of the fragility of World War I aircraft. Any problems I had with this kit were, I think, strictly builder induced.
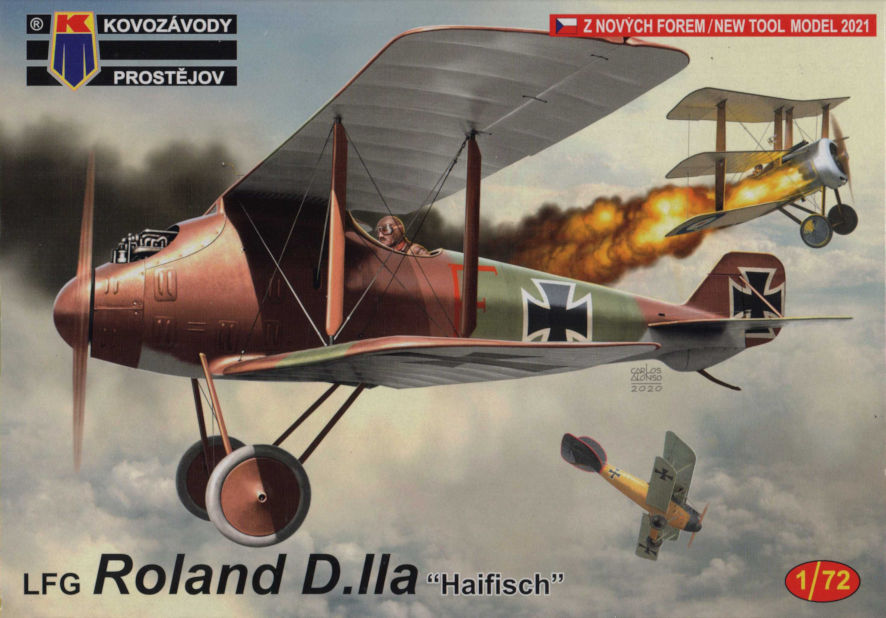
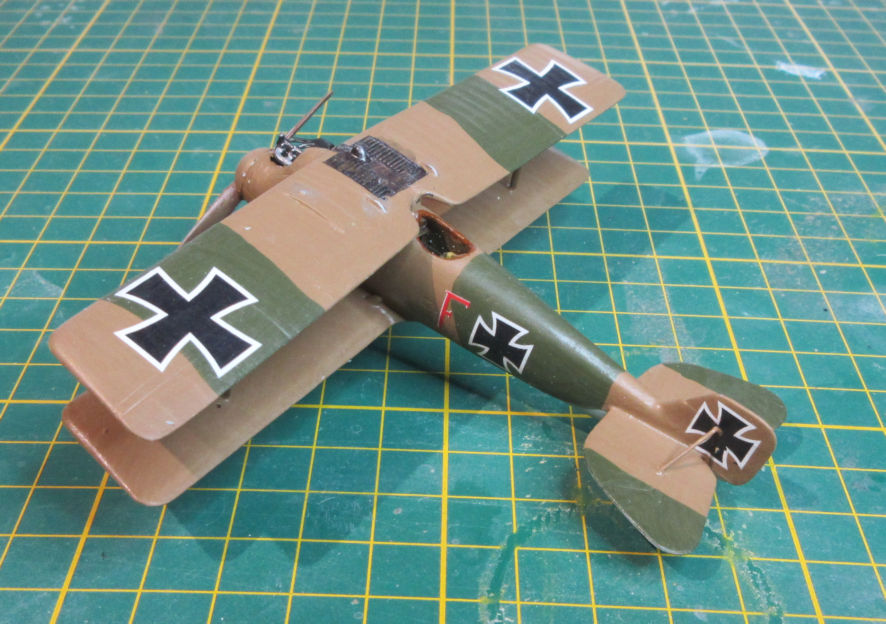
The Roland D.II was not a particularly successful fighter, its plywood construction making it light and strong but the forward vision was very poor and its manoeuvrebility was heavy. Only 300 were manufactured and their less than sterling qualities meant that they served mainly on Germany’s eastern front towards the end of the war. The things that makes this an interesting model is its appearance with the fuselage filling in the entire space between the two wings. The rationale for this was probably to reduce drag, and it was a fast machine, but the poor visibility was a serious drawback. However, this feature makes this an unusual looking aircraft and thus a fitting subject for a model kit.
No doubt other modellers, more detail oriented than I, will have fun with the cockpit which is more visible than on many World War I fighters. However, for my purposes the cockpit details provided in the kit were quite adequate with the exception of the seat belts which are provided on the decal sheet. I replaced them with some simple belts made from masking tape of an appropriate thickness with dobs of silver paint to suggest buckles.
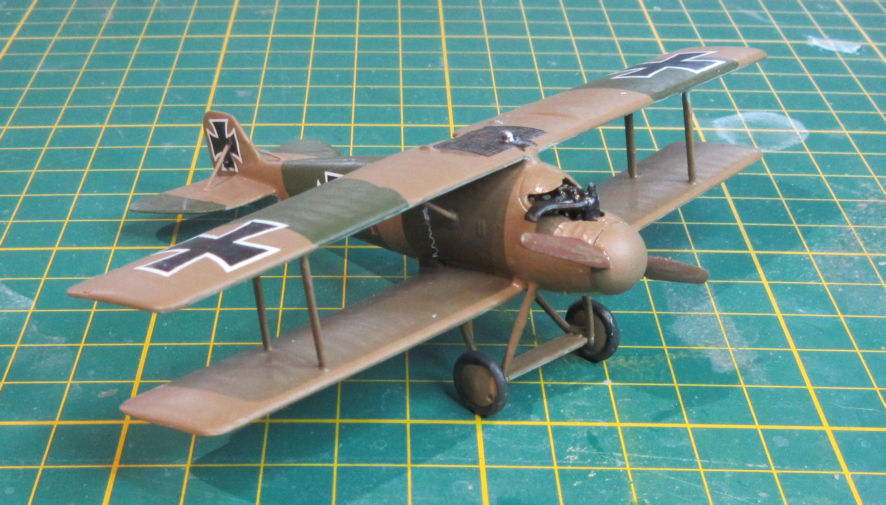
At the same time as making the cockpit it is necessary to make and paint the engine which is visible at the front of the aircraft. If you are feeling lazy you need only paint the front half of the engine because that is all that is visible. When it came time to instal the engine and glue the fuselage halves together I couldn’t make the engine fit comfortably and had to conduct some major surgery to the part of the enging hidden under the cowling to make sure that the part fitted. This might be a fault with the kit but, knowing my modelling skills, that might be another thing that I got wrong.
Apart from that everything went together smoothly until it came to the undercarriage. As in the case of the real thing, the rear undercarriage legs stick through the lower wings to attach to the fuselage but the slots for the legs through the wings were not well moulded and had to be enlarged. Obviously I did not do this as well as I should have because, after I left the undercarriage parts to set overnight, I came back in the morning to find they had not set quite square, though thankfully the wings are level with the ground.
After my experience with hand painting the Sopwith Triplane with Humbrol enamels I tried it again and was generally happy with the results. Where I went wrong was in the varnish I tried using. Not wishing to use my new favourite SMS matt lacquers over enamel paint I bought a bottle of AK Interactive Satin varnish which I brushed over the model. The result was too glossy so then I tried some of the AK matt varnish I happened to have and the result was much better. However, my brush technique is not what it once was so the resulting paint job is rather too uneven if you happen to look too closely.
Getting my brush painting skills going again is something I’m going to have to do if I want to make more of these World War I models. I’m finding them very interesting and I don’t think that they are robust enough to withstand the masking that would be necessary for airbrushing so hand painting seems to be the only alternative. And after the enjoyment I had from making this Roland I can clearly see a DH-5 in my future.
Leigh Edmonds
June 2022
