So you feel like you’re not getting anywhere
(May 2020)
Some modellers make one masterpiece at a time, lavishing infinite skill and patience over every tiny detail and finishing their creations with the skill of master craftsmen. Then they spend as much time again giving it the patina that turns their model from a simple plastic scale model to a likeness of the real thing bearing the marks of time and use bestow on things. Some of them then go on to locate their creations in a base that tells a story about a moment in time which creates a relationship between the people it to a location where it was used. The result can be a work of great artistry and beauty.
I am not one of those modellers. I like sticking pieces of plastic (or resin or metal) together and applying paint to the result to make it look something similar to how the original item looked. I might have the skill and patience of master modellers but exercising it does not interest me. When those modellers go to a competition they are inspired to make even better models, I am inspired to make more models. This sets me counter to current trends in modelling which emphasize the finished item as a work of art, it is a trend that I am quite happy to look at but not to follow.
Many modellers, I suspect, have two or three kits on the go at the same time. It is necessary to give work to idle hands while glue, filler and paint is drying or while the modeller waits for a necessary component to arrive in the mail. Having more than one model to work on also means that if a modeller feels like sanding and scribing they have a model at that stage in the process or if they feel inclined to putting some decals on their model they can do that too. Most modellers might also have a model or two that they have become bored with that sits at the back of their shelf while they find newer kits more appealing.
Normally I would have five or six models in various stages of preparation, one or two on the verge of completion and another in the early stages of construction. This means that if I don’t want to have to face up to checking for seams and imperfections I can instead do some masking or some decalling. That’s the theory anyhow. This way I can usually count on having completed two or three models to a standard that pleases me every month, one or two of which are worth writing about. But that hasn’t happened this month. Sure, I have a couple of newly completed airliners that are not worth writing about at the moment and a little French fighter that was such an annoying kit that I refuse to mention it again. Then I look around my room and see that there are another ten or so models in various stages of completion, which means I’ve been busy this past month but have yet to see any finished models as a result. Of course there are excuses, or reasons, that none of them have been completed.
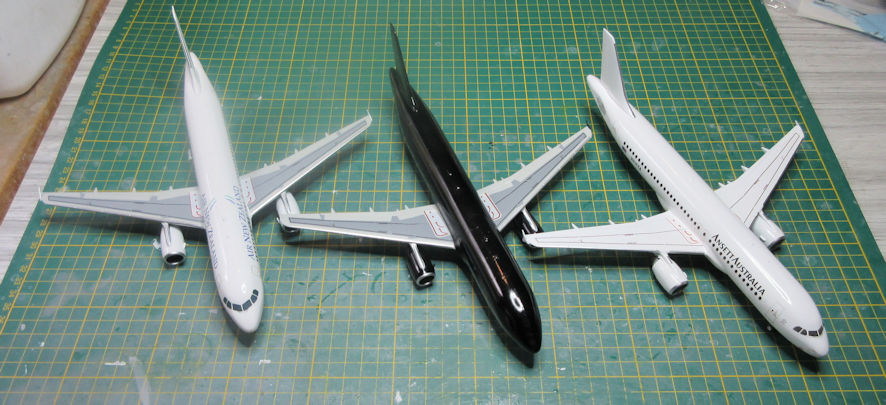
First off there are three Revell 1/144 A.320s that are almost completed but need some decals to complete them. Two simply need some decals for the tail markings but the ones that came with the decal sets were too small and I’m waiting for replacements. I attempted to fill the white spaces that should be covered with decals with paint mixed to the right shade but I failed in this process on both occasions, partly because the areas that need filling are not one single shade and new decal sheets will fill the gaps nicely to the right colour intensity. The third one waits because the decals for it that I got from my usual source were so brittle that they cracked rather than settling down well, and I’m hopeful that decals from another supplier will take a greater liking to that model. However, during the current crisis mails are annoyingly slow, so those three models sit on the shelf, waiting patiently.
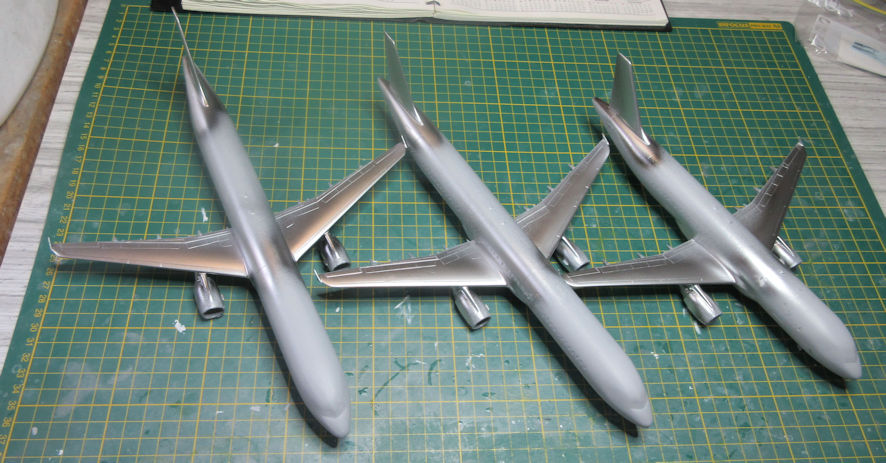
Another three models are three more Revell 1/144 airliners, an A.320 and two A.321s. They have gone through the process of construction and refinement to the stage that they have now entered the painting process. The engine pods are already painted, masked and mounted to the models and the first stage of painting, the metallic leading edges has been completed and allowed to sit for a day or two to set. Next they need careful masking, and have I told you before how much I dislike masking. So it might be a few days before I push those three models on to the next stage.
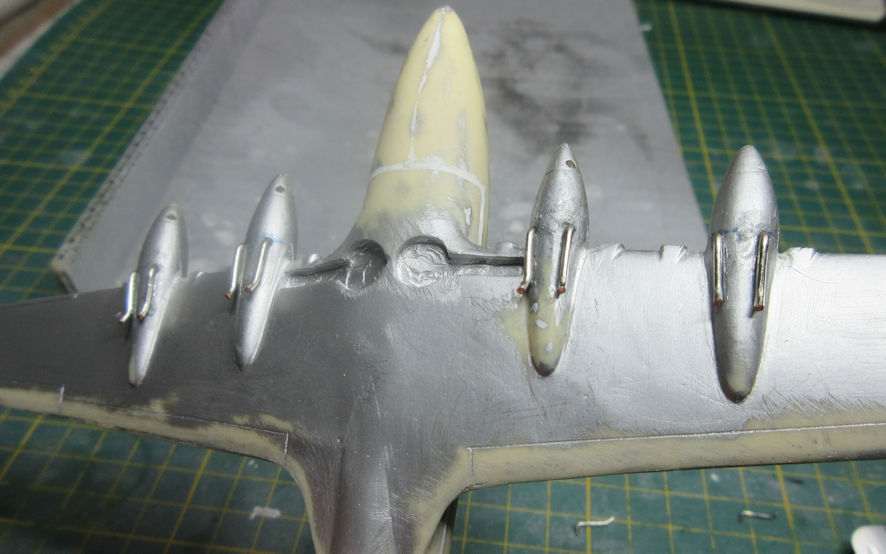
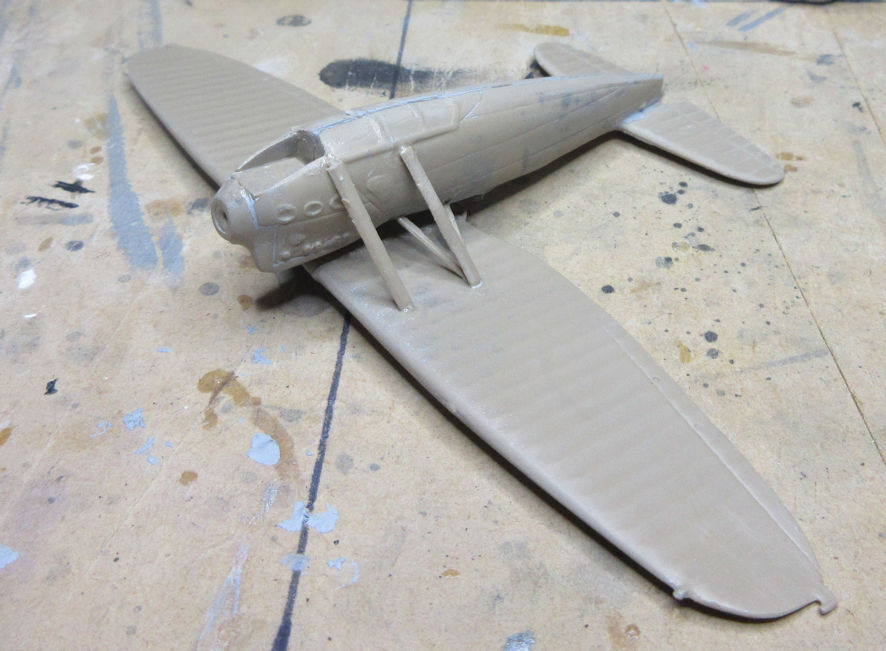
Next come three models that have all arrived at the verge of the painting stage at the same time. First is a F-Rsin 1/144 resin airliner which, being designed and built before World War II, is in an all metal finish, so that part of the process will not be difficult. I stalled on this one because it occurred to me that while the air intakes and radiators are nicely formed on this kit there were no exhaust pipes. (Such omissions are not unusual from this kit maker but if you want to make the models they offer you have to deal with them.) It took me a couple of evenings to figure out how to overcome this problem and to do something about it, and an evening of drilling holes and bending pieces of wire to replicate exhausts has now made that model almost ready for completion.
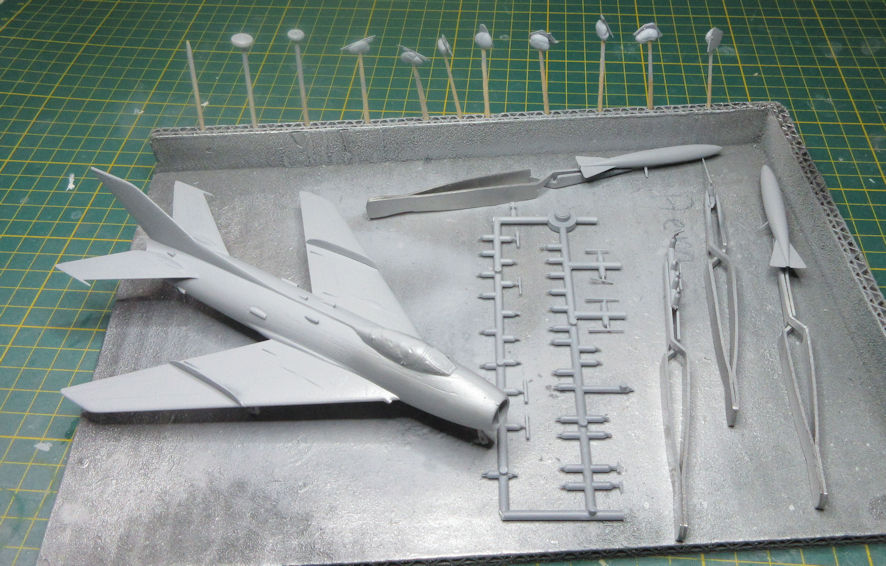
Next we have the new KP 1/72 MiG-19S which only arrived here a week ago. I’ve been wanting to make a decent MiG-19 model for many years and here at last is the kit to do it, more or less. However, having reached the painting stage, I now find that I don’t have the stainless steel lacquer paint to replicate the blast panels on the sides of the fuselage which are a prominent feature of all bare metal MiG-19s. That model now needs to wait until I can order the necessary paint and it arrives.
After that is the little Kora 1/72 Dewoitine 53 which is one of those limited run kits that emerges from eastern Europe to annoy modellers. By the standards of kits from this source this is not so bad and it amazed me by having a cockpit interior that actually fitted inside the fuselage halved snugly, until I tried to install the instrument panel as well. That was discouraging enough to set the model aside for a week or two but the delay also came because the kit offers options for models in either silver or green and silver schemes and I would have liked to make the green and silver one. However, that would have meant painting the model first and then joining the parasol wing to the fuselage, a nail biting task at the best of times and only to be attempted by geniuses when faced with a Kora kit. Eventually I decided that I would have to settle for the all silver model and yesterday went about the process of attaching the wing to the fuselage. All I want to say about that is that during the process I wished that I had more words of profanity in my vocabulary than I currently do because I needed every one of them. When a few days have past my mental equilibrium might have returned sufficient to continue with this model.
Then there is the Fokker 100 kit that sits unopened at the moment. It replaces the previous Revell 1/144 kit that I was in the process of converting to a Fokker 79, which is basically a shortened Fokker 100 with different engines. That kit ended up in my rubbish bin because, when I cut two chunks out of the fuselage of the Fokker 100 kit, I used the Welsh Models conversion kit to judge the amount of plastic to be removed. That process went very smoothly until I decided to prepare some decals for the windows of a Fokker 70, which I usually do by counting the number of windows on a photo of the real thing and creating a decal to match. Upon holding the new decal against the fuselage I discovered that it was still far too long and needed to be shortened further. A ruler and quick research into the length of a Fokker 70 confirmed my discovery. I started cutting more chunks out of the fuselage but then came across the lead weight that I’d carefully glued in the nose, lost patience with the whole thing and disposed of it. I found another kit on ebay at a reasonable price and bought it, and I’ll get around to making a Fokker 70 properly sometime soon, probably.
After that are the tiny Arctic Decals 1/144 resin kits of the deHavilland DH-86 1930s airliners which are necessary for my plans to make all the flagship airliners that Qantas flew, starting with the DH-86. (I bought two kits because I can also make the second one which was ANA’s major airliner until it was replaces by the DC-2, which I’ve already made). This is not a particularly challenging kit to make except that it lacks propellers, which is a challenged, the need to extend the tailplanes to make a DH-86 rather than a DH-86B, and the kit maker tell me that he is planning to release Qantas Empire Airways decals for this kit later in the year, so there’s no rush on that one.
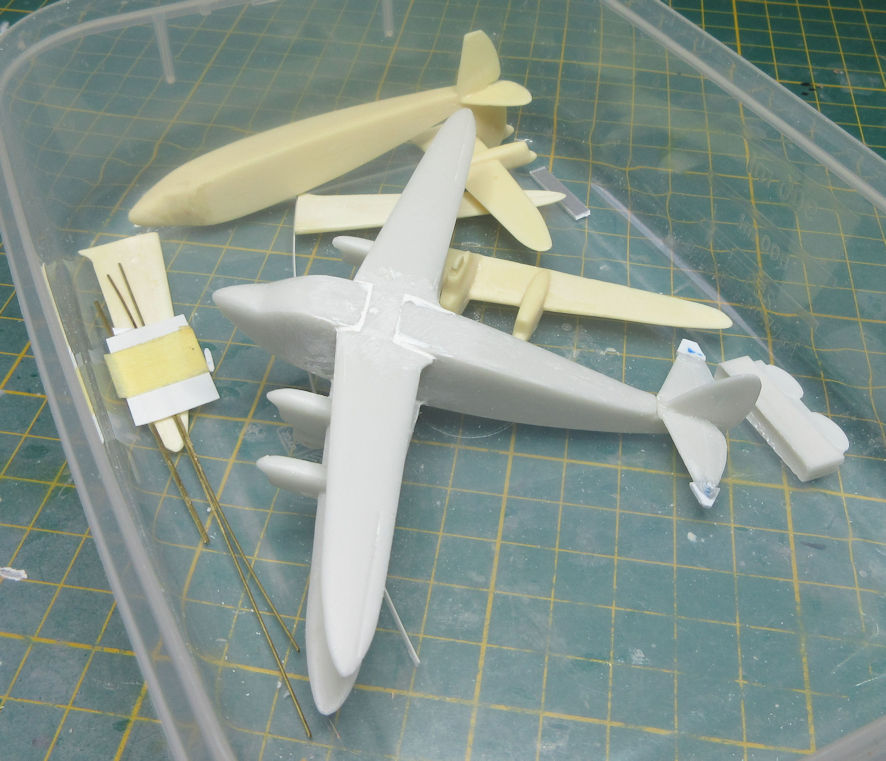
Finally there is the 1/144 VLE Models kit of the Sikorsky S-38 flying boat. This has been haunting me for many years and one of these days I will finish it. Every so often I take the kit as I’ve made it so far out of its box, look at the plans, ponder the whole thing for an hour or two and put it back in its box which goes back on the shelf again. The real problem is the amount of strutting that needs to be done to install the engines between the two wings, I’m beginning to think that I will have to simplify the struts just to get this project finished and that nobody will notice the difference, given the scale of the thing and the fact that nobody I know, or am likely to know, knows what a Sikorsky S-38 looks like anyhow. In a year or two I might be able to bring myself to do such a terrible thing to this little model and in the meantime it goes back into its box again.

So, that’s what’s holding up my modelling progress at the moment. What’s your excuse?
Leigh Edmonds