that I can’t model without
(April 2021)
When you listen to or watch any of the modelling podcasts or live streams one of the questions that comes up fairly often is about tools. ‘What is your favourite tool’ or ‘what tools do you recommend for a starting modeller’, that sort of thing.
I hadn’t really thought about it much. Over the years I’ve accumulated boxes of tools that have often been used and then replaced by something better or, more often than not these days, a tool which promised to work miracles but has proved to not be as useful as something I’ve already got and am using. Through a process of use I find that the tools that are most useful have gradually moved to the front of my modelling space and the ones I don’t use much have drifted towards the back. For example, those dental probes that everyone seems to like so much, I might have a use for one every second year. That doesn’t mean that when I need that tool, it isn’t the right tool for THAT job, but because of lack of use the thing seems to have become lost among all the other rarely used tools.
The other thing about rarely used tools is that since I don’t use them very often I loose the skill in using them properly. I’m sure that dentists become virtuosos with their dental probes and can work miracles with them, because they use they every day. But that’s not me, I don’t use them often enough to become skilled in their use so I probably end us using a tool which is not quite right for that particular job but which I’m more used to handling and using.
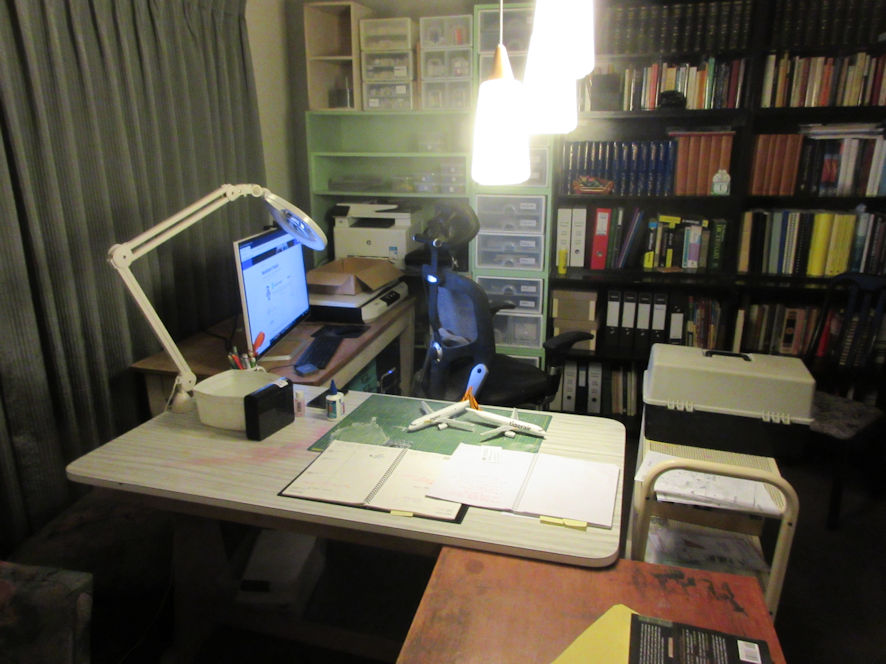
Having moved recently and finding myself in a new work space the matter of modelling tools became more pressing than usual. As before, my modelling space is also my working office during the day so I have to be able to put away models and modelling tools and supplies during the day to make space for work stuff. This makes me a fairly tidy modeller but it also means that I have had to find ways of storing tools so they are not in the way during the day but are readily available at night, which is my modelling time.
For many years I kept most of my tools in a large fishing box with fold out shelves with divisions in them which held most of the tools and supplies I used all the time. However, space was limited where we lived previously so when I bought a new flatbed scanner for work I no longer has space for it and instead started using a small ten draw metal cabinet that sat underneath my desk with divisions I put into the draws to separate my various modelling bits and pieces. It was actually a very good arrangement and there was room for most of the modelling tools and supplies I used routinely but it had the disadvantage that I could not remember which draw I kept things in. For example, where are my drills and sanders and in which draw would I find the materials I used for masking? As a result I seemed to spent more time that I aught pulling our draws until I found the tool I wanted. Very perplexing and annoying.
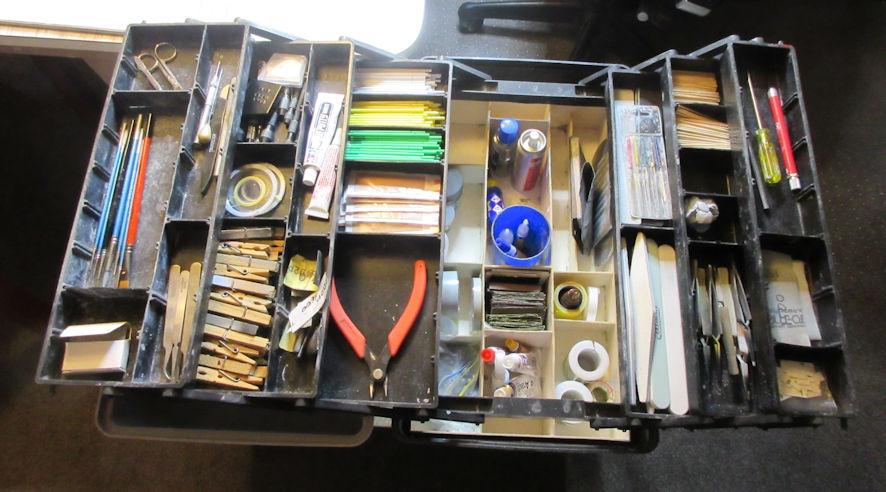
Now that we have moved into this new place I have the space to bring out my big old fishing box and recommission it. I still have the little metal cabinet under my desk and other space I can use, for once I feel as though I have more space than I actually need. This is not true of course, all modellers know that their hobby expands to take up all the space that it available for it. The really nice thing about my box of tools is that when it is open I can reach into it and instantly pick up the tool that I need at that moment without shuffling around looking for it. This luxury is backed up by my ten draw metal cabinet in which I can now keep all those rarely used tools such as I dental probes where I will be able to find them fairly easily on the odd occasions when they might be just the right tool for that unusual job.
Confronted by an empty tool box I wondered what tools would best go into it so that I could reach them without a moment’s hesitation. ‘I know,’ I said to myself, ‘I’ll make a list of the tools that I use the most and they can go into my good old tool box. So I did, and here are the top ten. Strangely, the first two don’t even go into my toolbox but I cannot imagine doing modelling without them these days.
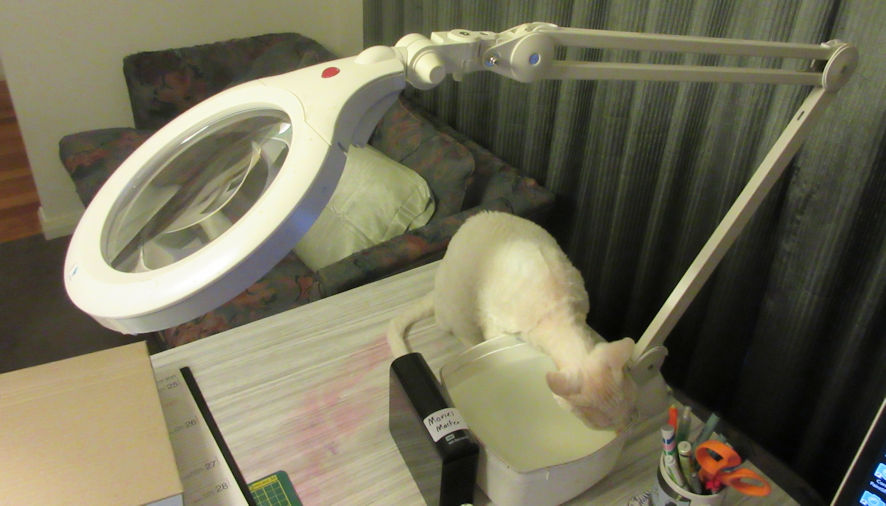
1. ‘Daylight’ combined magnifier and work light.
My eyesight was never great and I’m sure it’s less than it once was so I have tried many ways of magnifying the work I’m doing, never with any really good results. At the same time the room I had previously worked in had only a couple of puny down lights that forced me to try out various desk lamps to bring a useful amount of light to bear on my modelling, but while some things were alright, nothing was perfect.
Then, one day I was in a doctor’s room and right next to where I was sitting was a light that she used to examine samples, a simple and elegant design which, when I flicked the switch, magnified and illuminated in just the way I needed. I copied down the name and went home to look for it on the interweb. It turned out that Vision Australia sold them, a quick telephone call confirmed that the local branch had them in stock and within the hour I had one and was using it. It is the best and most useful tool I’ve ever had and, unlike most of my modelling tools, also serves well during the day as an excellent desk light which magnifies that tiny print that official documents always seem to have at the bottom of the page.
They aren’t cheap, this one cost me about the same as a top line airbrush would. However, I wouldn’t be without mine, and my model making would be much more difficult and frustrating without it.
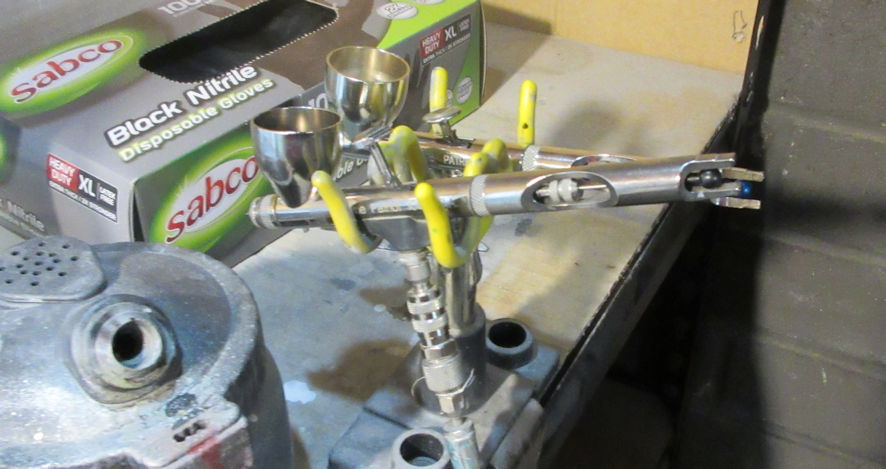
2. Airbrush
Not much needs to be said about airbrushes. If you have one you know why they go to the top of most modellers’ list of best tools. If you don’t, I can’t imagine how you do your painting though I know some modellers are magicians with ordinary paint brushes.
I have two that I use regularly, a standard Badger 150 Patriot and a Badger 150 Patriot Xtreme. They are more of less the same airbrush except that one has a smaller needle and nozzle than the other so I use the Patriot for hosing on the paint such as primers and the Patriot Xtreme for finishing coats. I also have a Badger Sotar for detailed work but it doesn’t come out very often so I’m not very proficient with it yet.
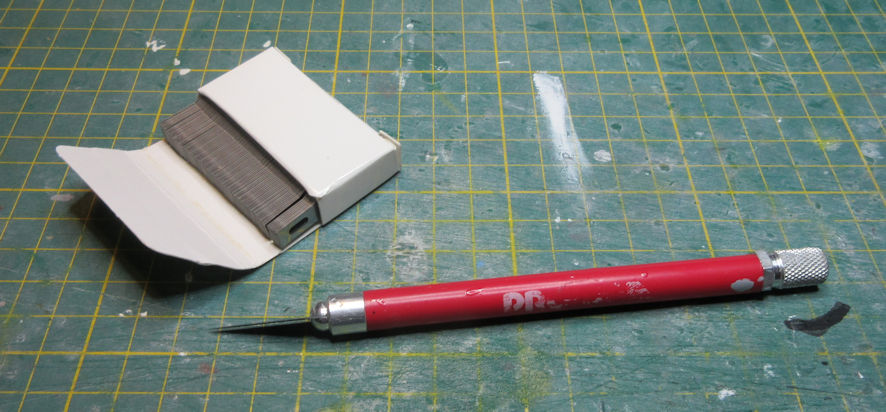
3. Modelling knife and blades.
When it comes to the workbench and what’s in my tool box the most handy item is my trusty modelling knife and the box of blades close by. For many years I used the trusty old snap-off blade knife but, wanting something with a bit more precision I finally gave in and bought a simple handle into which went No.11 blades. Over the years I’ve tried other handles and other kinds of blades but I always revert to my original love, something that holds the No 11 blade. It’s a good tool for most cutting jobs but if I need something more specialized, a smaller blade or a curved one, I can always find something in one of the other knives I’ve tried over the years and then usually forgotten about. The question with this tool is not what can do you do with it, the question is what can’t you do with it.
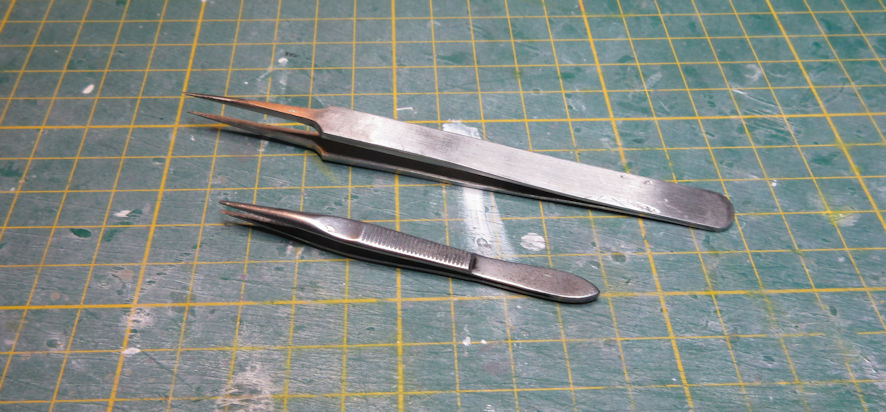
4. Tweezers
Most modellers have hands with fingers bigger than most of the parts they assemble so we all need scaled down fingers, ie tweezers. They come in all shapes and sizes and I’ve accumulated a lot of them over the years. I try to make it a habit to use one of the expensive modelling tweezers I’ve accumulated but I always revert to my favourites that I’ve had longer than I can remember and probably bought in a chemist shop or a supermarket decades ago. They are small by the standard of most modelling tweezers but they fit in my hand most comfortably and have, over the years, become virtually extensions of my fingers.
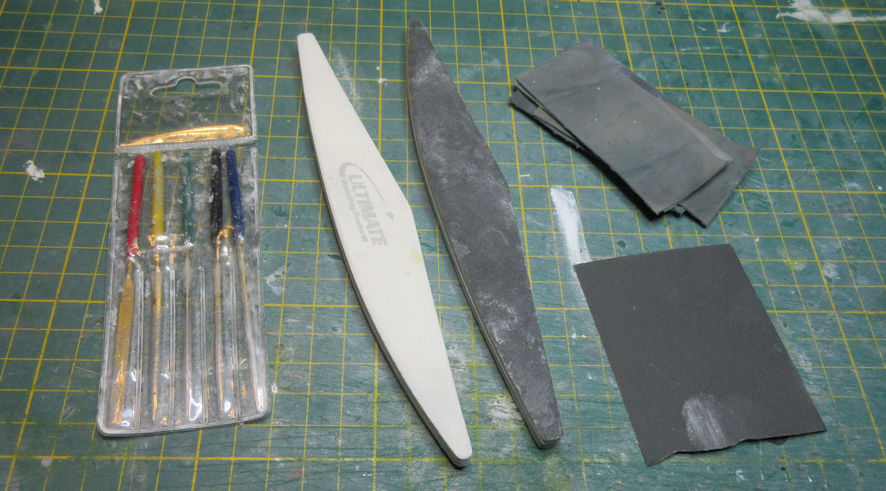
5. Sanding and filing
I’m putting sanding and filing together because they do the same thing but in slightly different ways. If you want to do things like remove surface detail and smooth off surfaces you want something that removes material in a controlled way. The simplest way to do this is with a piece of wet and dry sandpaper that you can buy at your local hardware shop. I cut a sheet up into smaller pieces which are easier to store and use. If I wanted a firm backing for the wet and dry I’d wrap a piece around an old file I had but the modern sponge sander is much more convenient so I use them these days instead and that old file has now been relegated to the bottom of the used tools draw.
Over the years I’ve used many kinds of files of various sizes and grades but the only set I have now in regular use is a set of five small diamond files that I use to get into tight corners and little spots where sandpaper and sanders won’t fit.
These days I use sandpaper, sanders and files that range from 180 grit to 400 grit and then micromesh products that range from 1500 grit to 12000 grit. I don’t know that I will use anything larger or smaller ever again.
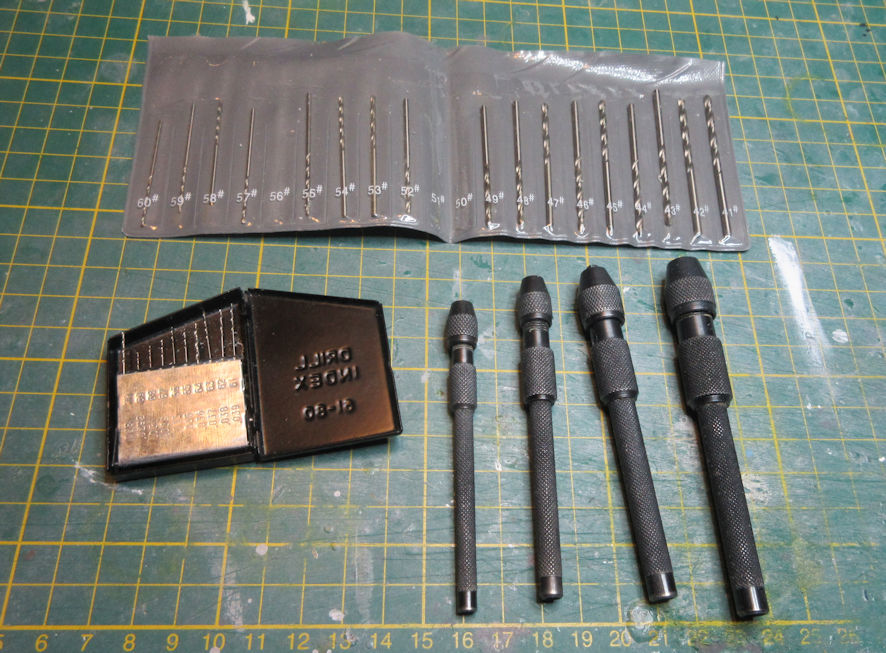
6. Drills
It’s surprising how often I need to make a neat round hole in something, and when that is the case I reach for my trusty pin vices. I guess that they are called that for some reason lost in the mists of time, they are basically small drill chucks that you use to hold tiny drills. I have half a dozen of them but the ones that get used most often is a set of four of varying sized I bought from Micromesh many years ago. More recently I bought another one with a little knob at the rear end so you can twist it around while the rear part sits securely in the palm of your hand. It’s nice but it doesn’t offer the flexibility of the set of four.
I have two sets of drills, one in a little metal box that hold drills from 80 to 61 (though I’ve never used anything smaller than 73) and a plastic pouch of drills that range from 60 to 41. Both sets come from Micromark. The drills keep falling out of their containers so I also have two gauges so I can measure them and put them back in their right places when they do.
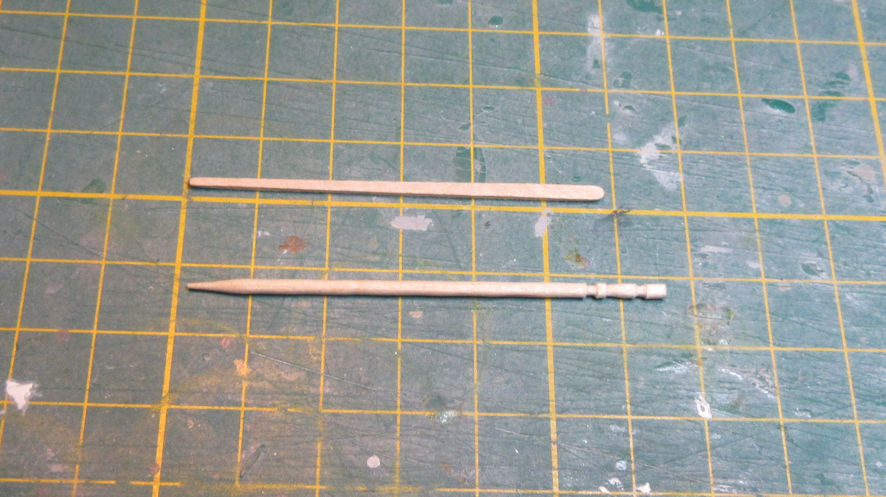
7. Toothpicks
These little disposable pieces of wood are good for all kinds of modelling work ranging from applying dobs of glue just where you need them and applying and spreading filler to holding tiny kit pieces of model kit that needs to go into the paint booth. Like knife blades, it would be more difficult to say what toothpicks are not useful for. And, of course, they are cheap, biodegradable and disposable.
I use two types, the flat ones that are a bit thinner at one end than the other and the round ones which have fine points. They are very good for putting a pin prick of paint or glue just where you want it but I mainly use them for painting wheels by inserting the pointy end into the hole the wheel (having to cut off the point to match the size of the hole) and then twirling the stick around to paint the wheel fairly accurately.
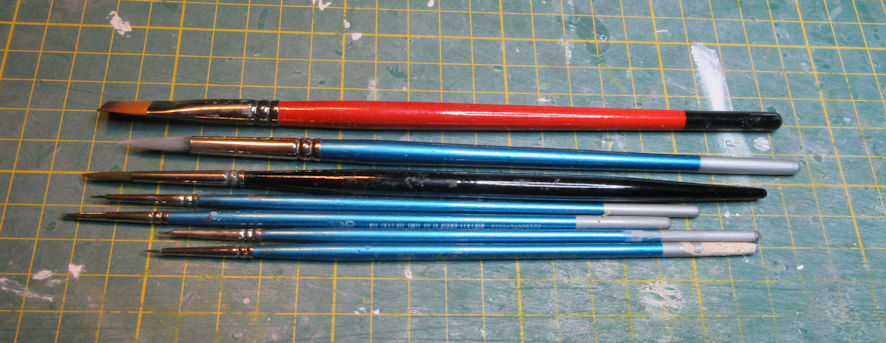
8. Paint brushes
While almost all my painting is done using my airbrushes there are always small details, like wheels and gun barrels, that are too small to be airbrushed in 1/72 and 1/144. Or sometimes the task of masking something just to spray paint at it for a second seems too much like hard work so a quick touch with a traditional paint brush saves the day. You can get these brushes in all shapes and sizes ranging from the almost microscopic 000 upwards and each size has its particular value. I have a few of the smaller ones that I use regularly and a couple of larger ones that are standbys in case I need to cover larger areas but am tool lazy to go out to my airbrushing area in the garage. I also have a larger flat brush that I don’t use for paint at all but for brushing the dust and other gunk off models prior to painting.
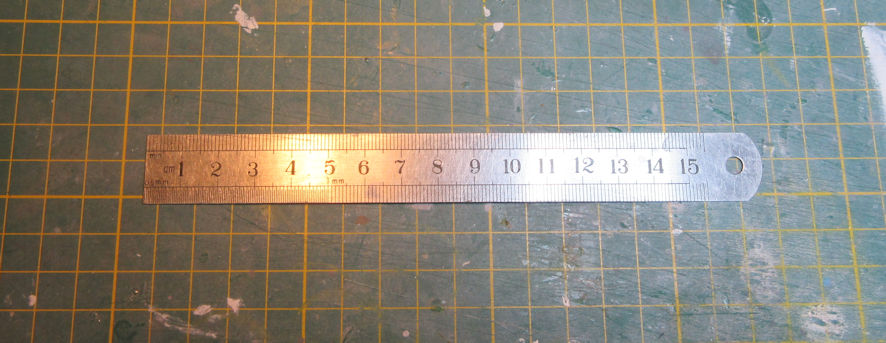
9. Small ruler
I’ve accumulated many rulers over the years and use a few of them for different purposes, but the one in my tool box is a short one, less than twenty centimeters long. Straight edges are useful for drawing and cutting straight lines and metal ones are also good for making straight cuts using Tool 3. Sure, longer rulers could do this job better but they are too long to fit into my toolbox. This is the kind of tool that you tend to take for granted because it doesn’t really do anything by itself but works with other tools such as knives, scribers and punches.
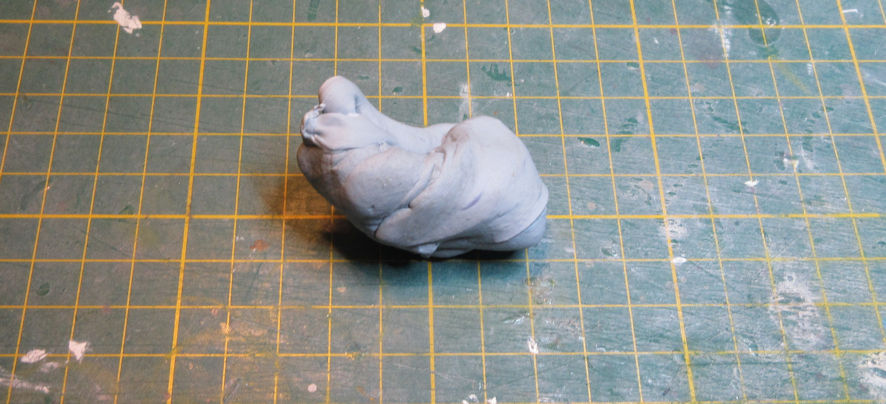
10. Blu Tack
This is the stuff that teenagers use to stick posters to walls but it also has uses in masking models, holding little pieces to be painted to toothpicks, holding pieces together temporarily and a lot more. I find it very useful when making resin kits where the location of internal parts is not well identified and I have to move them all around to find the right fit before gluing the parts together. When sticking tiny little decals to small parts Blu Tack is good for holding the parts in place on the bench top so they don’t move around during the process. They are a bit like toothpicks, I find myself using for all kinds of little tasks around the modelling bench.
There are more tools than that in my tool box, but ten is all you get to read about today.
Leigh Edmonds