(Please tell me I’m getting better at this.)
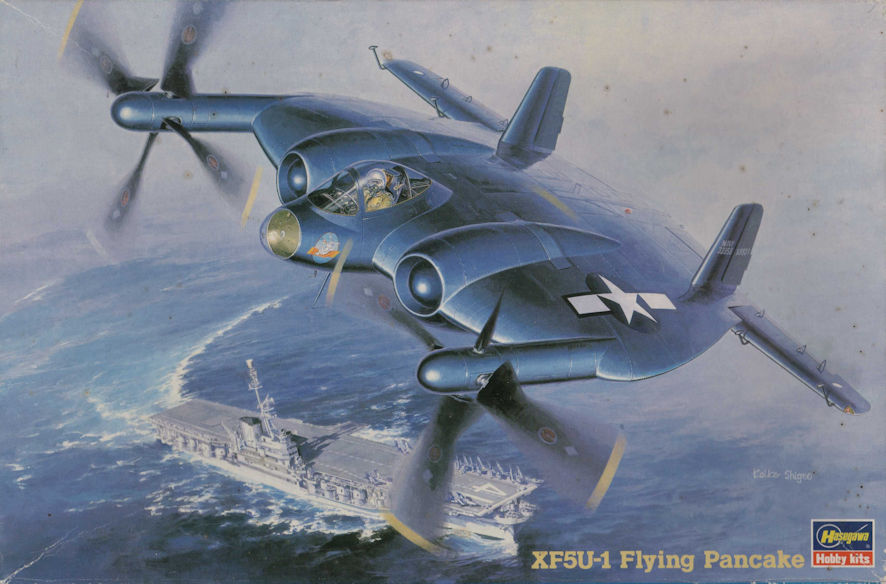
The year 1995 seems like several centuries ago and it is, in one way. That year I finally managed to get my hands of the Hasegawa 1/72 kit of the Vought XF5U-1, probably lurking at the back of one of those old fashioned model shops that you don’t find any more. It had probably been overlooked by other seekers after plastic pleasure because it didn’t look like a Spitfire or a Bf109 but I knew what it was because my grandmother had given me a book about World War II American fighters in the 1960s and it had an entry about the XF5U. I thought it looked fabulous but did not know there was a model kit of it, so I bought this kit, took it home and promised it that I would lavish my best modelling skills on it to make it the best model ever made.
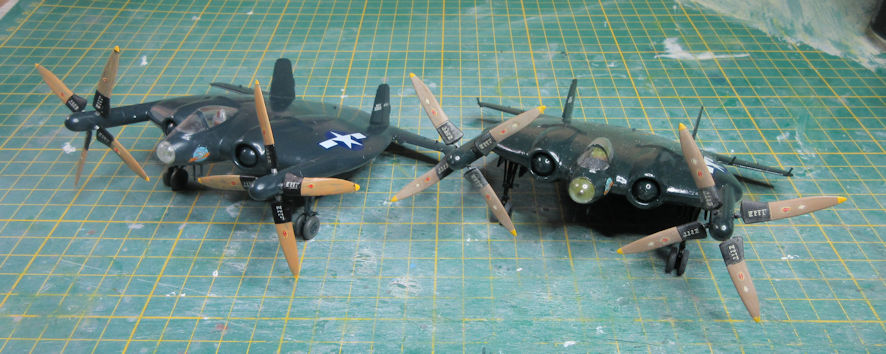
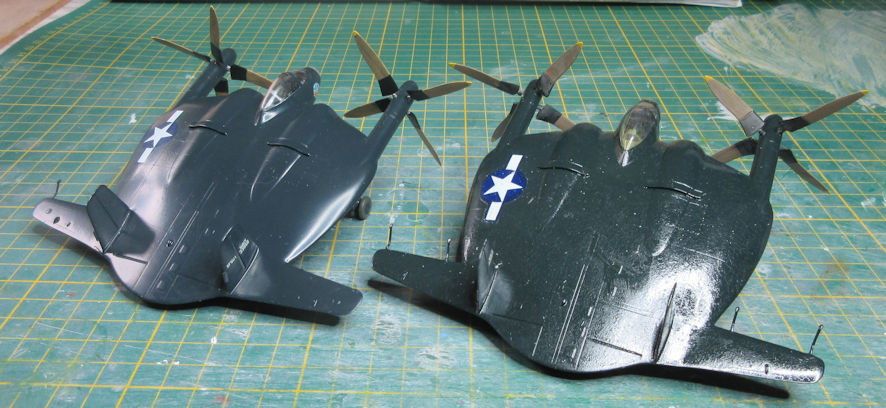
I failed. The build was not so bad but the paint job was appalling, even by my standards. I’d only been using an airbrush for about twenty years by the time I got to this model, but that just shows you that I’m a very slow learner. Almost everyone’s paint of choice in those days was the extensive range of Modelmaster enamels so I got a bottle of their Dark Sea Blue and then proceeded to abuse that poor little innocent model with it. My guess, after another twenty years of experience, is that I did not thin the paint enough and it was almost dry by the time it traveled from the tip of the airbrush to the surface of the model, creating a lovely gravelly finish. It was nothing like a XF5U was supposed to look, nice and smooth and glossy.
I tried to fix the problem by sloshing some kind of gloss finish over it, which made the model look just as bad but now in two ways. These days I’d get out the wet and dry and sand it back to try again but I was not up to that kind of thing back then so I just put it to one side and tried to forget about it. I didn’t expect I would ever seen another kit of that aeroplane so I couldn’t just throw it out even though it had not lived up to my promise.
That was before they invented the www and ebay. A couple of months back I came across this model again and marveled at its terrible finish. ‘I must make a better one,’ I said to myself and went to look on ebay for another Hasegawa kit of the XF5U. There were several, I picked the one that had the cheapest shipping costs and it arrived a few weeks later. Ahh, the joy and wonder of modern technology!
The kit hasn’t changed much in the intervening 25 years. It’s not difficult to make and the parts fit, which would have been considered good in 1995, would now be considered adequate. The detailing is satisfactory but not outstanding by the standards of 2020, but it has been, and will probably always remain, the only satisfactory kit of the XF5U in 1/72. So let’s not complain about it, just be prepared to lavish more than a little filler around the engine air intakes and the tail fins.
So far this kit went more or less as well as my previous attempt on it. The difference was going to be in the finish that I managed to get this time. The first thing is to make sure that the surface is perfect with no blemishes.
The current trend is to lay down a primer coat of gloss black which will, so the experten claim, reveal all the models blemishes. I have not found this to be so. I find, instead, that a base coat of a metallic finish makes all the blemishes painfully obvious and I’ve also found that Tamiya’s AS-12 rattle can paint also keys nicely to the surface as a primer would. It took two turns with the filler and AS-12 to get rid of the blemishes that would have otherwise detracted from the finish of this model.
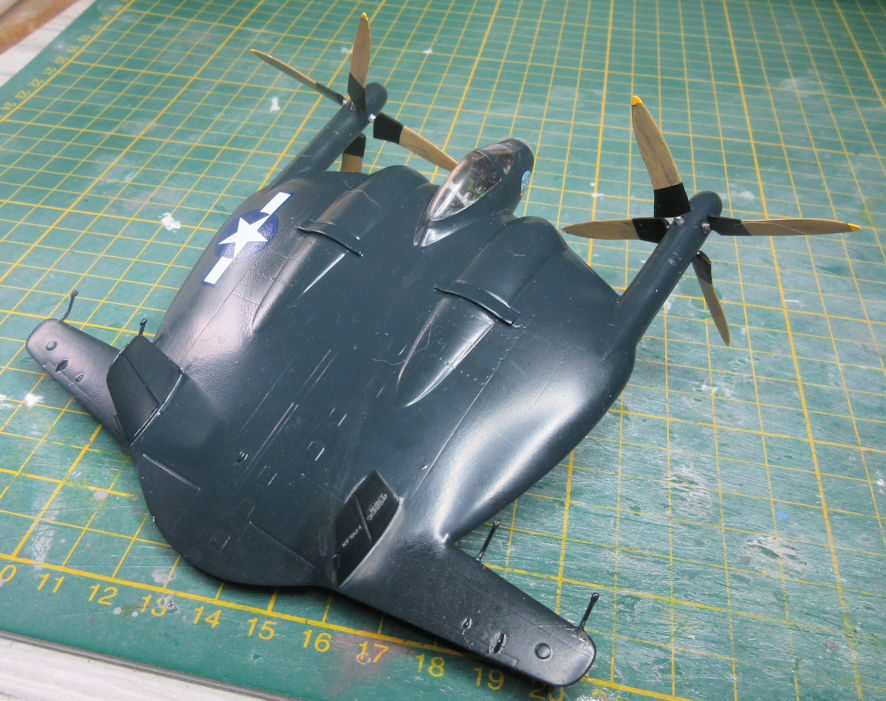
In the past few months I’ve become a devote of the SMS range of lacquer paints and have had a couple of goes with it on my models. Having tried the SMS Deep Sea Blue on my model of the Goodyear F2G and found it very agreeable I decided to use it on this XF5U, but first a coat of SMS black gloss as a base coat, a quick rub over with some micromesh to knock off any final imperfections and then on with a coat of the SMS Dark Sea Blue. In an attempt to achieve perfection, another wipe over with micromesh and then a second coat of the SMS lacquer. It’s not perfect, but I’m prepared to be content with 98 per cent of perfection.
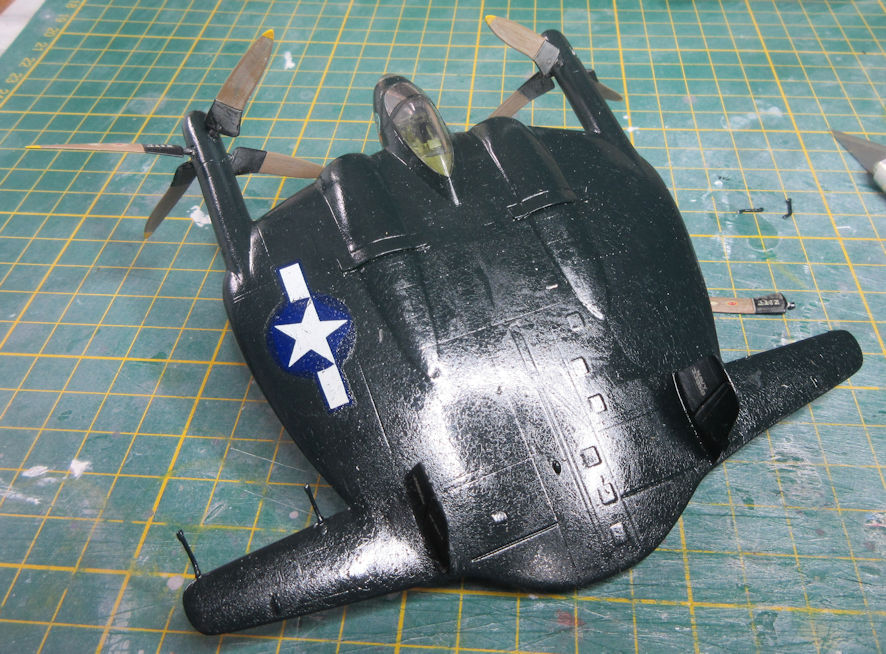
Then we come to the problem of the kit decals. I don’t know of any aftermarket decals for this model so we’re stuck with what’s in the box, and that isn’t the best. The decal sets in Japanese kits from the 1990s and before were not great and a further twenty five years had not improved their quality. I replaced the stars and bars decals with some Microscale decals which may be of the same vintage but have aged a whole lot better. The other decals had to come from the kit but I gave them a coat of Aqua Gloss Clear just to hold them together. They did not want to settle down onto the model, but liberal applications of thinned down Aquadhere and then lashings of Micro Sol finally convinced them to behave.
The end result? A whole lot better than my first attempt at making a model of a XF5U. I’d like to put some of it down to experience but a lot of it has to do with the quality of lacquer paints available these days which give an outstanding finish. I’d like to think that getting that right is also a matter of experience, so I feel a little gratified at how this one has turned out.
(Sadly, I must be a bit more ham fisted than I was in 1995 because I knocked off two of the tail fin counterweights while applying the propeller blades this time. Fortunately, my old model was a happy donor kit for the newly completed model.)
The only question I have now is what to do with my old XF5U. I could throw it out but there are a few memories tied up in that old model so I’m hesitant. I’ve decided that perhaps I will keep it to remind myself that I have improved a little in my modelling skills over the years.
Leigh Edmonds
December 2020
