Back in the mists of time – probably the early 1960s – I received a book about aeroplanes and a picture in it that captured my imagination was of a formation of Blue Angels F11Fs. The aeroplane itself looked the epitome of streamlining and speed with no compromises. This may well have been the beginning of my love affair with jets designed in the 1960s and 1970s when aeronautical engineers were still struggling to find the way to design the truly successful high performance fighter and trying all kinds of experiments to find what worked best.
Out of this era the F11F is probably one of the simplest and straight forward designs combining a wasp-waisted fuselage designed around a big, powerful engine and gracefully swept back wings. Later on I read that the F11F was the first US Navy aircraft capable of supersonic level flight and that its afterburner was the reason it flew with the Blue Angles – selected for the noise it generated more than anything else.

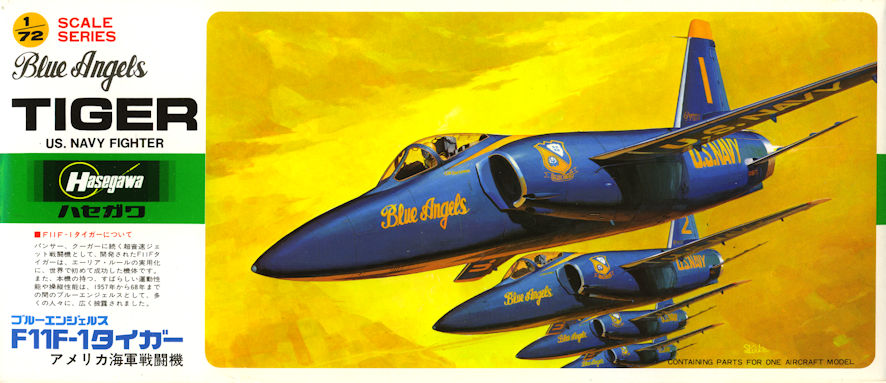
Hasegawa must have released its kit of the F11F in the late 1970s or early 1980s. My pleasure at seeing the kit and the haste with which I constructed it at that time resulted in something less than pleasing. One of the main problems was the undercarriage which I did not get right so the aeroplane sat with one wing decidedly higher than the other – a problem with many models with undercarriage close to the aeroplane’s centreline. I always planned to make a better model of a F11F one of these days and collected a couple of kits when the opportunity arose, one of a standard operational version and another of a Blue Angles version. Along the way I also picked up a bottle of ‘Blue Angels’ blue; all I needed was the inclination to get on with it.
Unlike some of the limited run kit manufacturers, Hasegawa has been making excellent kits for as long as most of us can remember. Also unlike most limited run kits, Hawegawa use a nice high quality, sturdy and hard plastic that is a pleasure to work with. Everything fits together like a dream
and the detail on most of the parts is ideal.
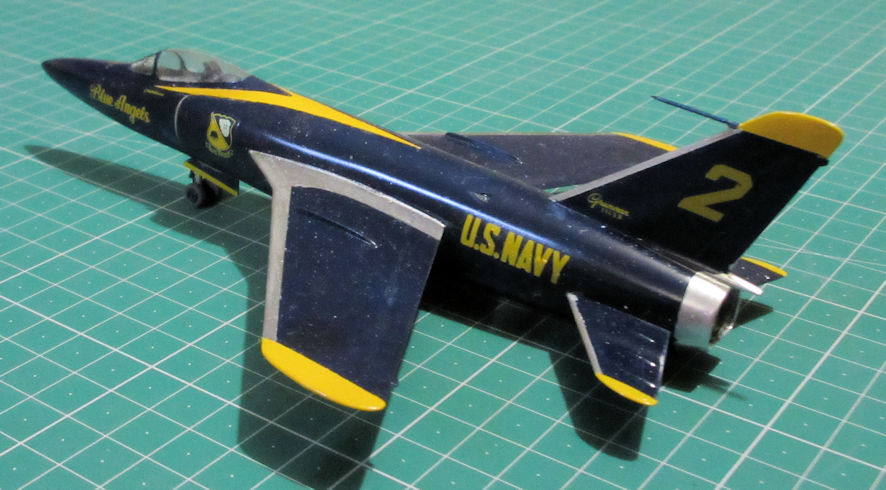
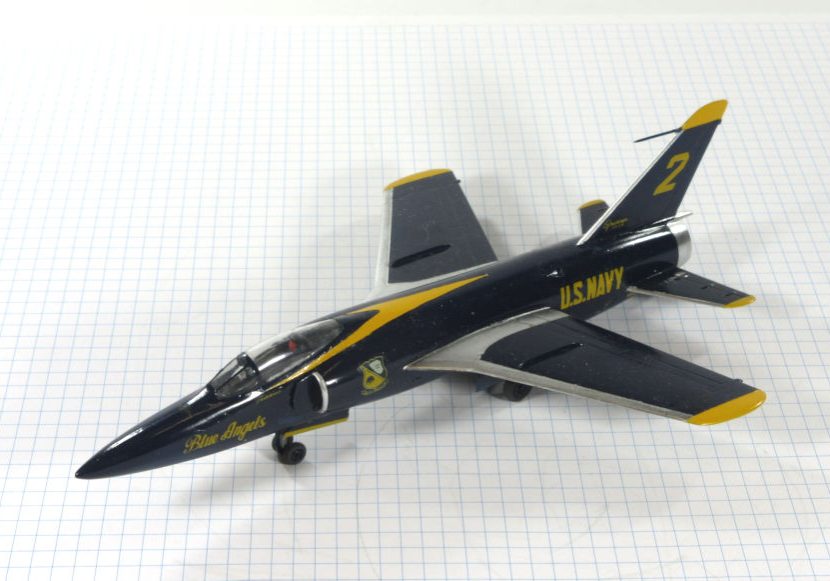
The instruction sheet tells you what to leave out and the couple of changes that make the Blue Angels version. I later figured out that it might have been good to run a bit of fuse wire along the rear port fuselage for the pipe that carried the oil for the smoke into the jet stream. Painting is simplicity itself, all over Blue Angels blue. It seems that the US Navy liked to keep things simple so that the interiors like the undercarriage bays were the same colour as the rest of the airframe although I did find some photos of a restored Blue Angels F11F that had part of the interior painted white. I decided not to complicate things and pretend I hadn’t seen that photo.
After that there are some polished aluminium parts like leading edges and walk ways and it’s time for the decals. I guess that the decals would be the same age as the rest of the kit, 25 or so years old but they had not aged as well. I applied a couple of coats of Microscale Liquid Decal film to hold them together but even so getting the decals off the back paper and onto the model was hard work and I had to go back and respray some of the yellow areas that had not come out looking very good.
Despite the problems with the decals the end result looks pretty flash – just as a F11F is supposed to look. I’ve got some decals for a squadron aeroplane and a spare Hasegawa kit, so it’s only a matter of time until this model has a partner.

Leigh Edmonds
February 2009
