As part of my project to make more RAAF aircraft this year I reached back into the mists of time to the air force’s first ‘A’ series of aircraft. All RAAF aircraft are registered beginning with ‘A’ followed by a number which represents a particular type of aircraft, followed by another number which represents each individual aircraft of that type. This system began when the RAAF was created in 1921 and still runs today, now in its third sequence of ‘A’ numbers.
At the end of World War 1 the British government had tens of thousands of unwanted aircraft. At the same time it wanted to encourage the Dominions to set up their own air forces with the same organizational structure and aircraft as the Royal Air Force. To that end the British government offered the Dominions a gift of 100 aircraft each with which to begin their air forces, usually called the ‘Imperial Gift’. The Australian government accepted the gift and took delivery of its aircraft in 1919 and 1920. They comprised Avro 504 trainers, SE5A fighters and Airco DH-9 and DH-9A bombers. The DH-9As were the first to be registered when the RAAF was established and therefore were recorded in the ‘A1-‘ series. Details of each of these aircraft can be found on the internet at ‘ADF Serials/RAAFSeries One’.
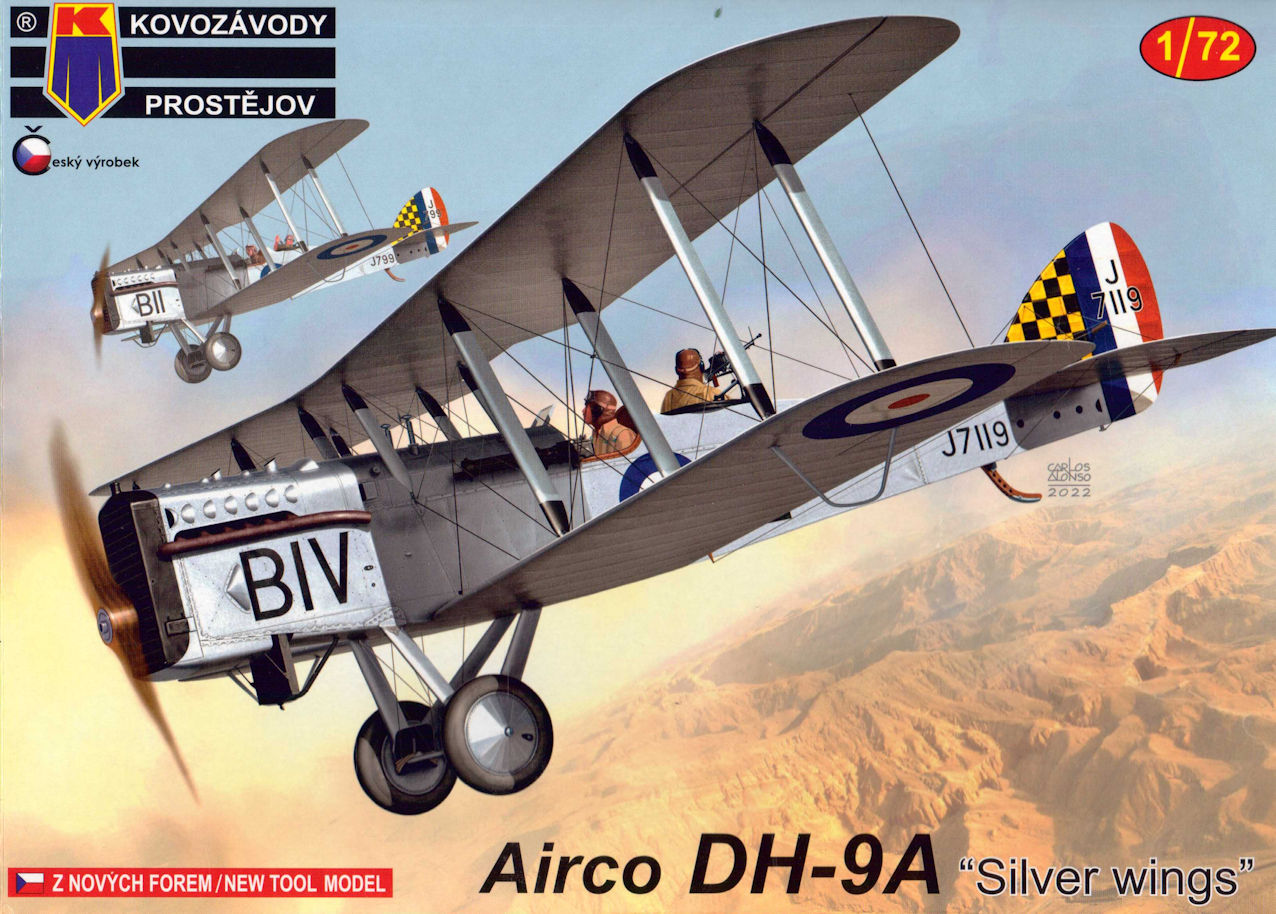
Until last year you would have had much difficulty in making a decent model of a DH-9A, the only useable kit being rare, expensive and fragile CMR resin kit. Now we have two recently released kits from Clear Prop and Kovozavody Prostejov. To go by the reviews the Clear Prop kit is probably a little better and offers some optional parts, but the Kovozavody Prostejov is more readily available and still a very nice kit. This kit comes in four different boxings with different decals, all but one of them for RAF aircraft, the exception being a Polikarpov version of the DH-9A with red star markings.
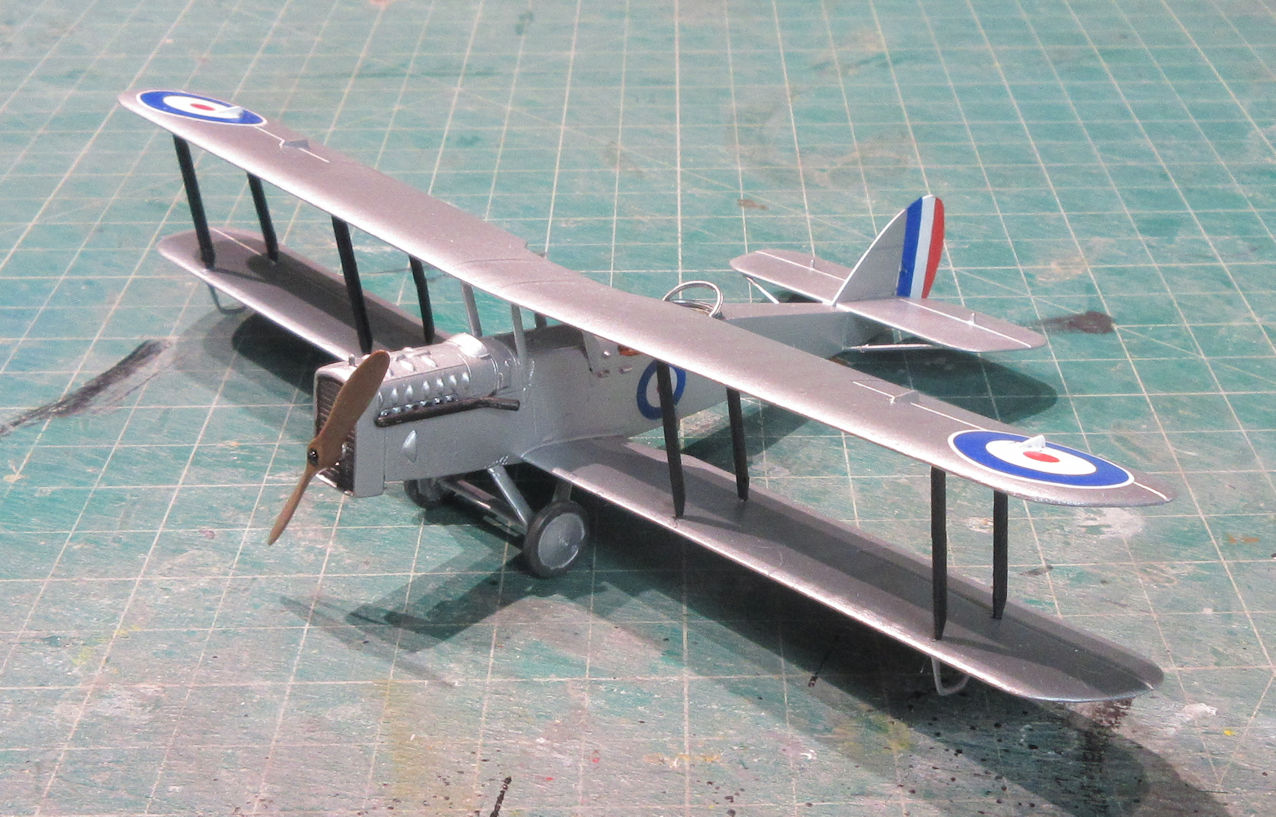
Making one of the RAAF A1- series aircraft from the Kovozavody Prostejov kit is not difficult and involves only making the serial numbers to go on the sides of the aircraft. These aircraft were drawn from RAF stocks and retained the colours and marking of those aircraft with the exception that the RAF registrations were replaced by RAAF ones.
The RAAF DH-9As served through the 1920s, the last ones being written off in 1930. The photographic evidence suggests that they all came to Australia in standard World War 1 camouflage which they retained until they were reconditioned. At that time the old fabric was probably replaced with new aluminum doped fabric, though there are some pictures in which an aircraft has both dark and aluminum fabric so it would now be impossible to say what each aircraft looked like at any particular period of its service life. We can guess, however, that they all appeared in the aluminum doped finishes after they had been reconditioned.
The other thing to note from looking at as many photographs of RAAF DH-9As as I could find is that in only one did the aircraft have any kind of armament, that being a lewis gun mounted in the rear cockpit in one photograph. Thus it is probably more accurate to leave out any of the armament in the kit when making a model of a RAAF DH-9A.
This Kovozavody Prostejov kit is a delight to make. It is as highly detailed as I would like in a 1/72 scale kit with a nicely detailed interior that can be easily viewed through the cockpit openings. Something had to be done about that so I painted the interior in a colour approximating fabric, the closest I had to hand was SMS Radome Tan. After that I poked away at the interior with three or four different shade of brown Humbrol enamel, made the some seat belts from masking tape and gave the whole lot a light dry brush and wash to highlight some of the detail. (Yes, I do know about these things and how to do them, I just don’t normally do them on the outsides of models.)
The only real challenges in making this model is attaching the upper wing to the lower wing successfully. The upper wing is moulded in one part with the dihedral built in so making the model with the lower wings parallel to the top wings was the challenge. The instructions say to mount the lower wings with a 5mm height at the wing tips which I was a bit dubious about, having experienced the accuracy of many kit instruction sheets, but couldn’t see any other way of doing it. So, I attached the fuselage to a piece of board using lots of blue tac, attached the wings to it using Revell Contacta and then propped the wings up so that the wing tips were at precisely the right elevation, and hoped for the best. Much to my amazement, it worked.
Attaching upper wings to biplane models is always the most terrifying part of any build, made even more hair raising because the DH-9A is a four bay biplane, meaning there are more struts to get right. My approach is to use large blobs of blue tack to roughly position the upper wing and then wobble everything around to find the right fit for the inner struts, and then work outwards, adjusting all the time to make sure everything is square.
While using ultra thin glue to attach the struts might be better because it leaves less residue I used Contacta again because it is tackier and holds the parts in place better while jiggling everything around. A little tidying up might be necessary at the end, but it is better than being driven made by parts that won’t stay joined. The main thing to bear in mind while doing this is to remember the quote from an ancient book: ’Don’t panic!’ The Contacta allows time to sort out most problems. The struts are quite realistic in scale and therefore very fragile. Three of them broke while I was doing this work but after everything had begun to go solid it was not difficult to glue them together again, this time using ultra thin, and you can’t see where the breaks were.
The only thing I had to then do was remove the great blobs of blue tack from between the wings. This is a nerve wracking process but I have one of those dental probes that I use specially for this job. As you can see, there were no problems, this time.
I thought quite a bit about how to achieve the look of aluminum doped fabric and eventually tried SMS Aluminum which was, I thought, too bright. Trying again, I airbrushed on a coat of decanted Tamiya TS-17 Gloss Aluminum, which looks a lot better I think.
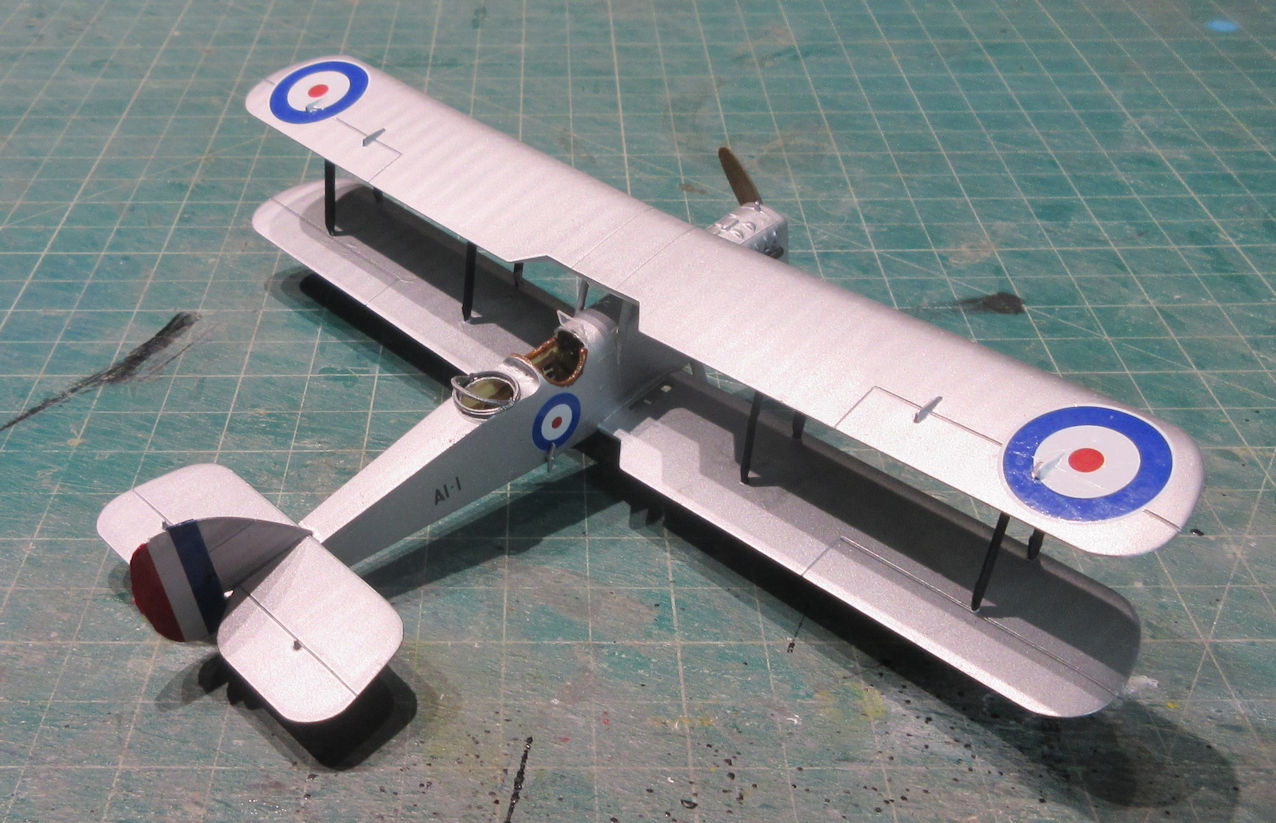
Next, the decals. I decided to use the roundels from the kit. The ones on the upper wing have a white border which I’m not quite sure about, but I’ve found no evidence about what they looked like so used them. Much to my dismay I discovered that the guards I’d carefully glued to the lower wings (presumably to stop them hitting the ground) were in the way of attaching the roundels there accurately. To resolve this problems I very carefully detached the rear attachment point with a sharp blade and slipped the decals in that way. At this point I discovered that the decals were very fragile, brittle and tore easily. Refer again to the guidance in the ancient book. Eventually everything was sorted out but it took many application of Micro Sol and much verbal encouragement for the brittle decals to settle well.
The final touch was the RAAF registration. Using some computer magic I scanned a decal sheet I have for the RAAF Bristol Bulldog and played around with it. The best photo I had for a RAAF DH-9A was A1-14 but there was no ‘4′ on the sheet I scanned, so I couldn’t model that one. The only photo I could find of A1-1 showed it in what appeared to be light grey paint so I sought for other registrations that I could do with what I had. In the end, however, I could not resist the temptation to model the RAAF’s first aircraft and so A1-1 it is. Let’s say that this model represents what A1-1 may have looked like in the period between when it was reconditioned in 1928 and it crashed during landing at Tennant Creek in 1929 and was subsequently written off.
Two final notes. First, there is probably an accuracy problem with this kit. Either the undercarriage is too short of the propeller is too big. I would not like to try taking off in this DH-9A because the propeller would have hit the ground when the tail lifted up during the take off run. Secondly, the model really needs to be rigged but my poor fading eyesight and lack of depth perception make it impossible. Such is life.
Leigh Edmonds
June 2023
