One at the first things they teach you in school is that the number 2 follows on in the sequence that begins with 1, under some circumstances. And so it was with the Royal Australian Air Force when they began allocating numbers for their aircraft. Thus, since the first A- number allocated in the first series was for the deHavilland DH-9A light bomber the second A- series number was for the Royal Aircraft Factory SE5a fighter. Consequently, and sequentially, it therefore became the next aircraft for me to model in my attempt to write about only making models of RAAF aircraft this year. (I was going to do the Avro 504K next because it was given the number A3- and, while I have the antique Airfix kit, I see that AZmodel are promising a new kit of it later this year so I will wait to see what that is like.)
Having grown up knowing all about Sopwith Camels I had supposed it was a better fighter then the SE5a. This is apparently not the case and, while the Camel might have been a bit more nimble in the hands of an experienced pilot, the SE5a was almost as good in that department in addition to being faster and a more stable gun platform. Perhaps the only reason why the SE5a is not as popular and well known as it should be was because engine problems restricted its use until late in the war. Those factors, and the fact that there were an awful lot of them surplus to requirements after World War 1, is probably why the Australian government accepted 35 of them as part of its Imperial Gift with which it established the RAAF.
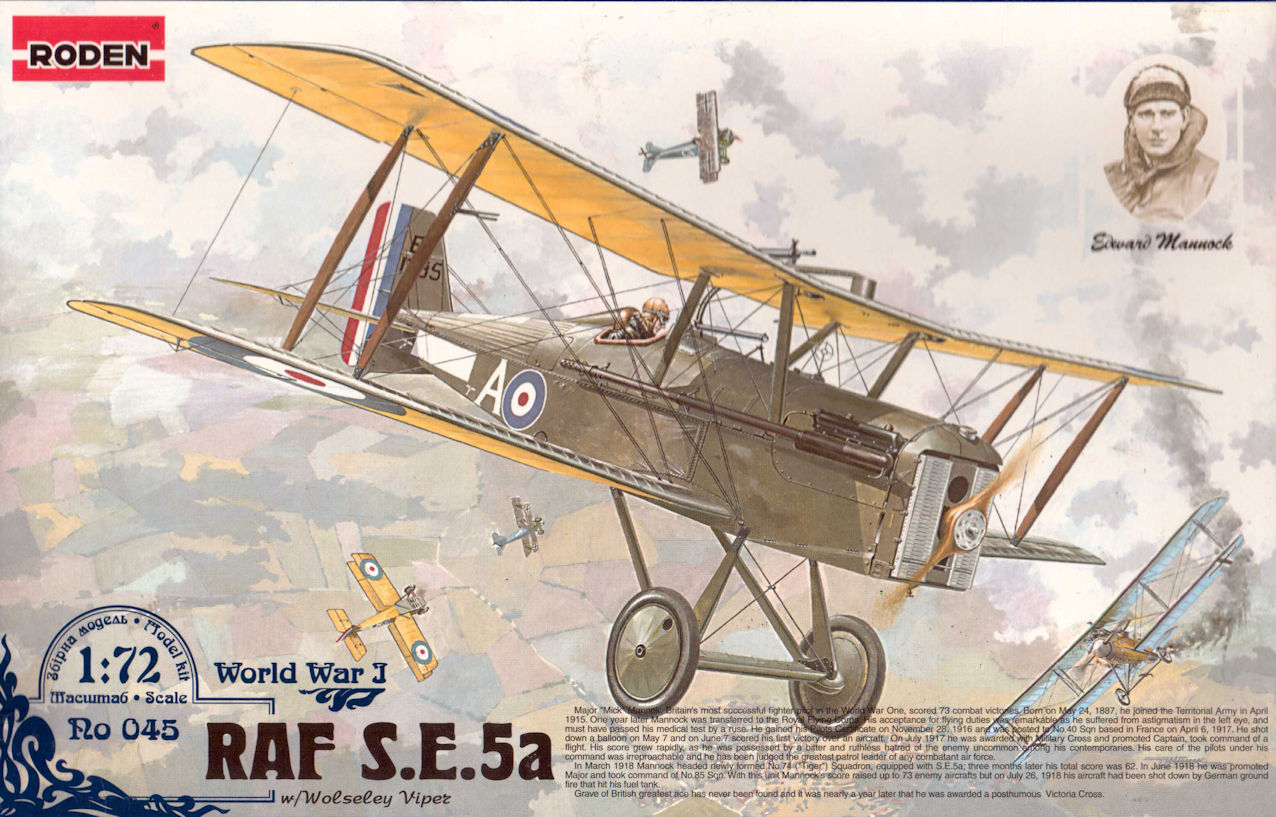
Around the beginning of the 21st Century Roden released a few delightful little kits of World War 1 fighters, of which their SE5a is one. There were two versions released, one for a fighter fitted with the earlier Hispano Suiza engine and another for the later Wolsely Viper engine. You get parts for both in the same kit and the instructions tell you which parts not to use. The kit that I acquired around the time it was first published in 2003 was for the later engine version which, I suppose, is the aircraft that the RAAF used.
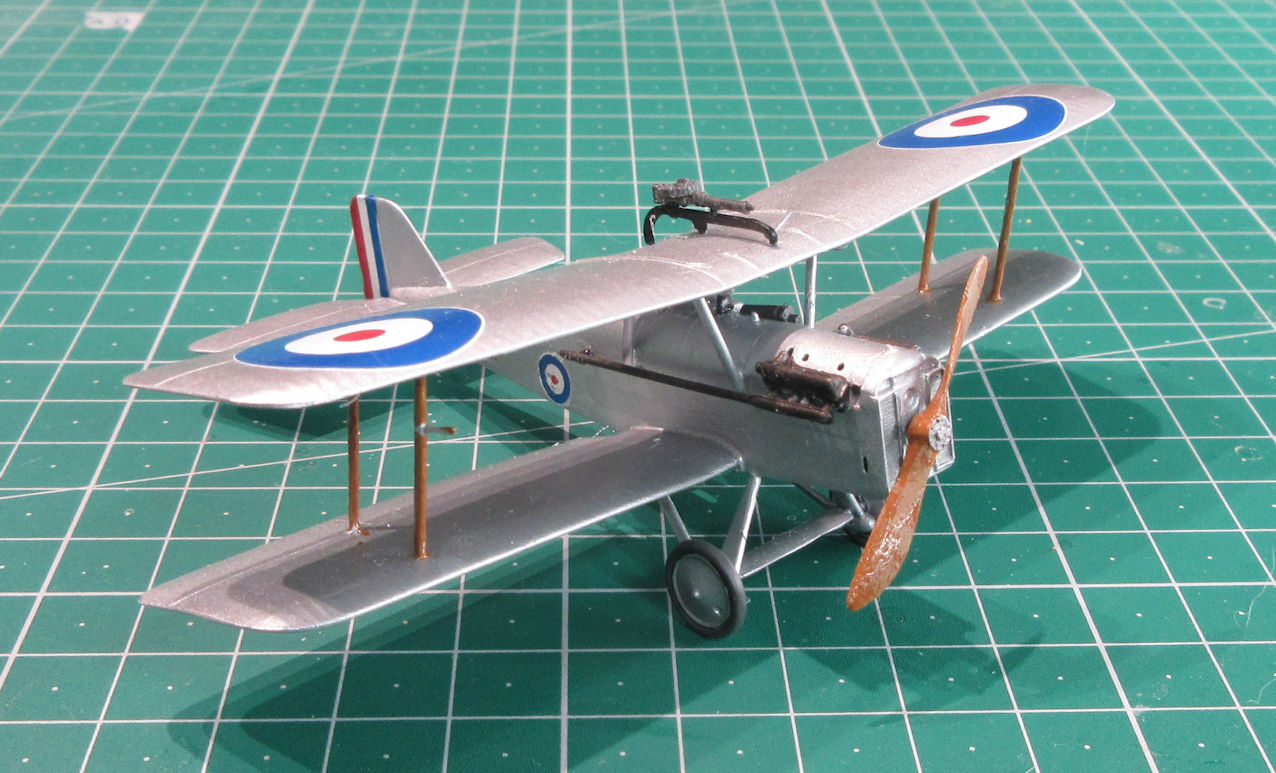
When I write ‘delightful little kits’ what I mean is that they look delightful in the box. When it comes to making a model from one a better word might be ‘delicate’, or even ‘fragile’. This is probably a good thing because that’s what aircraft of this era were mostly like, but I was always afraid that I would crush this model even while holding it lightly while working on it. Complex might be another word to describe this model because, while trying to make it as accurate as possible for both versions, the result is a fuselage that has six parts to complete it whereas a normal kit would have three. In addition to that, because the kit parts are so delicate getting them to go together accurately is a trial. And that’s after you’ve got the cockpit, which comprised four additional parts, together first..
After having got the fuselage together through a trial by ideal I next had to go through the test of nerves of attaching the upper wings. This might have been a mental thing because the struts looked exceedingly fragile and I could imagine the whole structure collapsing under the slightest touch. Last time I used blue tac to hold the upper wing in place while attaching it with the struts to the lower wing and I used the same technique again this time. Much to my surprise it worked again without undue headache inducing stress. Next came the undercarriage which was another trial, but in the end everything came together reasonably well and felt fairly strong and rigid.
Having got to this stage two major challenges remained. The first of these was painting. The only photos of RAAF SE5as I could find showed them in the all-over doped aluminum scheme. Last time I found that Tamiya’s TS-17 Gloss Aluminium worked best after the SMS Metallic Aluminum had looked too shiny. This time I thought I’d cut out the middle man and go straight to the Tamiya Gloss Aluminum, but the result looked too, well, ‘glossy’ might be the right word. Remembering that the look of a top coat is often created by the coat of paint underneath it I therefore gave the model a coat of SMS Metallic Aluminum and then another coat of Tamiya Gloss Aluminum. The result is a lot more pleasing.
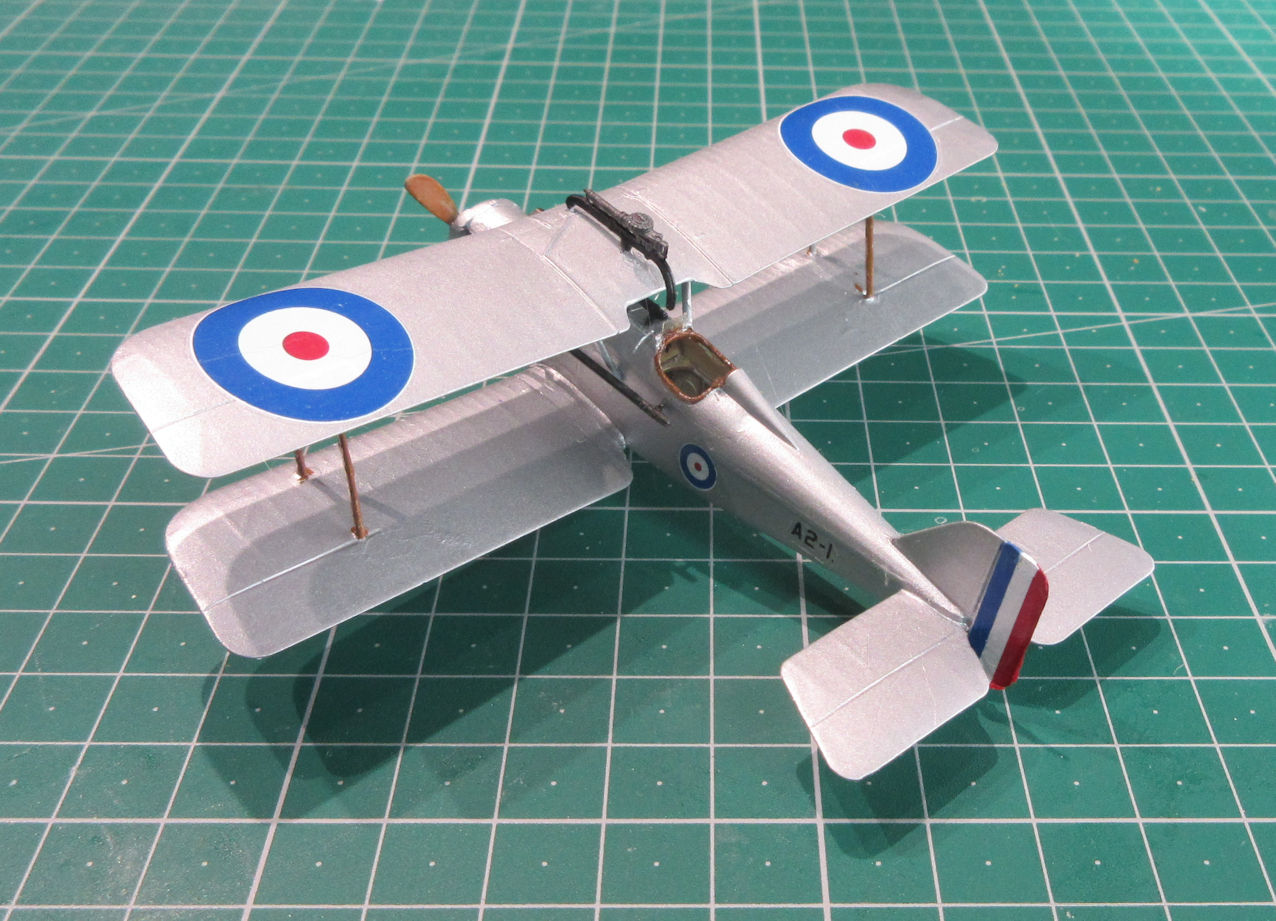
Next came the real trial. Many years ago I made the Roden kit of the Fokker D.VIII and wrote in detail about the terrible trouble I’d had with the decals which blew up as soon as I tried to move them. Remembering that, I gave this kit’s decals two coats of clear varnish before trying to use them. Being a cautious soul I tried the decals underneath the wings first and my suspicions were correct. The first roundel I tried began to self-destruct even before I’d got it off the backing paper and the second one went a little bit better because I was even more gentle with it. (I patched them up later with some paint mixed to the right colours to replace the bits of decal that had disappeared.)
Thus warned I gave the remaining decals another two coats of clear varnish before using them. This made the process of placing them a little less hair raising but even then it was touch and go with a couple of them. My advice to you if you are planning to make a model from this kit is to avoid using the decals unless you absolutely have to. I had some early British style rondels in my spares box but it appears that, during this period, the roundels were not standard and were sized to the wingspan so only a set of SE5a decals will fit on a SE5a model.
While four coats of varnish had held the decals together it made them impervious to Micro Sol so they remained stiff and brittle even though I spent the best part of a day dobbing more Micro Sol onto them. I tried poking the decals down lightly with a brush on the one under the wing that hadn’t blown up earlier but that only made it start to break up too – it was just as well that I made up enough of my mixed paint to repair both under wing decals.
By this stage I was none too pleased by the whole experience but too much effort and coarse language had gone into the model to see it fly into the bin. I finally attached all the little faddily bits, including the Lewis gun on the upper wing even though the photo of A2-1 I found did not have it, and sat back to survey the result of my struggles. It doesn’t look as bad as I had expected, the sum of the parts turning out to result in a somewhat better looking model. Even so, the next RAAF aircraft I make is going to be big, chunky and solid, just for the sake of my nerves.
Leigh Edmonds
July 2023
