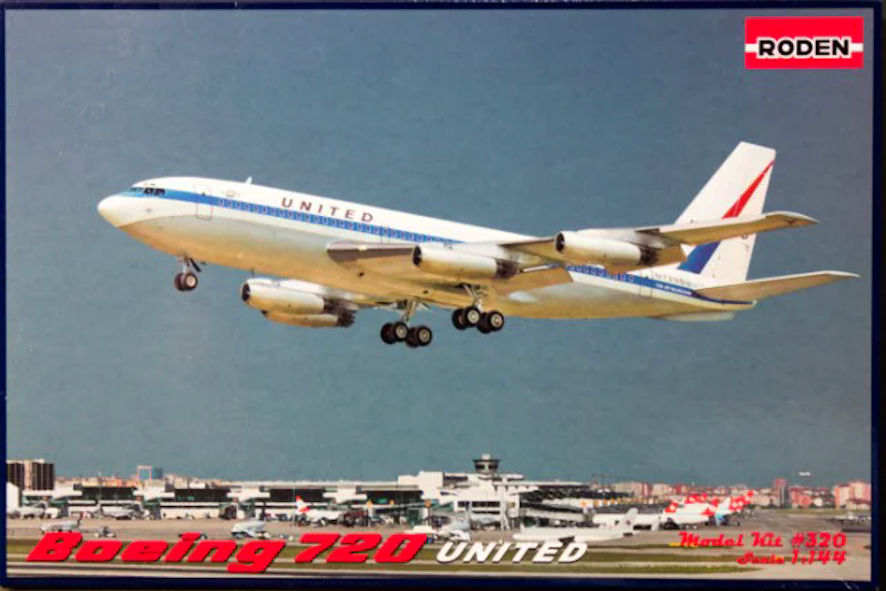
The Boeing 720 was a shorter, simpler and lighter version of the Boeing 707-120. The fuselage was shortened by five frames and the wings were simplified and lightened. This created an airliner which suited the American domestic market rather than the international airline market. It was originally going to be called the Boeing 707-020 but the launch airline, United Airlines, thought that did not sound distinctive enough for it to compete with airlines using the 707-120, so the designation Boeing 720 was invented.
The first version, simply called the 720, was powered by Pratt and Whitney JT3C engines (civil versions of the military J57) which were nice and loud and relatively inefficient. A later version, the 720B was fitted with JT3D turbofan engines which were more fuel efficient. Only 154 were manufactured but the 720 was still profitable for Boeing because of the limited development costs. The last 720 was withdrawn from service in 2010 but most had been replaced in airline service much earlier by the Boeing 727.

The Roden kit was released a year or so ago, in both the 720 and 720B versions. The critics have been harsh about the 720B because, they say, the engines are too small. This may be the case, but if they are they aren’t noticeably smaller than the JT3D engines that Welsh Models has offered as a replacement. The kit itself is very nicely engineered and moulded, and is a striking contrast to the old Airfix Boeing 727s I’ve recently been struggling with. Roden offer the 720 kit in several decal versions of the (more or less) famous Starliner used by a number of rock bands but the 720B is offered only in a Pan American version.
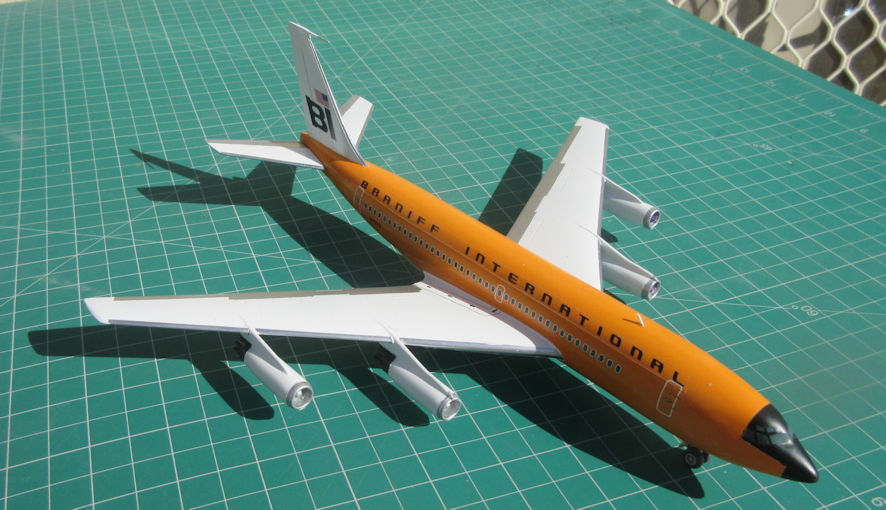
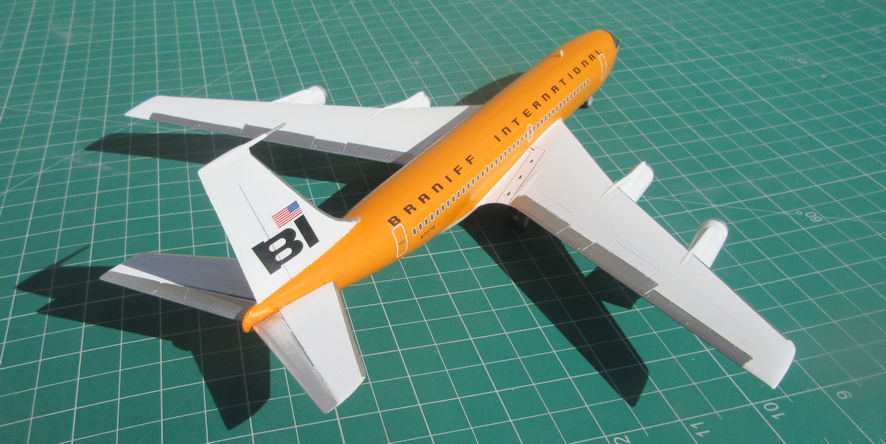
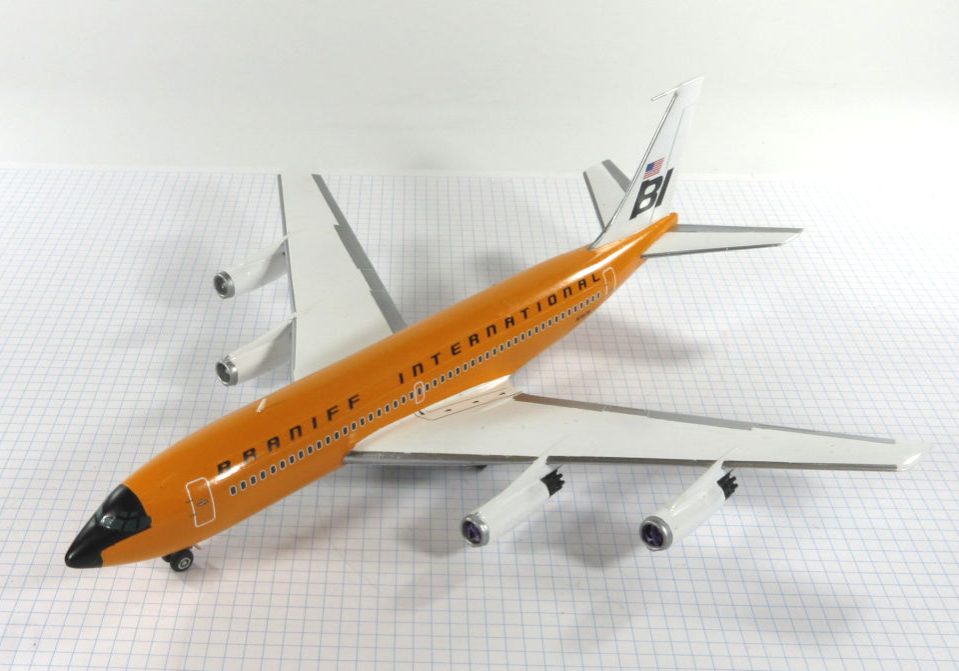
The most interesting aftermarket decals available for these Roden 720s is the Braniff International ‘26′ sheet. It offers options for the various colours of the Braniff ‘jelly bean’ scheme period of the mid 1960s. The decal sheet offers registrations and doors and windows for the different schemes of that period and another sheet which contains decals for the details on the airliner. Unfortunately the instruction sheet gives no indication of where all the detailed decals should go and almost no information on the various ‘jelly bean’ schemes. As a result I was forced to cruise the interweb looking for details of the schemes. I couldn’t make up my mind whether I would do the blue or the orange scheme, but it turned out that I already had the correct shade of orange in my collection of rattle cans, so that’s what it has ended up as.
I made the kit straight out of the box. The only variation was to fill the windows with Selleys Knead It since I was not convinced that the windows on the decal sheet and the kit windows would line up. The only variation from the kit (which is not mentioned in the instructions) is that the tail fin has to be shortened before the tip is attached. There is a nice engraved line showing you where to cut.
The end result is looking promising, so far, but I have a full sheet of detail decals and no idea where they go.


Leigh Edmonds
July 2016
