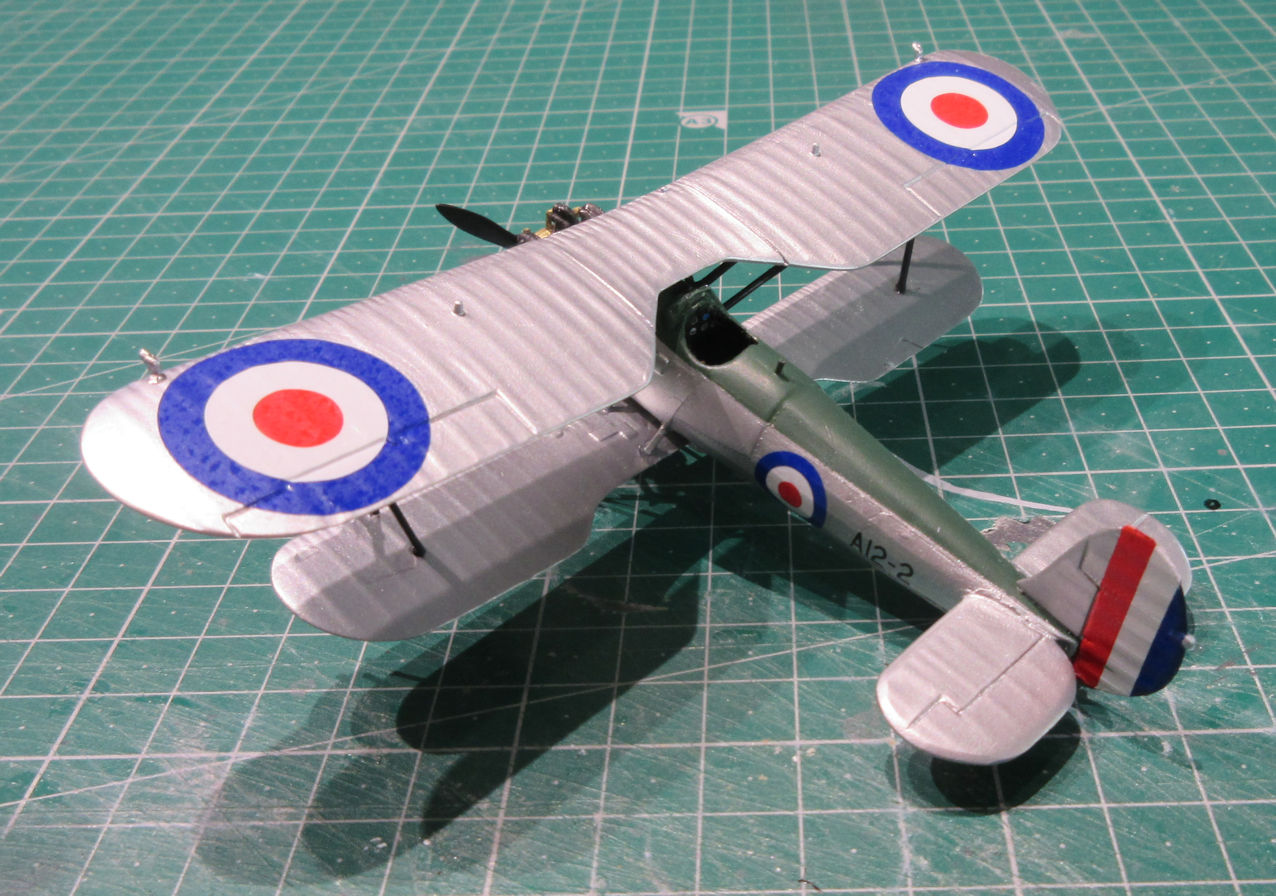
For the whole of the 1920s Australia’s front line fighters were a handful of Sopwith Pups and SE5As that were given to it in 1919 by the British government. In 1929 the Australian government decided to upgrade the RAAF’s fighter force and ordered eight Bristol Bulldog fighters that arrived in 1930 and became the nation’s front line fighter for th best part of a decade. They were highly prized and kept in top condition, being flown only by flying instructors for the first part of the decade and use in fighter training, co-operation with the Army and Navy and in air displays and pageants around the country. Only three remained by the time World War 2 commenced and they were used as instructional airframes. None remained after the war.
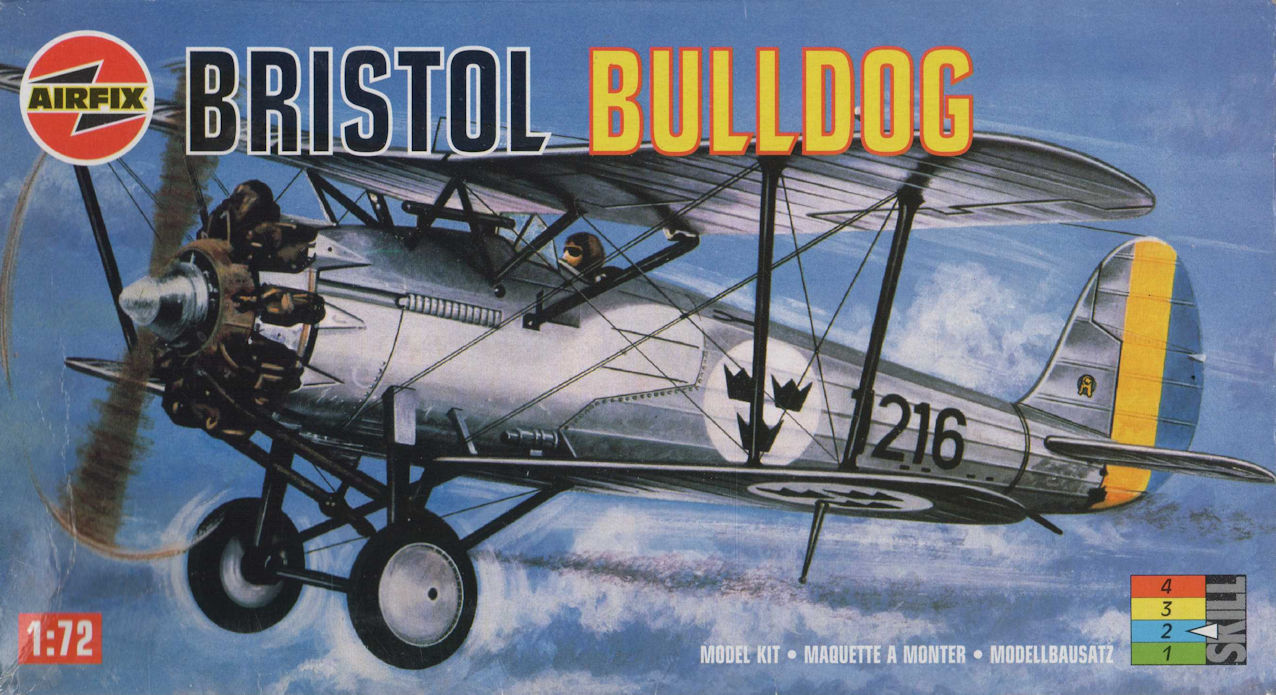
The Airfix kit of the Bristol Bulldog was first published in 1969 and has since been reboxed a number of times, most recently in 2019 with new decals. It has remained basically unchanged for over fifty years and is a very good kit for its time with some very nice detailing in the wings, fuselage and engine. I bought this kit in 2004 and that was probably at a swap meet so it was probably manufactures in the 1980s or 1990s, not that it makes much difference except in the quality of the plastic. As far as I can tell this remains the only injection moulded kit of the Bulldog, Scalemates lists a couple of later kits which are resin and, while they might be a little more detailed my experience is that the resulting models are and look a lot heavier and are more difficult to construct well, partly as a result of that weight.
Assembly is more or less straight forward and would probably be quite enjoyable if you had the initial issue of this kit. However by the time my kit had come out of the moulds they were quite worn and there was a lot of flash. None of it was terribly outrageous but many of the parts such as the wing struts, undercarriage legs and exhaust pipes are very fragile so that tidying them up prior to use was quite stressful lest they break under the amount of work necessary to find the parts in the flash. The engine too was well hidden in the flash and I might have replaced it with an aftermarket one except that I couldn’t find one, so an evening was lavished on trying to make the best of what was in the kit. The same went for the propeller which needed a lot of attention to make it look reasonable.
The only additional work I did was a little work in the cockpit. Fortunately they were painted black so the rudimentary seat could be used although I gave the cockpit an instrument panel, with dials found in the spares box, and some seat belts made from masking tape. Fortunately it is difficult to see much inside the cockpit so that’s about all that’s necessary.
As with most biplane models, the most terrifying part of assembly was attaching the upper wing. This is simplified in this kit which features the wing struts joined together at the top in a way that fits them both into a slot in the under side of the upper wing. This made the whole process a lot simpler than without the attachments, which then had to be scraped down to the same level as the wing surfaces without damaging any of the wing detailing.
This model was made for my project to make some of the RAAF’s aircraft in their A- series and the Bulldog is A12 and the last in the First Series. Red Roo Models makes decals for A12-1 and A12-2 which are nice and simple. Apart from the roundels and rudder that’s all there is because the RAAF aircraft were otherwise unadorned. The livery is very simple, polished aluminum around the forward fuselage, doped aluminum for the rest of the airframe and a band of darkish green along the upper fuselage. The instructions say this is RAF Nivo but I didn’t have any of that and found that SMS’s RAAF Foliage Green is a good substitute. I tried to approximate the difference between the polished and doped aluminum by using Tamiya TS-83 for the polished and SMS Metallic Aluminum for the doped areas. The contrast is not as obvious I would have liked and I wonder is a chrome finish for the polished areas might not have worked better. On the other hand, if the contrast had been too stark that would have been less satisfactory than what I did achieve. The engine and exhaust ring and pipes is as close as you will ever see me come to weathering with a bit of dry brushing and what I understand they call ‘layering’ these days.
The kit comes with some parts that I didn’t use. One is a bomb rack and tiny bombs under the starboard wing. I could find no pictures of them fitted to RAAF aircraft, which doesn’t mean that they weren’t fitted at some time, just that I didn’t see them so I left them off. There’s also a couple of parts to be fitted to the top of the bottom wing that I couldn’t see on any RAAF aircraft so I filled the holes. One of them looks like it might have been a wind driver electricity generator which, I’m assuming, was used to power a radio. The Red Rood decal instructions suggest that there were wireless antenna wires on the RAAF aircraft but I couldn’t see any on any of the photos I found, so I worked on the assumption that the RAAF Bulldogs weren’t fitted with radios so I did not need to worry about them or the little generator. That made life a bit simpler.
I’m actually quite pleased with the resulting model. It looks as fragile as the original aircraft looked and the kit’s surface details on the wings and fuselage looks nice under the metallic paint. It almost makes me ready to have a go at the equally ancient Airfix Hawker Demon which was, coincidentally, the first of the RAAF’s second A- series. The cockpit would need a lot of work, however. Am I brave enough?

Leigh Edmonds
December 2023

