MORE BEARCAT BEAUTY
A few months back I wrote about making the Monogram 1/72 kit of the Grumman F8F-2 Bearcat which is still a pretty decent kit after fifty years. There have been a few F8F kits released since then but they are either unavailable or unmakeable. Towards the end of that article I mentioned that there was news of the immanent release of a Hobby Boss 1/72 kit of the earlier F8F-1, and now it is with us.
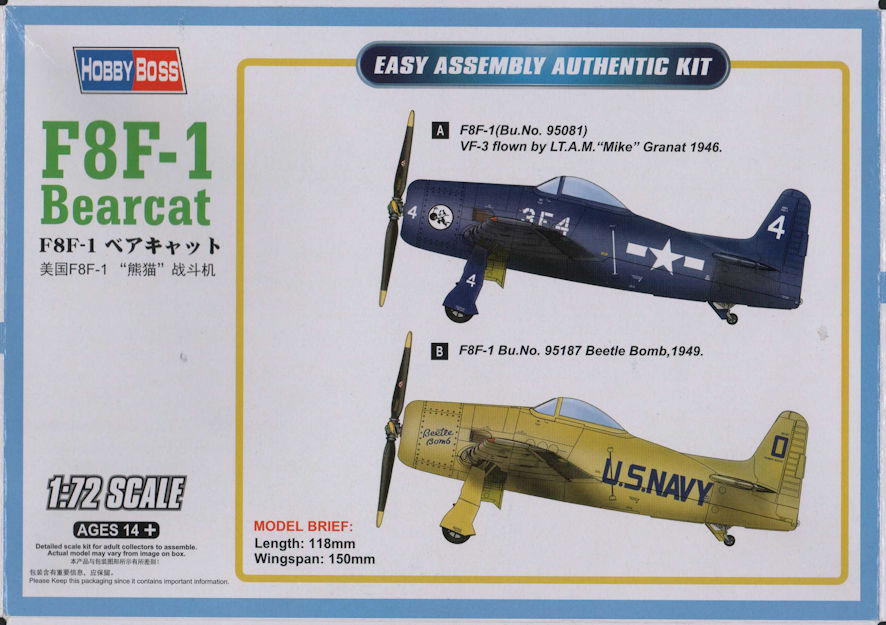
This kit is cheap and easy to make. Everyone will be happy with the cheap pary but many will no doubt be unhappy with the kit simplification that comes with that cheapness. This F8F-1 kit is a return to the kit style with which Hobby Boss entered the market with fairly accurate and slip mounded one part fuselages and wings, simplified details and a moulded-in cockpit. Many modellers are going to be unhappy with these features of this kit, the cockpit in particular which is moulded right into the fuselage so there is no scope at all for giving it any detail.
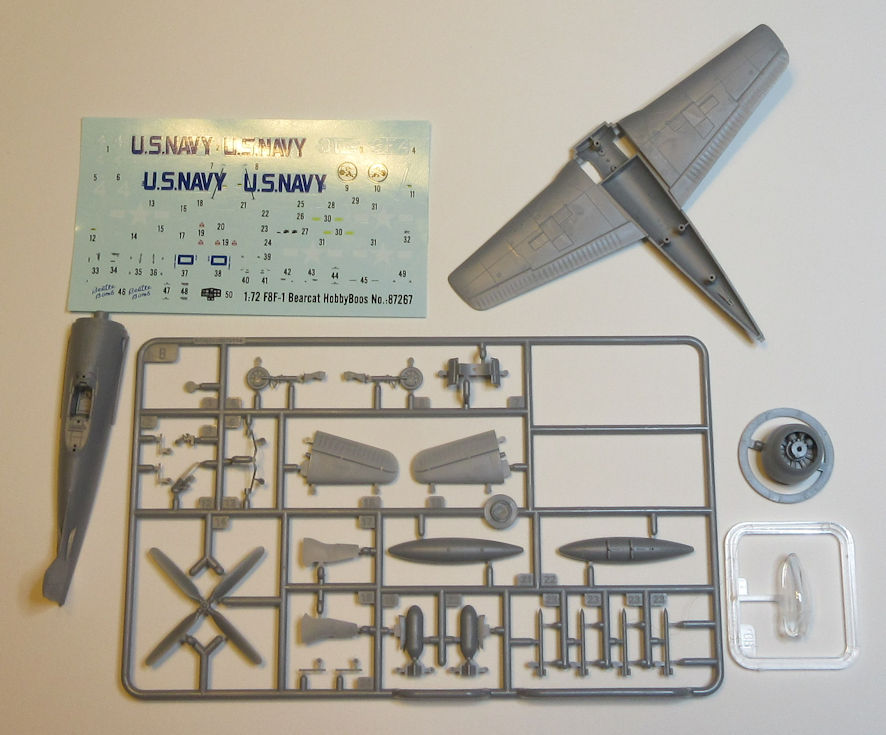
I guess that the truly dedicated modeller could hollow out the fuselage and build a new cockpit there but it would be a waste of time because you would be able to see so little of their handiwork through the little opening in the fuselage top. Hobby Boss make it no easier by providing a one piece canopy which would create even more work to make the cockpit a highlight of the model. As it is, about the only worthwhile addition to the Hobby Boss cockpit would be some seatbelts to create a touch of realism, but I didn’t think of this until it was too late.
I was not too disappointed that there was a minimalist cockpit and delighted at the quality of the moulds with their delicately inscribed panel lines. The airframe itself comprises five simple parts that go together with absolute precision and require no filler. The lower fuselage and wing, the upper fuselage and engine cowling each come sealed in their own plastic bag and go together quickly and accurately. Liberate the two tail fins from the single sprue and attach them, and the airframe is complete. If you’ve gone about it slowly and carefully that part of the project takes less than five minutes. Attach the headrest, spend another ten minutes doing what you can to give some realism to the cockpit and then you can attach the cockpit canopy which also comes protected in its own little plastic bag.
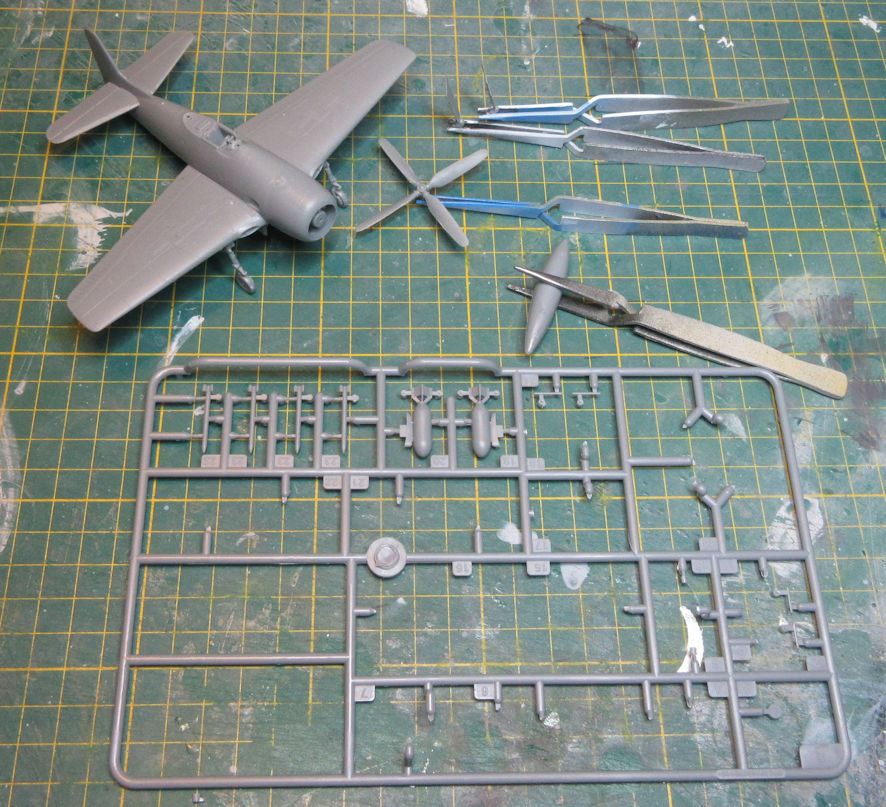
The other parts that you need are on the single sprue. The only real disappointment for me was that the wheels are moulded onto the undercarriage legs, making it a bit more difficult to paint. My only real problem with the kit is the undercarriage legs which are very finely moulded but also very delicate around the folding mechanism and prone to break very easily – you can feel the weakness in the undercarriage legs after they are attached to the wings and you sit the model on its wheels. One of my undercarriage legs broke off at this weak point and pinning it to reattach the leg was as finer piece of plastic surgery as I’ve undertaken so I said ‘to hell with accuracy’ and put a blob of superglue around the same point on the other leg, and now it all feels a lot more secure.
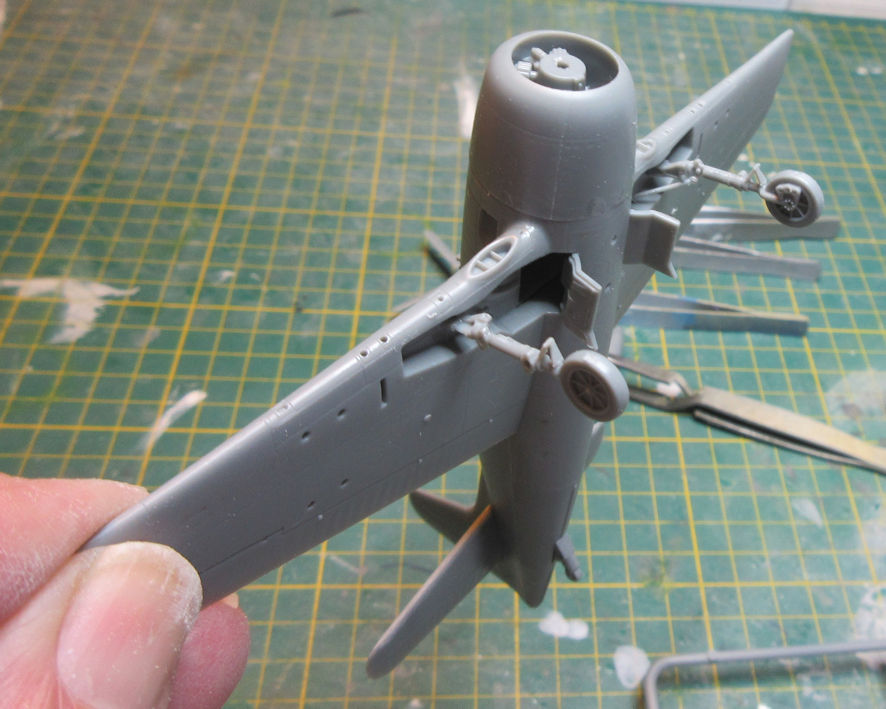
The sprue also contains very nicely moulded parts including the propeller, bombs, rockets and an under belly fuel tank. There are also four little cannons which enable you to make either the F8F-1 or the F8F-1B (the original F8F-1 was armed with four .50 machine guns and the subsequent F8F-1B with four 20mm cannon). There are two vacant slots in the sprue which makes me hope that they have been reserved for a forthcoming F8F-2 although I wonder if they are vacant because the kit designer couldn’t think of anything to put in them because there was nothing more needed to complete the kit.
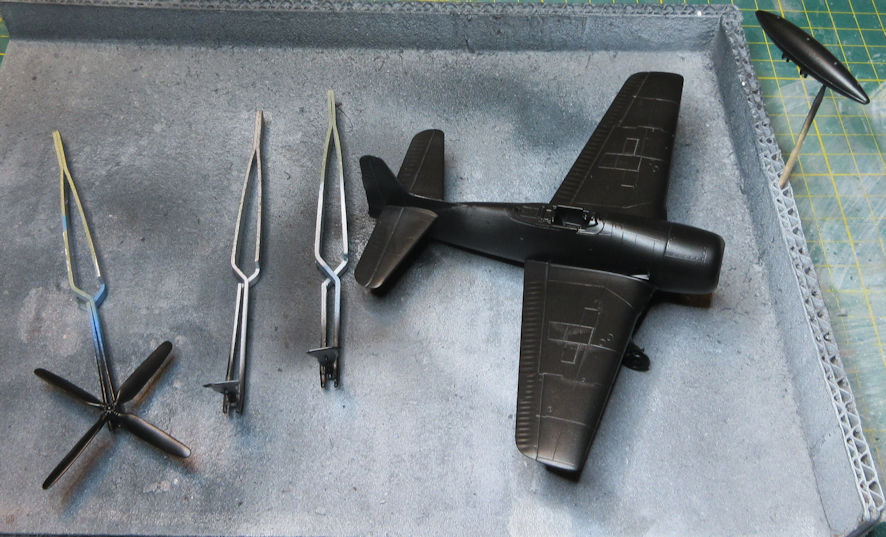
Painting the kit is simplicity itself, Dark Sea Blue out of the SMS range of lacquer paints. It is worth applying a coat or two of SMS Black Surfacer first to check the surface for blemishes and to give it a rub over with your finest micromesh to ensure that the surface is immaculate for the final coats of Dark Sea Blue, which should be smooth and with a sheen rather than a gloss surface. Additional painting is needed for the engine, wheel tyres, oleos, intakes and exhausts, and the propeller and underwing stores, and then it’s all done and ready for the decals.
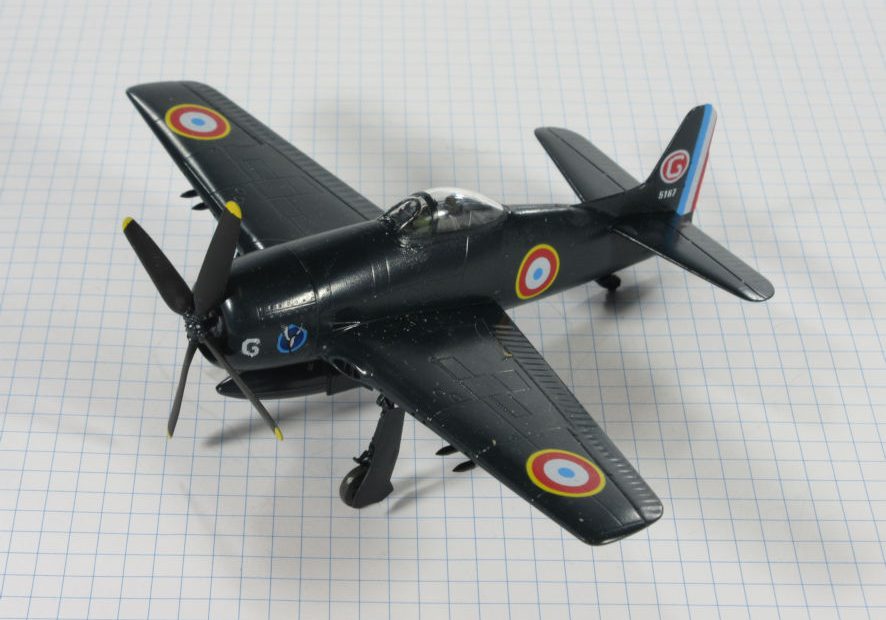
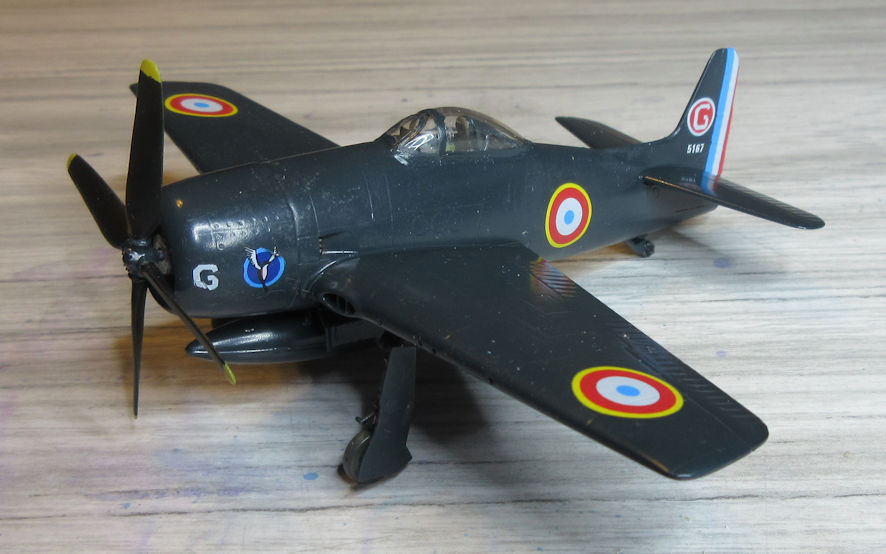
The kit includes decals for two versions, a yellow one (yuk!) and a standard early version F8F-1 in Dark Sea Blue. From my experience with Hobby Boss decals they will be quite okay but I was thinking of making versions of the F8F flown by the French in South East Asia and then by the Thai and South Vietnamese air forces. At the same time that Hobby Boss released this kit the decal maker Print Scale released a sheet for all four air forces that flew the F8F-1 so I bought two copies of the kit and one of the decal sheet.
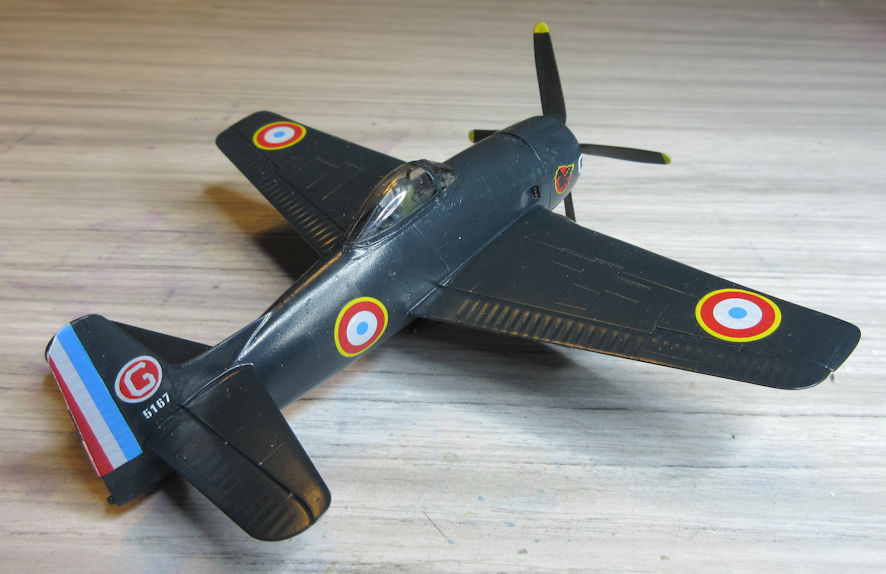
The decal sheet offers options for six US Navy aeroplanes including the yellow one (Yuk), a Blue Angles version and four service aeroplanes. There are also decals for two French, one Thai and a South Vietnamese one in a bare metal finish. I started by making one of the French aeroplanes, a F8F-1, and in the works is the Thai version which is a F8F-1B. The decals themselves are nice but very thin and difficult to get into place without folding or creasing so I had some trouble with the smaller decals for the French model. I will probably apply some clear varnish to the rest of the sheet just to toughen up the decals a little to make them easier to handle.
To look at the Grumman F8F is a simple and efficient little aeroplane and this Hobby Boss kit matches it by being simple and efficient little kit. It’s simplicity means that it won’t please everybody but it sure pleased me. I’m thinking that perhaps another two or three would not take long to make, perhaps one of the early US Navy versions without the red stripe in the national marking, perhaps a Blue Angels version and maybe that bare metal South Vietnamese one. It wouldn’t be too expensive or take very long and they would look beautiful.
I don’t know, however, those early model Grumman F9Fs look very nice too.
PS
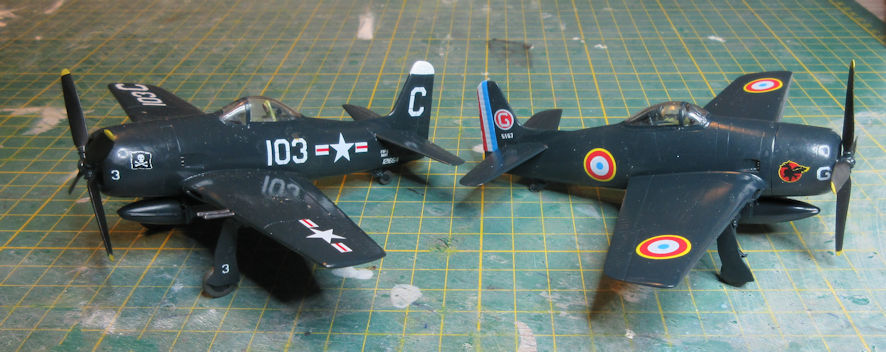
Standing the Hobby Boss F8F-1 next to the Monogram F8F-2 shows that the F8F has apparently changed somewhat in shape in the past fifty years. It also shows that I’ve painted the F8F-2 in SMS Dark Sea Blue and the F8F-1 in SMS Dark Ocean Blue. I should read the labels more closely. I think that the Dark Sea Blue is probably the right shade but I don’t feel inclined to strip the French model back to start again.
Leigh Edmonds
September 2021
