I suppose you’d call it at New Years Resolution but I didn’t think of it that way at the time. I looked at two of the Special Displays in The Little Aviation Museum, the one containing US Navy and Marine Corps aircraft – which has 72 aircraft – and the Special Display of RAAF aircraft – which has only 25 in it. ‘I’m going to have to do something about this’, I told myself. Since I made this resolution at the beginning of the year I suppose it counts as a New Years Resolution. So, this year I’m planning to write only about the RAAF aircraft I make which should bump up the numbers a little. Let’s see if I can stick to this resolution.
I’m old enough that I remember when the F-18 entered service with the RAAF. Hell, I’m old enough that I just remember when the RAAF was still flying Avon Sabres. Here we are now in the 2020s and the F-18As and F-18Bs have been replaced in RAAF service and I’m only thinking of making a model of one. I did pick up a kit of the F-35 with RAAF marking the other day, which I must make before they go out of service too. That’s almost what happened to me in making this model of a RAAF F-18A.
Many years ago, before I started keeping records so it was probably in the late 1980s, I bought the newly published Hasegawa 1/72 F-18A and F-18B kits. They were beautiful and the F-18B also had decals for the RAAF’s Operational Conversion Unit. Of course I intended to make them straight away, but you know how things go, and I only opened the boxes again last month. I also had some Hawkeye decals I’d picked up years ago for both aircraft, very simple and modest decals in comparison to the decals Hawkeye is making today.
Perhaps I was over-enthusiastic, I dashed into making the F-18A without paying too much attention to what I was doing. After all, we know that Hasegawa kits are top-shelf so what was there to worry about? However, time had not treated the kit well and it was badly warped around the rear fuselage and intakes. If I had been more careful I might have avoided the huge steps at the seams for the upper and lower fuselage halves, but I didn’t and, after a week of sanding and filling to try and get rid of them I realized that it was a lost cause and consigned the kit to the rubbish bin of history.

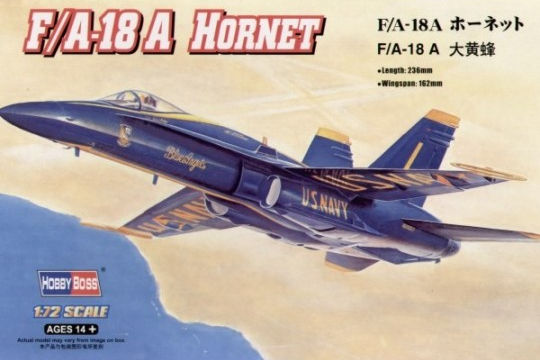
A year or two ago, having a brief flirtation with aircraft in Blue Angels livery, I’d picked up the Hobby Boss F-18A with decals for that aircraft. My first thought was to get another Hasegawa kit, but there were none to be found, so it fell to the Hobby Boss kit to be turned into a RAAF aircraft. The Hobby Boss kit is not as detailed at the Hasegawa, which is particularly evident in the undercarriage bays and other details, but it would have to do.
The other things I needed were paint for early RAAF F-18s which were easily acquired from SMS. The Hobby Boss ejector seat was only slightly more inaccurate than the Hasegawa one and in the large cockpit a replacement would have improved the look of the finished model. However, the only aftermarket ejector seat for a F-18A I could find on the internet was somewhere in Europe and, although it cost only about 4 Euros, the postage was 44 Euros. So this model had to go without – a modeller has to draw the line somewhere. I doubt that anybody but the most discerning viewer will notice the lack anyhow.
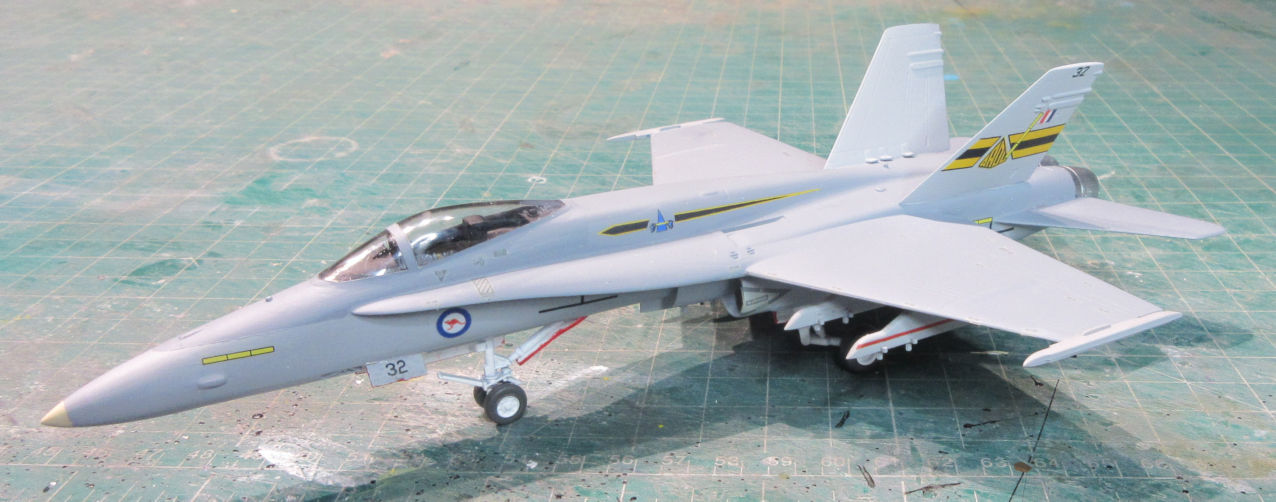
There’s really nothing remarkable about assembling this kit. The pieces go together nicely with the exception of the air intakes which are slightly larger than the fuselage slides they slot into. It required quite a bit of filling and sanding to deal with this problem, which would still be blindingly obvious if they weren’t hidden underneath the wing extensions. Although this was an easy build it was not a very enjoyable one because I kept feeling that this kit misses out on many of the details that might bring it to life. There is probably a better and more satisfying kit of the F-18A out there, but there are so many of them I don’t know which one it might be.
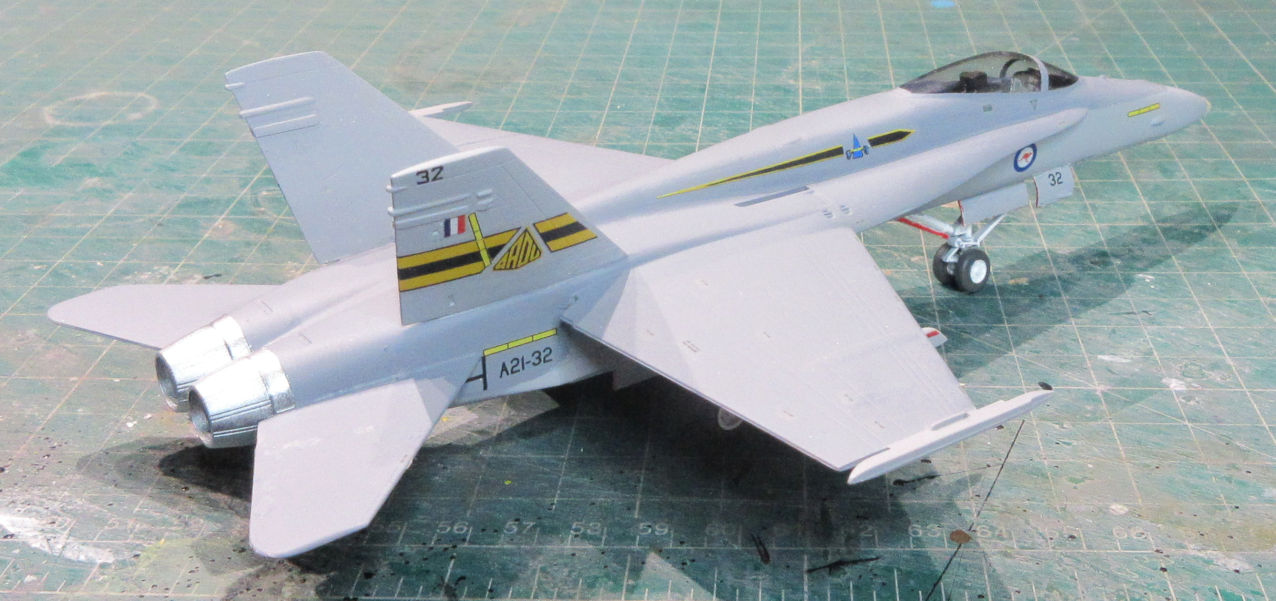
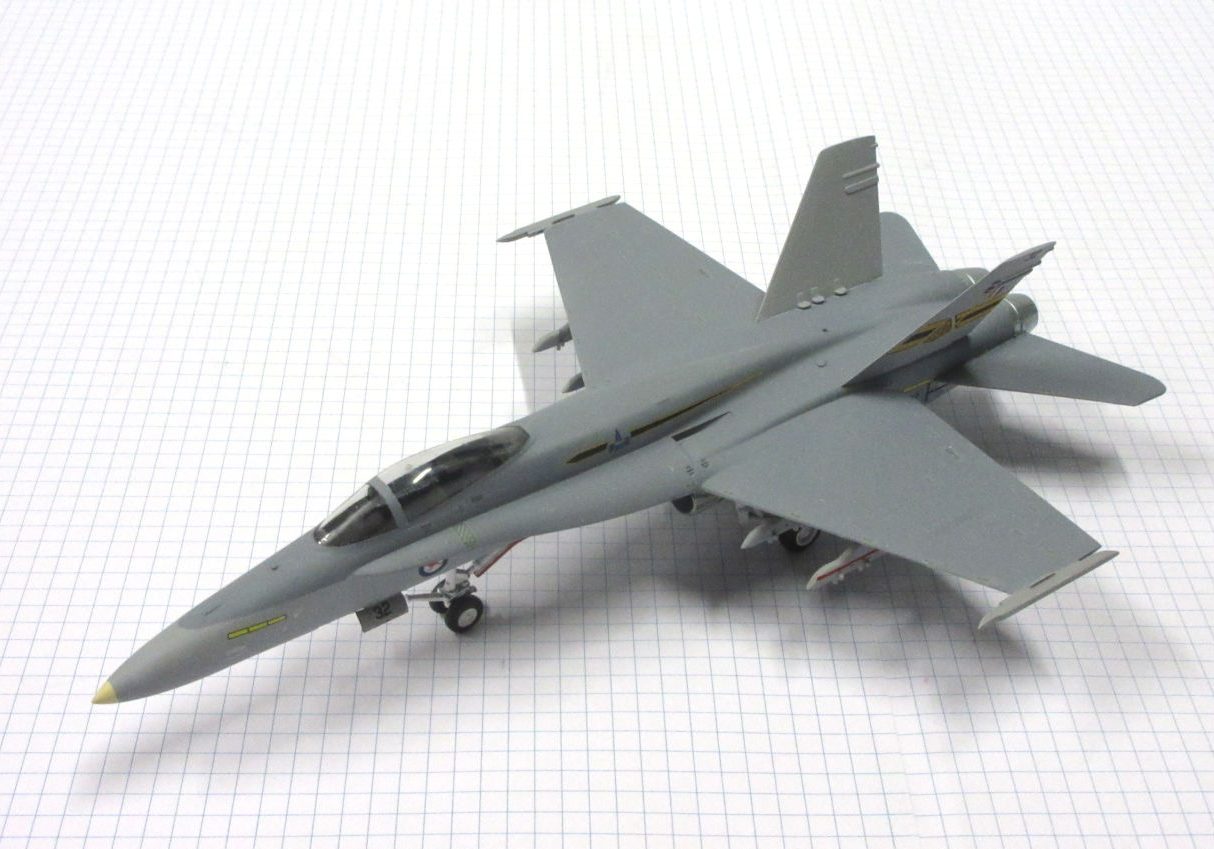
Painting is fairly easy too with the two tone scheme, a touch of colour with the radome tan on the nose and the white undercarriage. The jet exhausts are very plain too, in comparison to the subtle variations in tone on many jets, and I found that AK Extreme Stainless Steel look most accurate than most options.
The Hawkeye decals are very basic and offer only the rondels, special marking for the ARDU aircraft and registrations. The rest have to come from somewhere else. The Hobby Boss kit offers nothing of any use so I returned to the Hasegawa decal sheet which has many small stencils and other details. I spent an evening applying ‘no-step’ and other small decals to the upper surface, but you can’t see most of them so I didn’t bother with the lower fuselage. After that the model got a couple of coats of SMS flat clear, the bits and pieces were attached and that was that.
The result is a very plain and uninteresting model. It demonstrates, I guess, the whole point of the grey schemes that military aircraft are painted in these days – to make them unremarkable. This is probably one model that does need some subtle weathering to bring it to life a little. But if I spent a few nights doing that I wouldn’t be getting on with my next RAAF build.


Leigh Edmonds
March 2023
