The Sopwith Triplane was top dog in the skies over the Western Front in the final few months of 1917. Before its arrival the German Albatros D.III had been the best fighter over the Front but the superior manoeuverability of the Sopwith Triplane gave it the edge. By the end of 1917, however, the Triplane was being outclassed by the next generation of fighters and its single Vickers machine gun armament was not powerful enough to combat the new fighters. Late versions of the Triplane were fitted with two machine guns and an improved tail for greater stability but it was the arrival of the new Sopwith Camel that shortened the Triplane’s career.
One thing that makes the Sopwith Triplane interesting is that its performance so impressed its German adversaries that they made several attempts to improve on the basic idea of three wings to give greater manoeuverability. This culminated in the Fokker Dr,I triplane.
The Czech company Kovozvody Prostejov has been around for decades and has recently undergone a resurgence with production of quite a few nice new-tool kits including some of the lesser known World War I fighters such as the Airco deHavilland DH-5, the Roland D.II and the Sopwith Dolphin and Triplane.
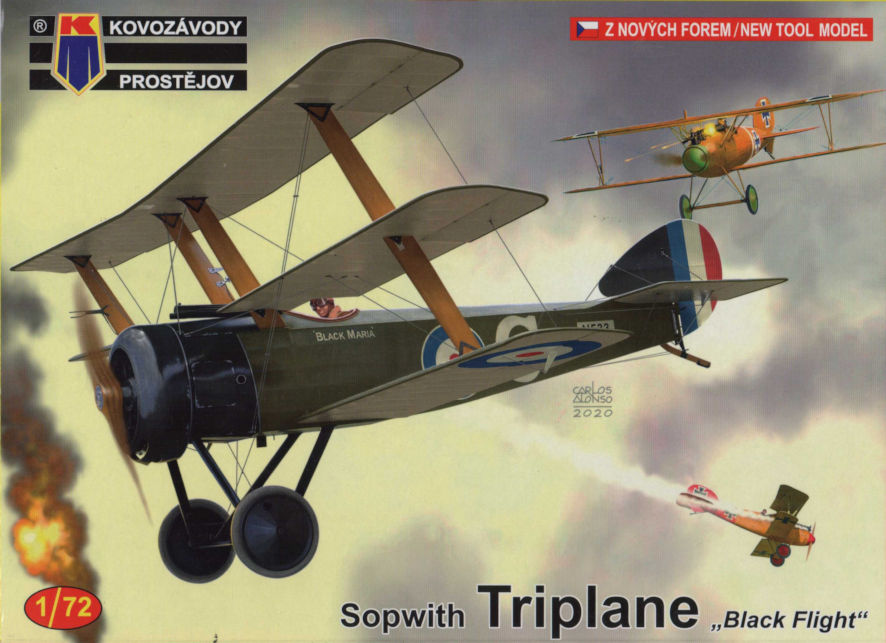
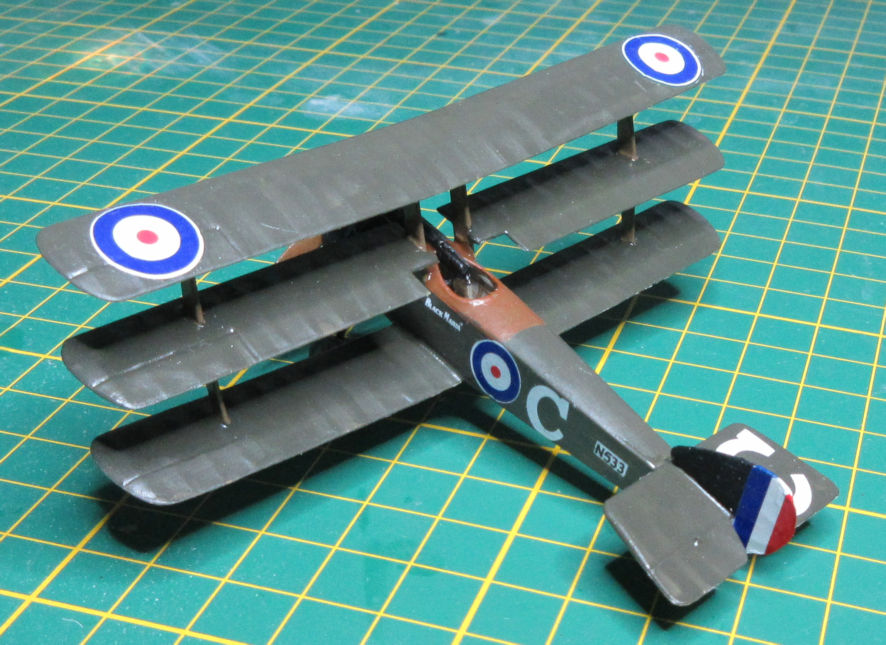
As is common these days, this company has released this kit of the Sopwith Triplane in five different boxings. I imagine that they all contain the same basic kit which is one fret of very nicely injection moulded parts, a small decal sheet and a set on assembly instructions. At least one of the kits has instructions for the late version of the Triplane which was fitted with the improved tail, two Vickers machine guns and new propeller, but there is no mention of them in the kit I bought. This was the Triplanes that flew with the famous ‘Black Flight’ of No 10 Squadron Royal Naval Air Service so it comes with decal options for three aircraft, “Black Maria’, ‘Black Prince’ and ‘Black Sheep’.
The construction process should be simplicity itself, and probably is if you know what you are doing. The parts are very finely moulded with sufficient detail for this scale and the parts fit is very good. I spent a little more time than usual on the cockpit because it is open and so it is very exposed to view. The result was rather pleasing so I pressed on with rest of the model in a good frame of mind.
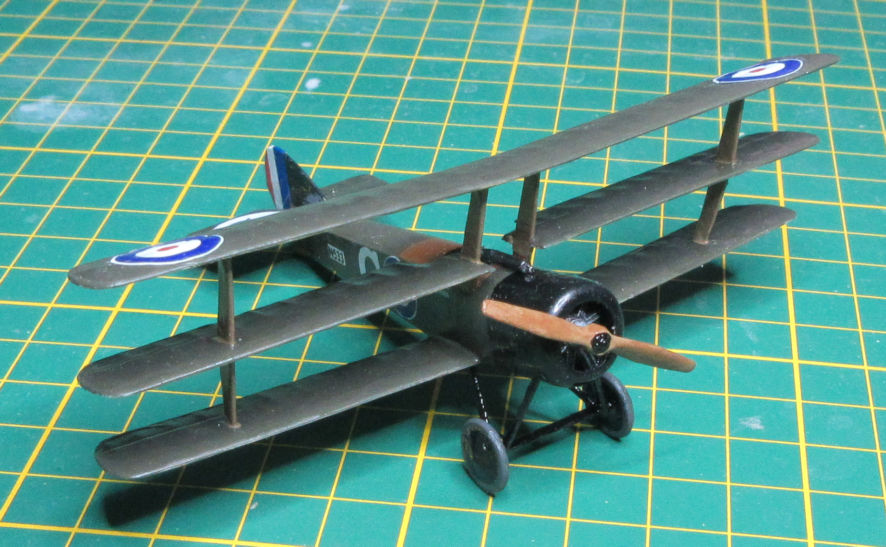
I pondered for some time on the best way to approach assembling the three wings. The trouble is that the middle wing does not attach to the fuselage but to the middle struts a little way up from the fuselage so that, even though there are only four struts to get right, attaching them in the right alignment proved quite difficult. If I were to make this model again I would attach the top and bottom wings first and leave the middle wings dangling and gluing them in place when the other wings were set solid. Since I didn’t do that the middle wings are a not properly aligned and make the aircraft look rather unstable.
If I were a really serious modeller I would have consigned this model to the rubbish bin at this point, however I had an idea that I wanted to try on it, so I pressed on. For a long time now I have wielded my trusty airbrush (several actually) on almost every model that I’ve made but this model was so small and so fragile looking that I could not imagine masking the various parts of the model to airbrush it, so the only solution was the hand paint it. I think this is possibly the first model I’ve made since I bought my first airbrush (in the mid 1970s) that I’ve painted entirely by hand. Hand painting is not something that moden modelling lacquers are good for so I dug out my old stash of Humbrol enamels and set to work.
I stopped using Humbrol enamels regularly when I discovered the Modelmaster range of enamels back in the 1990s. When they stopped becoming available I moved on to lacquers which give an excellent and tough finish, and the only time I used any Humbrol paint since then was for tiny touch ups here and there. I had forgotten how much fun hand painting can be when using a paint that is designed for it – unlike acrylics or lacquers. The paint in tinlets has survived my decades of neglect very well and im most cases all I needed to do was add a little thinner, stir enthusiastically and away I went.
To add to the fun, I found that I did not have the Humbrol enamel suitable to replicate the doped linen colour of the underside of British World War I aircraft and had to mix it myself. No worries, I added a bit of brown to a tin of white enamel and then had something more pleasing to me that the lacquers said to represent the colour of doped linen that are currently available. With a broad brush I painted on the first coat, let it set for a day, applies a second coat, waited another day and applied a third.
The topside colour was also a little mixture with a touch of black added to a tin of drab olive to make it more like the colour that Royal Navy Air Service Triplanes were painted. This paint was ‘satin’ rather than ‘matt’ and although I was a bit apprehensive at first, the result had the slight sheen that you see in photos of World War I aircraft, so I was happy with that. To accentuate the difference in textures I painted the black part of the model in gloss black and was again pleased at the way in which the different degrees of gloss gave the model a pleasing appearance. The shades of brown I used to paint the area around the cockpit and the struts were matt paint and I was hesitant about trying to bring some gloss to them with lacquer gloss varnish. Fortunately I had a bottle of Aqua Gloss left over from my brief experiment wtih acrylics that gave those parts a nice glossy appearance too.
To this stage I was rather pleased with myself because, even with the wonky middle wing, it looked very nice. But then came the decals which are very glossy and quite brittle. The fraught experience of applying them reminded me of the mighty struggle I had many years earlier with the decals of a Roden Fokker D.VIII and I wondered whether this company got its decals from the same place that Roden had. Like that experience this one involved handling the decals with great care so they wouldn’t shatter and then dowsing them with Micro Set for an hour or two in an effort to get them to conform, especially to the nicely moulded wings.
You might call the process of making this Triplane a learning experience. It taught me that I had forgotten the pleasure of hand painting a model and the way in which enamels like the good old Humbrol paint goes on so nicely from a brush if handled carefully. This is a skill that I might try to relearn and I already have the Roland II kit with the appropriate Humbrol colours all ready to roll onto my bench when the Triplane moves off. I also learned that I need to relearn my understanding of paint chemistry because I have some bad memories of mixing enamel and lacquer paint in the past. I am also not happy with the contrast between the glossy decals and the matt of the underside surfaces of the Triplane so I might see what other acrylic varnishes there are that I can use to deal with that problem.
I also learned that the Sopwith Triplane is a fine looking little aircraft, quite fragile looking as though somebody had a strange idea about how to improve on the delightful little Sopwith Pup by adding a third wing – which is apparently what more or less happened. I see that one of the boxings of this kit is for some French Triplanes so I’ve put in an order to get one. Let’s see if I can get it right next time.
Leigh Edmonds
April 2022
